소개
This project guide demonstrates how to remove and replace the DVD drive on a Sony Vaio laptop.
필요한 것
-
-
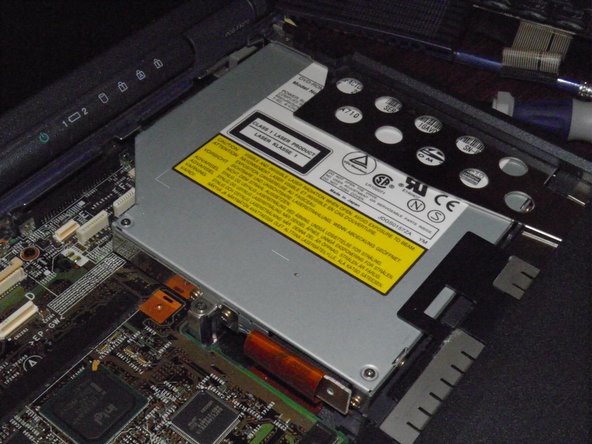
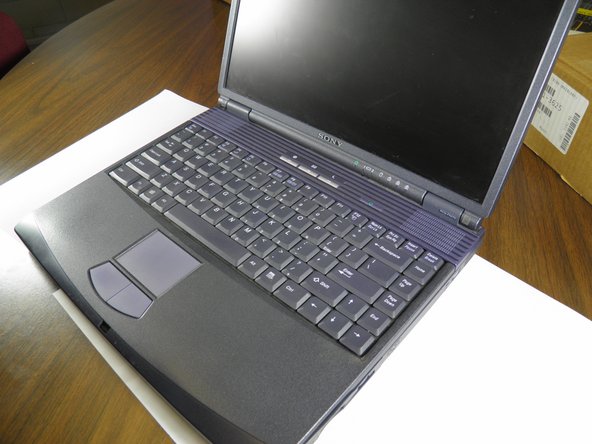
The parts of the laptop that will be referenced throughout this guide follow.
-
The power panel is shown in the first photo.
-
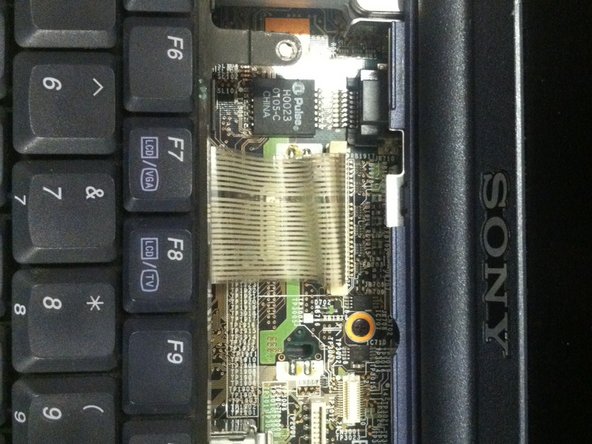
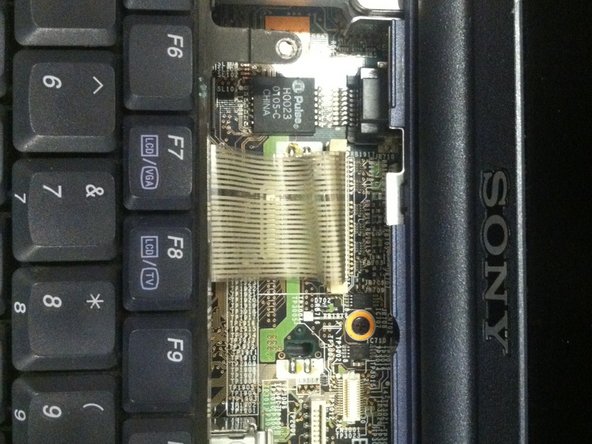
The power panel ribbon is located on the back of the power panel. This is the white ribbon in the second photo.
-
The keyboard and keyboard ribbon are located within the red box highlighted in the third photo.
-
-
-
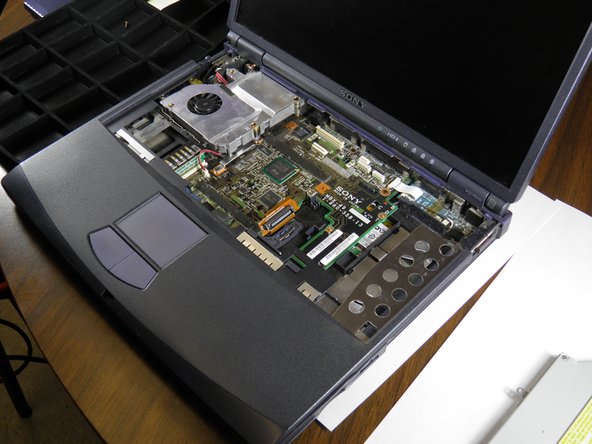
Open the laptop.
-
Using a Phillips screwdriver, remove the power panel screw located on the left side of the laptop. See the red box in the photo for the location of the screw.
-
Remove the power panel by sliding it to the right and gently lifting it upwards.
-
Gently detach the power panel ribbon from the motherboard by sliding the ribbon out of the plastic connector, meanwhile keeping it attached to the power panel.
-
-
-
-
Gently slide the DVD drive into the laptop. If the drive gets stuck while sliding in, gently push down on the metal bay below the DVD drive to allow the DVD drive to slide over.
-
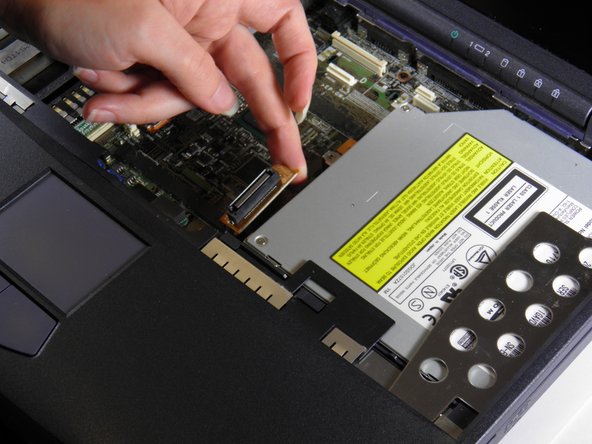
Reattach the ribbon cable to the DVD drive.
-
Replace both of the DVD drive screws. See the third photo for reference.
-


팀

Cal Poly, Team 18-68, Johann Spring 2010 Cal Poly, Team 18-68, Johann Spring 2010 회원
CPSU-JOHANN-S10S18G68
4 회원들
안내서 9개 작성하였습니다