이 버전에는 잘못된 편집 사항이 있을 수 있습니다. 최신 확인된 스냅샷으로 전환하십시오.
필요한 것
-
이 단계는 번역되지 않았습니다. 번역을 도와주십시오
-
Remove cover for the extended battery connector. Use your finger nail or a plastic opening tool to remove it.
-
Remove the two rubber feet at the back of the computer, these can be removed in the same way.
-
-
이 단계는 번역되지 않았습니다. 번역을 도와주십시오
-
Remove the four 5.6mm Philips #00 screws located at the top of the computer.
-
Remove the eight 3.6mm Philips #00 screws on the base of the computer.
-
-
이 단계는 번역되지 않았습니다. 번역을 도와주십시오
-
Using a plastic opening tool, pry the plastic casing away from the base of the computer, the remaining clips around the edges can be released using your hands.
-
-
-
이 단계는 번역되지 않았습니다. 번역을 도와주십시오
-
Remove the three 4.2mm Philips #0 screws located at the top of the battery.
-
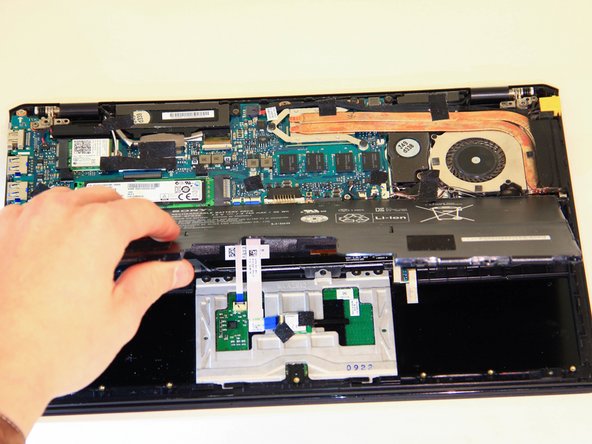
Simply lift the battery away from the computer.
-
-
이 단계는 번역되지 않았습니다. 번역을 도와주십시오
-
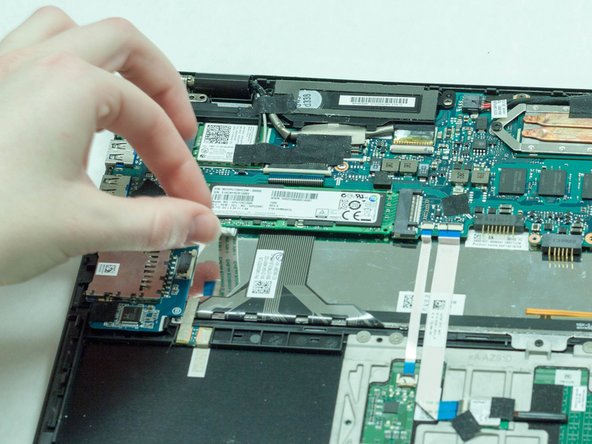
Using the flat end of the spudger, pry the edge of the ribbon wire on top of the memory card so it is loose enough to detach from the memory card.
-
-
이 단계는 번역되지 않았습니다. 번역을 도와주십시오
-
Lift up the small, square, black piece of tape that covers the screw on the memory card.
-
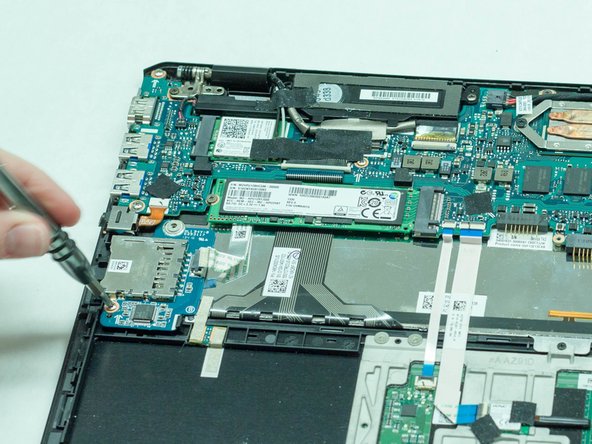
Using the philips head 00, unscrew the screw holding the memory card in place.
-
Once the screw is out, the memory card should lift up easily.
-


팀

Western Carolina University, Team 1-3, Virtue Spring 2016 Western Carolina University, Team 1-3, Virtue Spring 2016 회원
WCU-VIRTUE-S16S1G3
5 회원들
안내서 12개 작성하였습니다
댓글 한 개
Hey Alex!
Do you know if the fan is the same for the Sony Viao Pro 11 as the one for the Viao Pro 13?.
I can only see info for the fan for the 13.
Thanks!..