이 버전에는 잘못된 편집 사항이 있을 수 있습니다. 최신 확인된 스냅샷으로 전환하십시오.
필요한 것
-
이 단계는 번역되지 않았습니다. 번역을 도와주십시오
-
Locate the battery on the bottom of the computer.
-
Flip the computer so that the battery faces you.
-
-
-
이 단계는 번역되지 않았습니다. 번역을 도와주십시오
-
Remove the memory door on the bottom of the computer to access the screw for the keyboard.
-
-
이 단계는 번역되지 않았습니다. 번역을 도와주십시오
-
Slide the wires out, away from the solder connections.
-
Flip the computer over and open it.
-
-
이 단계는 번역되지 않았습니다. 번역을 도와주십시오
-
Gently pry the keyboard assembly from the screen side, using an opening tool. You will need to lift the keyboard about two inches.
-
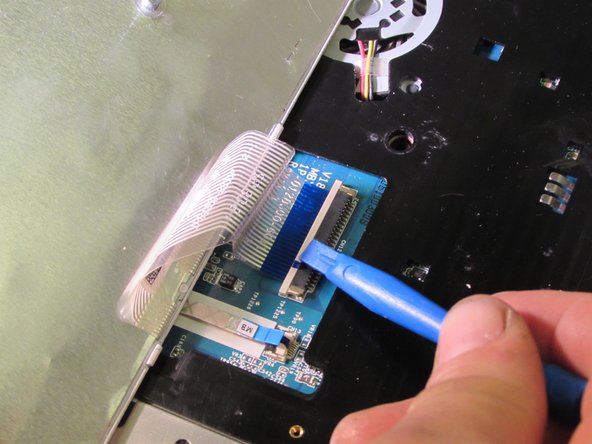
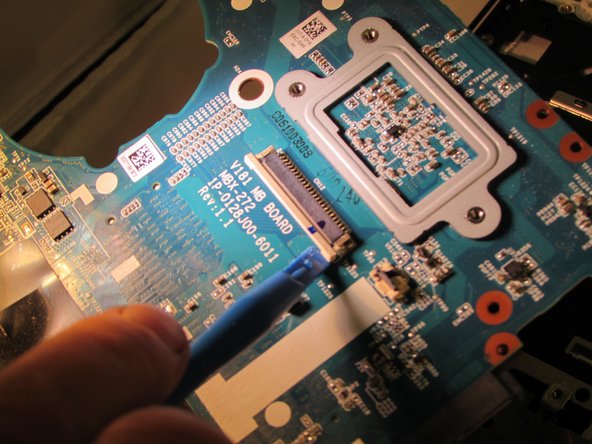
Using an opening tool, gently pull out and slightly up on the connector clip.
-
Gently lift the keyboard assembly up and out.
-


다른 2명이 해당 안내서를 완성하였습니다.
팀

Eastern Washington University, Team 1-5, Crane Fall 2016 Eastern Washington University, Team 1-5, Crane Fall 2016 회원
EWU-CRANE-F16S1G5
4 회원들
안내서 10개 작성하였습니다