주요 콘텐츠로 건너뛰기

Sony Vaio SVT151A11L Back Panel Replacement

필요한 것

  1. Sony Vaio SVT151A11L Back Panel Replacement, Battery: 1 단계, 이미지 1/2 Sony Vaio SVT151A11L Back Panel Replacement, Battery: 1 단계, 이미지 2/2
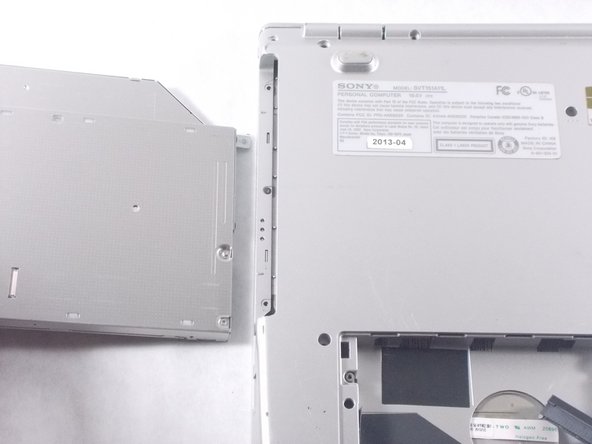
    • Flip the laptop over so that the battery on the underside of the device is revealed.

    • Unscrew the two 11mm slotted silver screws that can be found at the top of the battery.

  2. Sony Vaio SVT151A11L Back Panel Replacement: 2 단계, 이미지 1/3 Sony Vaio SVT151A11L Back Panel Replacement: 2 단계, 이미지 2/3 Sony Vaio SVT151A11L Back Panel Replacement: 2 단계, 이미지 3/3
    • Wedge the plastic opening tool between the back panel and the battery on the top left side of the device.

    • Push down on the plastic opening tool until the battery lifts from the back of the laptop.

    • Grab the battery and remove it from the device.

  3. Sony Vaio SVT151A11L Back Panel Replacement, Back Panel: 3 단계, 이미지 1/3 Sony Vaio SVT151A11L Back Panel Replacement, Back Panel: 3 단계, 이미지 2/3 Sony Vaio SVT151A11L Back Panel Replacement, Back Panel: 3 단계, 이미지 3/3
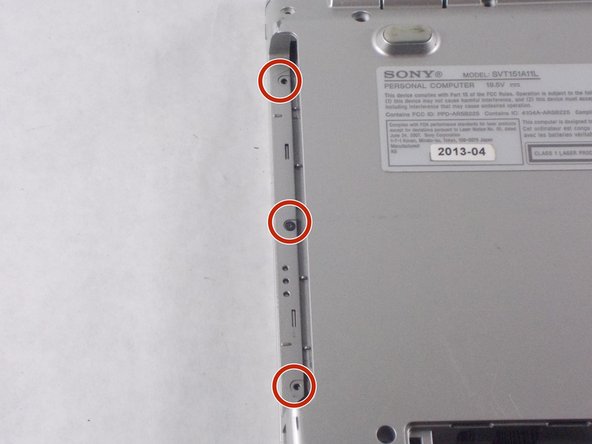
    • Unscrew the three 4mm screws using a JIS #0 screwdriver.

    • Unscrew the eight 7 mm screws using a JIS #0 screwdriver.

    • Grab and lift the edge of the panel to pull it free from the rest of the computer.

  4. Sony Vaio SVT151A11L Back Panel Replacement: 4 단계, 이미지 1/3 Sony Vaio SVT151A11L Back Panel Replacement: 4 단계, 이미지 2/3 Sony Vaio SVT151A11L Back Panel Replacement: 4 단계, 이미지 3/3
    • Grab the disk drive located at the edge of the computer and pull it it out.

    • Unscrew the three 7 mm screws with a JIS #0 screwdriver.

결론

To reassemble your device, follow these instructions in reverse order.

Nathan McGarvey

회원 가입일: 10/20/17

481 평판

안내서 4개 작성하였습니다

UMass Dartmouth, Team S4-G6, Julie Fall 2017 UMass Dartmouth, Team S4-G6, Julie Fall 2017 회원

UMASSD-JULIE-F17S4G6

2 회원들

안내서 12개 작성하였습니다

댓글 0개

댓글 쓰기

조회 통계:

24 시간 전: 1

7일 전: 5

30일 전: 14

전체 시간: 1,107