소개
This guide will help you disassemble your Sony Vaio VGN-FS640 laptop in order to replace or remove the optical drive.
필요한 것
-
-
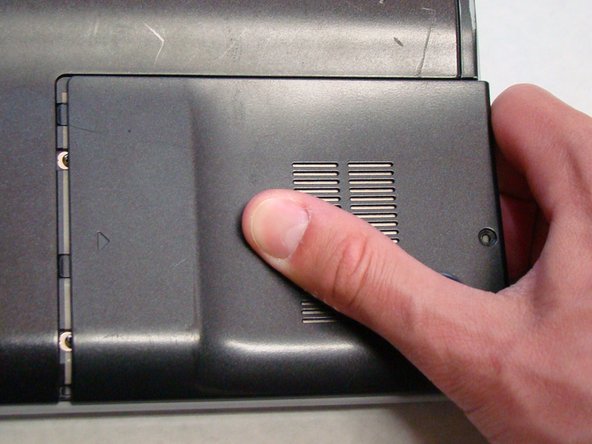
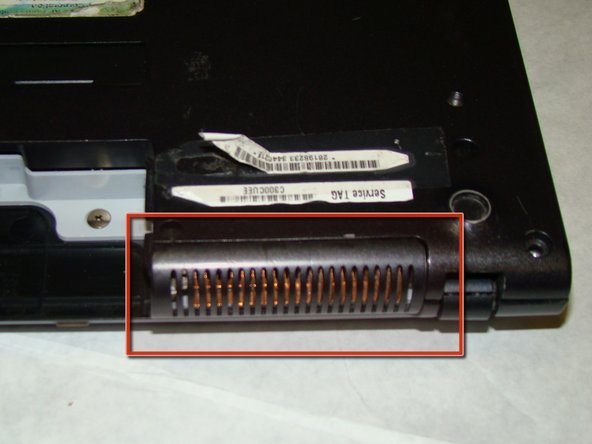
With the bottom of the laptop facing up, locate the RAM cover.
-
The RAM is covered by the panel with four columns of vents.
-
Locate the screw (Length: 4.8 mm) holding down the panel, which is near the edge of the laptop. Unscrew it with your phillips #0 screwdriver.
-
-
-
-
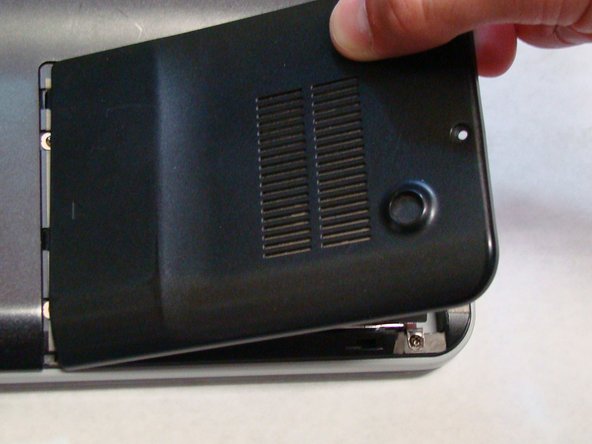
Locate and remove the screw (Length: 7.7mm) for the hard drive cover.
-
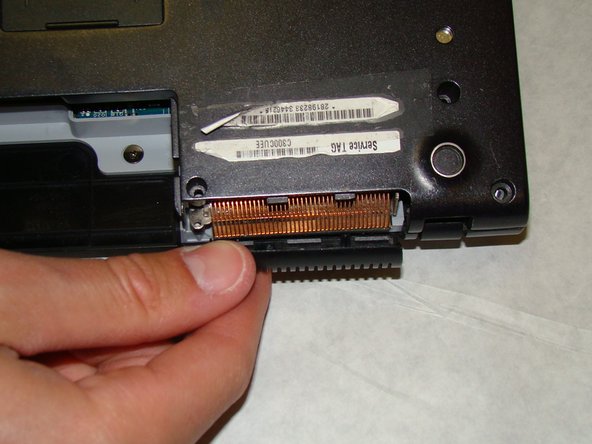
Slide the cover until it is free from the laptop case.
-
Lift the cover to remove.
-
-
-
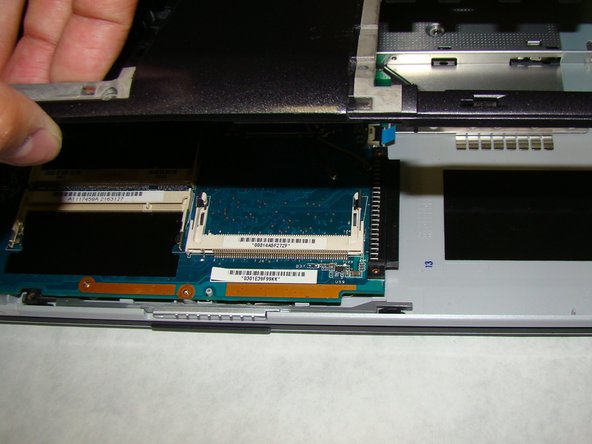
Locate the screws highlighted here. There are 16 total.
-
Using a Phillips #0 screwdriver, remove the screws (Length: 6.8mm) and place them on a tray for later use.
-
-
-
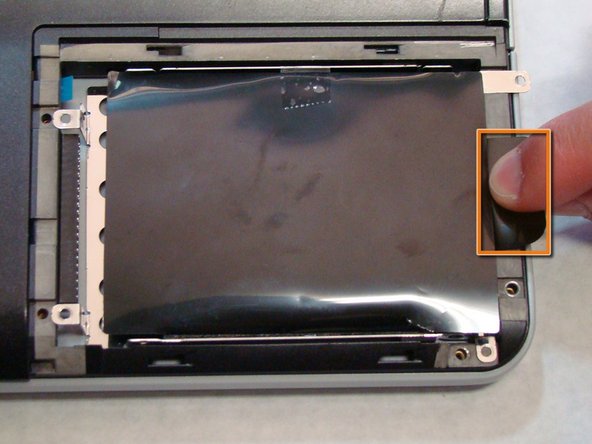
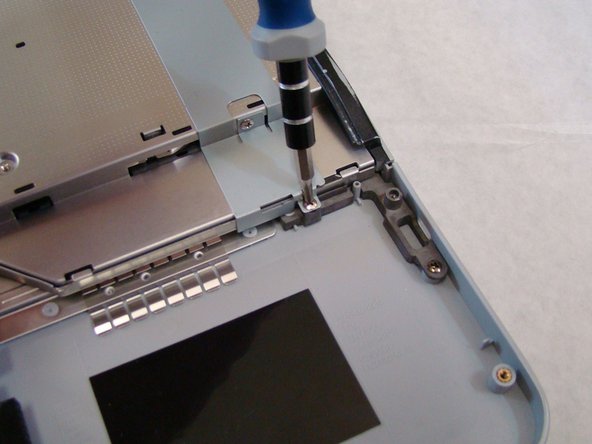
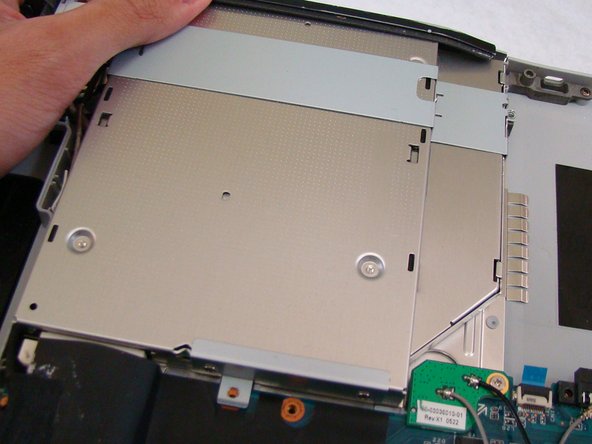
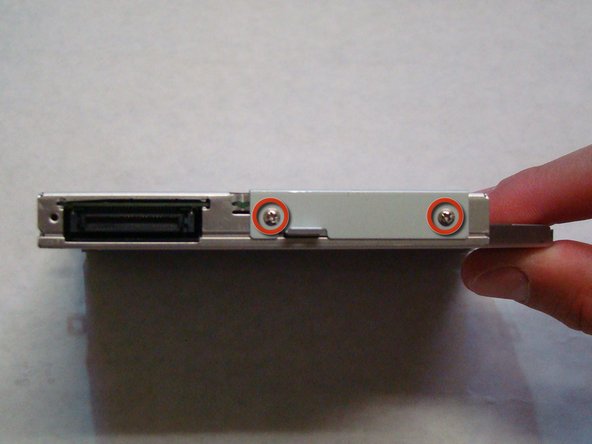
Locate and remove the screws (Length: 5.8mm) affixing the drive to the laptop frame.
-
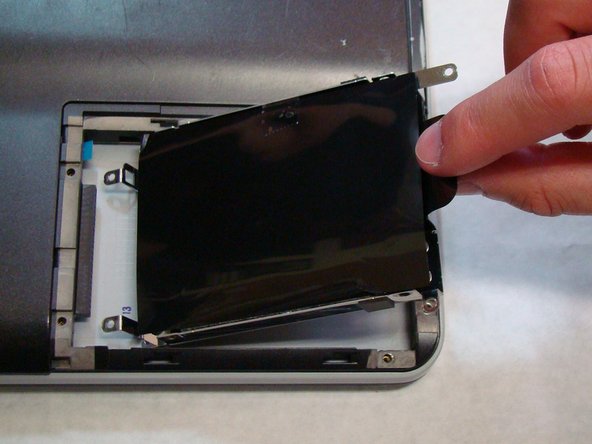
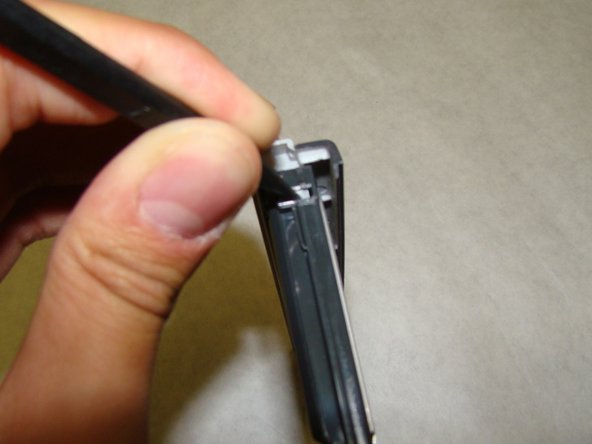
Gently slide the drive away from the body of the laptop until it is disconnected.
-
Lift the drive out.
-


To reassemble your device, follow these instructions in reverse order.
To reassemble your device, follow these instructions in reverse order.
다른 3명이 해당 안내서를 완성하였습니다.
팀

Cal Poly, Team 24-32, Regan Spring 2010 Cal Poly, Team 24-32, Regan Spring 2010 회원
CPSU-REGAN-S10S24G32
4 회원들
안내서 16개 작성하였습니다
댓글 2개
sve 151a11w sony disk error plz help me sir