주요 콘텐츠로 건너뛰기

Sony Vaio VPCW211AX Hard Drive Replacement

필요한 것

  1. Sony Vaio VPCW211AX Hard Drive Replacement, Flat: 1 단계, 이미지 1/1
    • Start with the laptop face up on a flat surface.

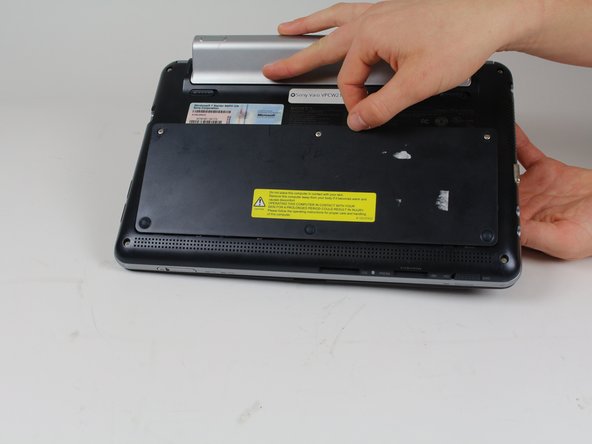
  2. Sony Vaio VPCW211AX Hard Drive Replacement, Flip: 2 단계, 이미지 1/1
    • Flip the laptop so the bottom side up.

  3. Sony Vaio VPCW211AX Hard Drive Replacement: 3 단계, 이미지 1/2 Sony Vaio VPCW211AX Hard Drive Replacement: 3 단계, 이미지 2/2
    • Use a Phillips #0 screwdriver to unscrew the three screws from the HDD panel on the bottom of the laptop.

    • Remove the panel.

  4. Sony Vaio VPCW211AX Hard Drive Replacement, Remove Hard Drive: 4 단계, 이미지 1/1
    • In the red box, marked on the picture, is where the brand new hard drive would go, carefully slide the new part in and you are finished with this guide.

결론

To reassemble your device, follow these instructions in reverse order.

다른 2명이 해당 안내서를 완성하였습니다.

Giselle Dougan

회원 가입일: 01/31/18

760 평판

안내서 5개 작성하였습니다

댓글 0개

댓글 쓰기

조회 통계:

24 시간 전: 0

7일 전: 4

30일 전: 6

전체 시간: 757