주요 콘텐츠로 건너뛰기

Sony Walkman NWZ-S764 Motherboard Replacement

필요한 것

  1. Sony Walkman NWZ-S764 Motherboard Replacement, Removing the back cover: 1 단계, 이미지 1/3 Sony Walkman NWZ-S764 Motherboard Replacement, Removing the back cover: 1 단계, 이미지 2/3 Sony Walkman NWZ-S764 Motherboard Replacement, Removing the back cover: 1 단계, 이미지 3/3
    • Remove the two black 6.4mm Phillips screws from the back of the device.

  2. Sony Walkman NWZ-S764 Motherboard Replacement: 2 단계, 이미지 1/3 Sony Walkman NWZ-S764 Motherboard Replacement: 2 단계, 이미지 2/3 Sony Walkman NWZ-S764 Motherboard Replacement: 2 단계, 이미지 3/3
    • Using a plastic opening tool, work your way around the edges of the device, carefully prying off the front panel.

  3. Sony Walkman NWZ-S764 Motherboard Replacement: 3 단계, 이미지 1/2 Sony Walkman NWZ-S764 Motherboard Replacement: 3 단계, 이미지 2/2
    • Remove the two 2.8 mm phillips screws located on either side of the device near the top.

  4. Sony Walkman NWZ-S764 Motherboard Replacement: 4 단계, 이미지 1/2 Sony Walkman NWZ-S764 Motherboard Replacement: 4 단계, 이미지 2/2
    • Carefully pull the top piece away from the device.

  5. Sony Walkman NWZ-S764 Motherboard Replacement, Removing the Bluetooth module: 5 단계, 이미지 1/3 Sony Walkman NWZ-S764 Motherboard Replacement, Removing the Bluetooth module: 5 단계, 이미지 2/3 Sony Walkman NWZ-S764 Motherboard Replacement, Removing the Bluetooth module: 5 단계, 이미지 3/3
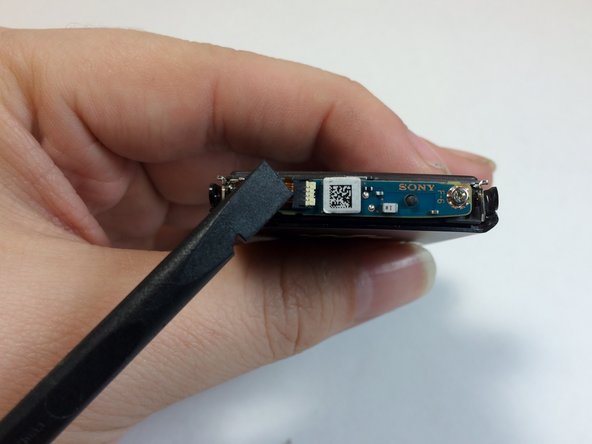
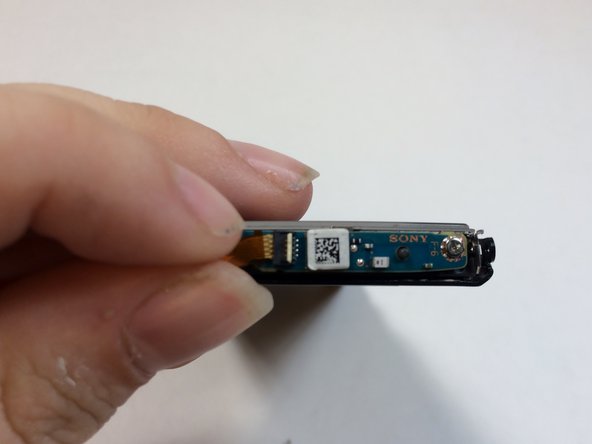
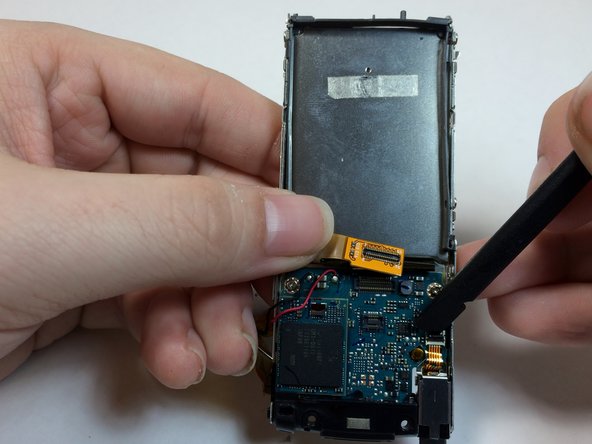
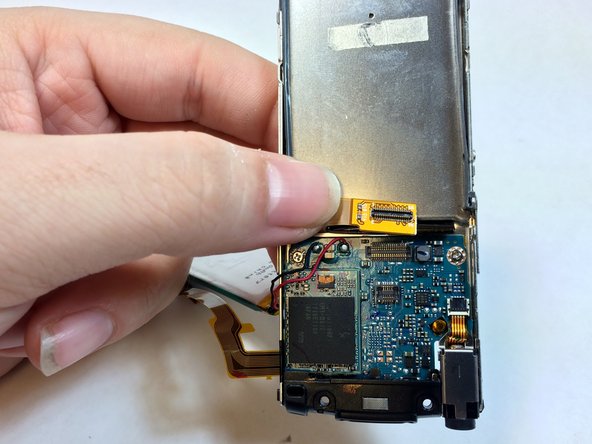
    • Use the flat end of the spudger to flip up the retaining flap for the bluetooth module.

    • Be sure to lift up on the retaining flap, and not the socket itself.

  6. Sony Walkman NWZ-S764 Motherboard Replacement: 6 단계, 이미지 1/3 Sony Walkman NWZ-S764 Motherboard Replacement: 6 단계, 이미지 2/3 Sony Walkman NWZ-S764 Motherboard Replacement: 6 단계, 이미지 3/3
    • Remove the two 1.8mm silver Phillips screws on the Bluetooth module.

    • Lift up on and remove the Bluetooth module.

    • The ribbon cable must first be removed in order to access the highlighted screw.

  7. Sony Walkman NWZ-S764 Motherboard Replacement, Audio Port: 7 단계, 이미지 1/3 Sony Walkman NWZ-S764 Motherboard Replacement, Audio Port: 7 단계, 이미지 2/3 Sony Walkman NWZ-S764 Motherboard Replacement, Audio Port: 7 단계, 이미지 3/3
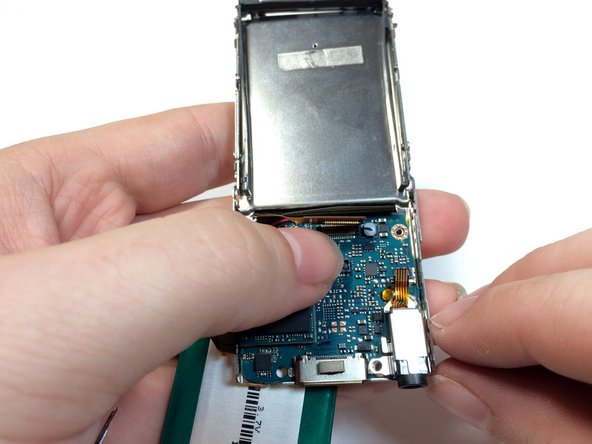
    • Remove the two 2.8mm silver Phillips screws on the sides of the frame.

    • The two 2.8mm screws are on each side of the device.

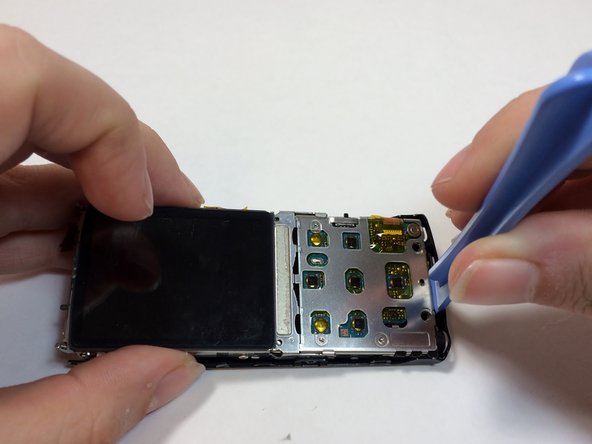
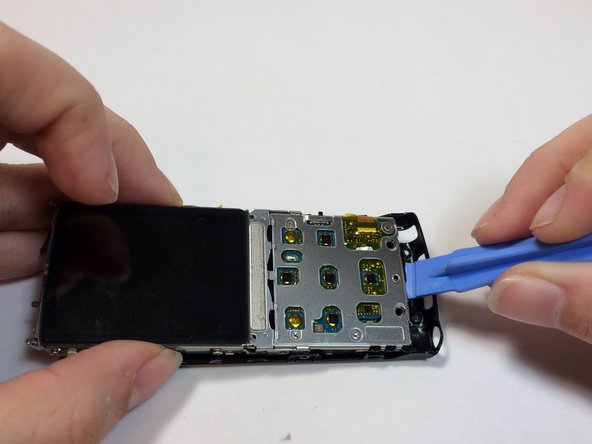
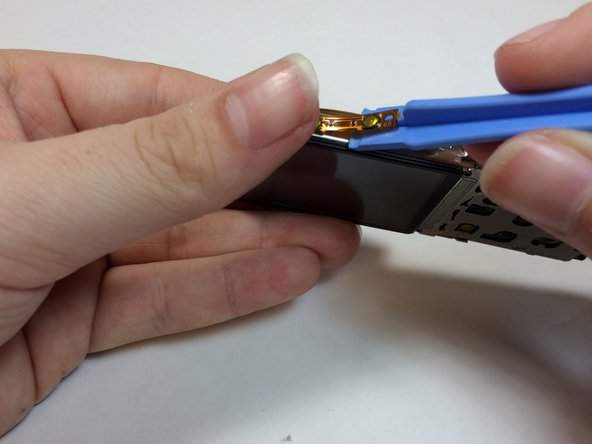
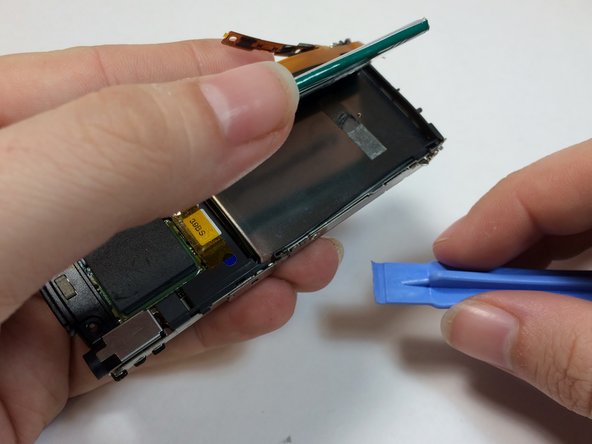
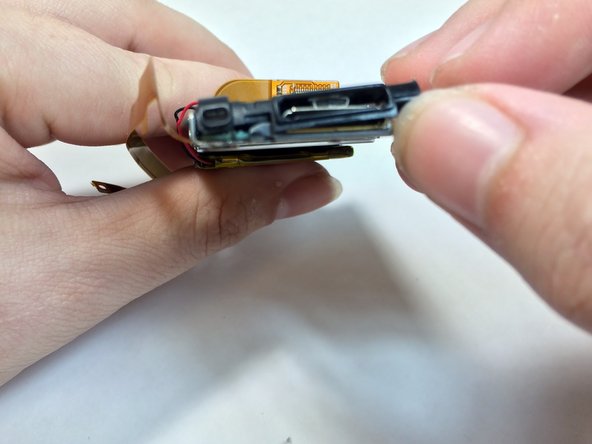
    • Insert a plastic prying tool between the bottom of the case and the motherboard.

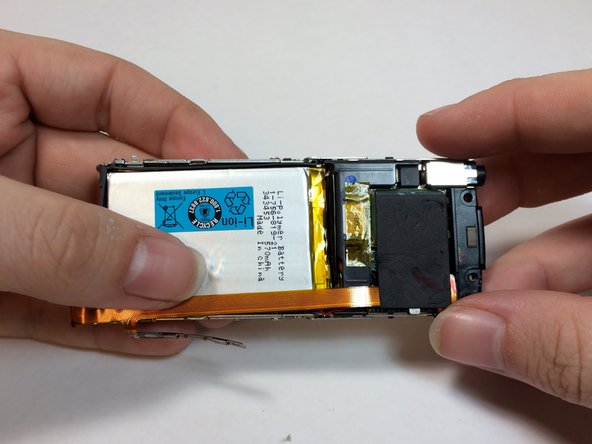
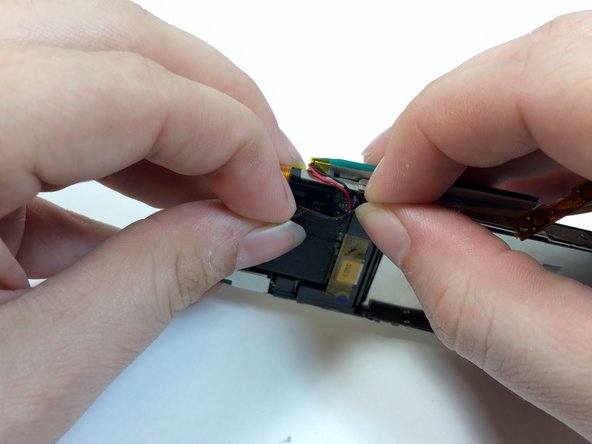
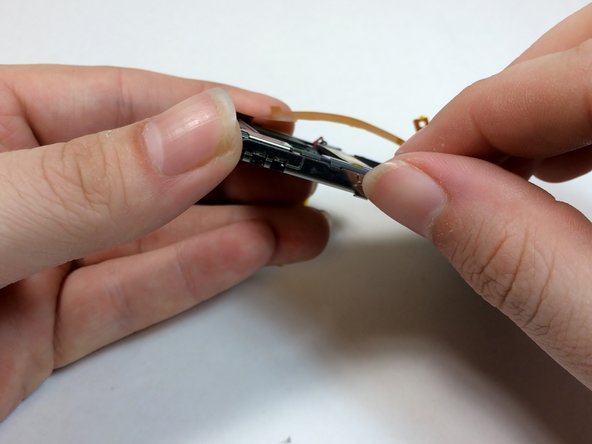
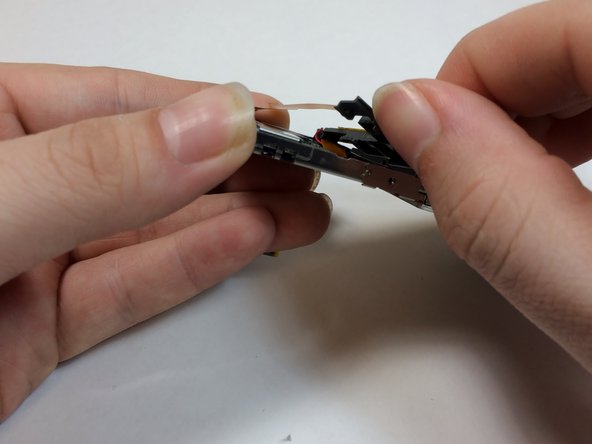
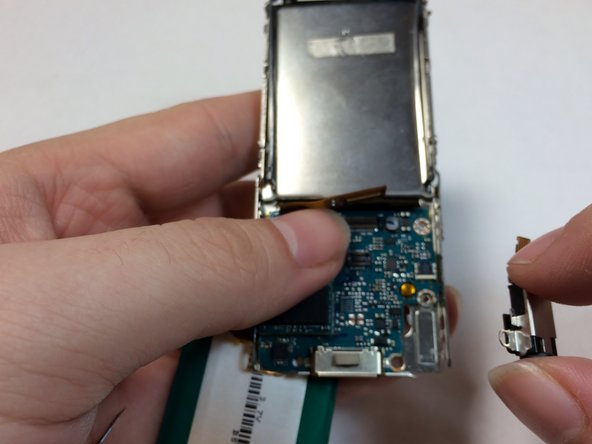
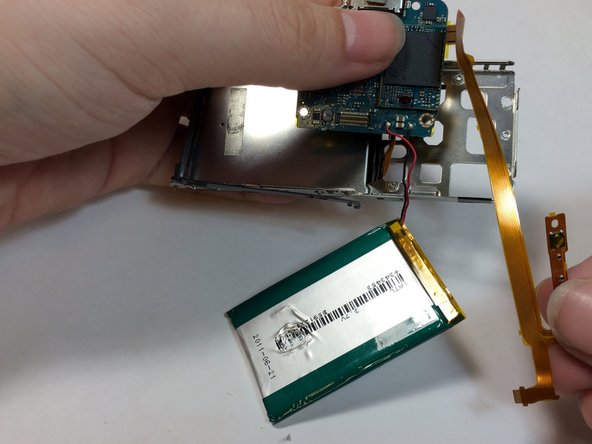
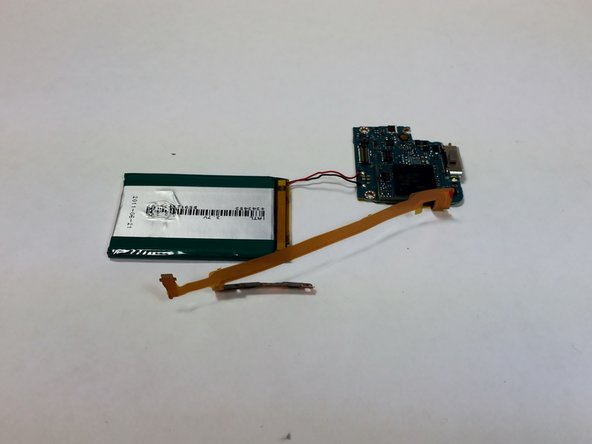
    • Pry up the assembly and lift it away from the case.

  8. Sony Walkman NWZ-S764 Motherboard Replacement: 8 단계, 이미지 1/3 Sony Walkman NWZ-S764 Motherboard Replacement: 8 단계, 이미지 2/3 Sony Walkman NWZ-S764 Motherboard Replacement: 8 단계, 이미지 3/3
    • Remove the yellow tape from the battery and volume control module.

    • Save tape for reassembly.

  9. Sony Walkman NWZ-S764 Motherboard Replacement: 9 단계, 이미지 1/3 Sony Walkman NWZ-S764 Motherboard Replacement: 9 단계, 이미지 2/3 Sony Walkman NWZ-S764 Motherboard Replacement: 9 단계, 이미지 3/3
    • Use a prying tool to pry under the volume control module.

    • This module is glued on, using too much force may damage or warp the module.

  10. Sony Walkman NWZ-S764 Motherboard Replacement: 10 단계, 이미지 1/3 Sony Walkman NWZ-S764 Motherboard Replacement: 10 단계, 이미지 2/3 Sony Walkman NWZ-S764 Motherboard Replacement: 10 단계, 이미지 3/3
    • Remove the tape from EMF shield and the LCD housing.

    • Lift up on the volume control ribbon.

  11. Sony Walkman NWZ-S764 Motherboard Replacement: 11 단계, 이미지 1/3 Sony Walkman NWZ-S764 Motherboard Replacement: 11 단계, 이미지 2/3 Sony Walkman NWZ-S764 Motherboard Replacement: 11 단계, 이미지 3/3
    • Insert a plastic opening tool under the battery and lift up to remove it.

    • The battery is glued on, too much force may damage the battery casing.

    • The battery is soldered to the motherboard, care should be taken to not place too much stress on the wires.

  12. Sony Walkman NWZ-S764 Motherboard Replacement: 12 단계, 이미지 1/3 Sony Walkman NWZ-S764 Motherboard Replacement: 12 단계, 이미지 2/3 Sony Walkman NWZ-S764 Motherboard Replacement: 12 단계, 이미지 3/3
    • Remove the black shielding tape from above the Hard Drive.

    • Peel the foam cover away from the hard drive.

    • Use a plastic opening tool to remove the EMF chip from the motherboard.

    • The hard drive is soldered onto the device. Be careful not to pull too hard on the hard drive.

  13. Sony Walkman NWZ-S764 Motherboard Replacement: 13 단계, 이미지 1/3 Sony Walkman NWZ-S764 Motherboard Replacement: 13 단계, 이미지 2/3 Sony Walkman NWZ-S764 Motherboard Replacement: 13 단계, 이미지 3/3
    • Remove the plastic bracket by pushing up with your thumb to expose the display connection.

  14. Sony Walkman NWZ-S764 Motherboard Replacement: 14 단계, 이미지 1/3 Sony Walkman NWZ-S764 Motherboard Replacement: 14 단계, 이미지 2/3 Sony Walkman NWZ-S764 Motherboard Replacement: 14 단계, 이미지 3/3
    • Use the flat end of a spudger to flip up the retaining flap on the audio jack module.

  15. Sony Walkman NWZ-S764 Motherboard Replacement: 15 단계, 이미지 1/2 Sony Walkman NWZ-S764 Motherboard Replacement: 15 단계, 이미지 2/2
    • Peel back the ribbon for the audio jack and remove the 1.8mm silver Phillips screw.

  16. Sony Walkman NWZ-S764 Motherboard Replacement: 16 단계, 이미지 1/3 Sony Walkman NWZ-S764 Motherboard Replacement: 16 단계, 이미지 2/3 Sony Walkman NWZ-S764 Motherboard Replacement: 16 단계, 이미지 3/3
    • Remove the mic casing by pushing up and in.

    • Remove the headphone jack and the bottom casing.

  17. Sony Walkman NWZ-S764 Motherboard Replacement, Motherboard: 17 단계, 이미지 1/2 Sony Walkman NWZ-S764 Motherboard Replacement, Motherboard: 17 단계, 이미지 2/2
    • Use the prying tool to remove the LCD ribbon wire.

  18. Sony Walkman NWZ-S764 Motherboard Replacement: 18 단계, 이미지 1/1
    • Lift up on the LCD ribbon and remove the two 1.8mm silver Phillips screws.

  19. Sony Walkman NWZ-S764 Motherboard Replacement: 19 단계, 이미지 1/3 Sony Walkman NWZ-S764 Motherboard Replacement: 19 단계, 이미지 2/3 Sony Walkman NWZ-S764 Motherboard Replacement: 19 단계, 이미지 3/3
    • Lift the motherboard away from the frame with your thumb to remove it from the device.

    • Pull the volume control module through the space in the frame.

    • If you are using the magnetic project pad or other magnetic surface to keep your screws, do not place the hard drive on or near the magnet.

결론

To reassemble your device, follow these instructions in reverse order.

John Ferguson

회원 가입일: 01/21/15

657 평판

안내서 5개 작성하였습니다

USF Tampa, Team 4-2, Brown Winter 2015 USF Tampa, Team 4-2, Brown Winter 2015 회원

USFT-BROWN-W15S4G2

4 회원들

안내서 6개 작성하였습니다

댓글 0개

댓글 쓰기

조회 통계:

24 시간 전: 2

7일 전: 4

30일 전: 6

전체 시간: 1,063