소개
Sony Xperia Z3 Dual の内部を見てみましょう。そして修理が必要な時、どこにどのようなコンポーネントが搭載されているか確認することができます。
필요한 것
-
-
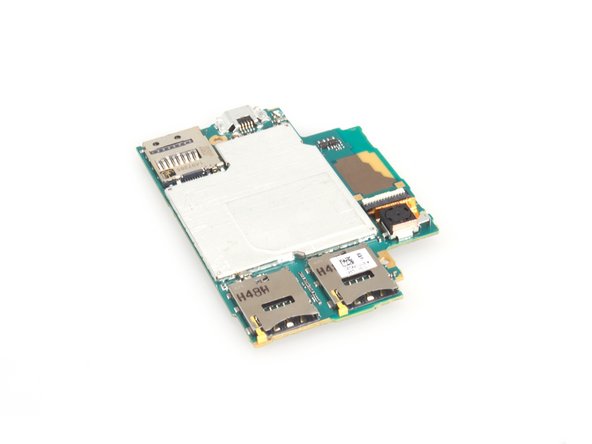
2つのSIMカードトレイを取り出します。
-
接着ステッカーを柔らかくするため、バックカバーを温めます。
-
吸盤カップを取り付けて、デバイス上部に隙間を開けます。
-
-
-
-
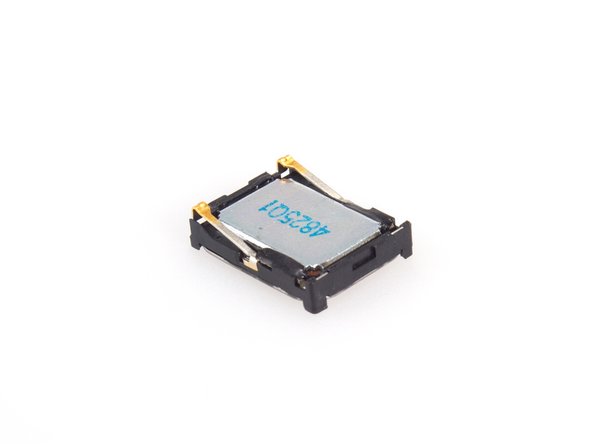
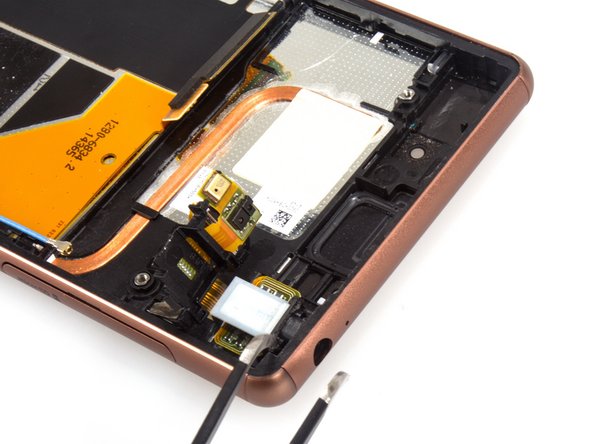
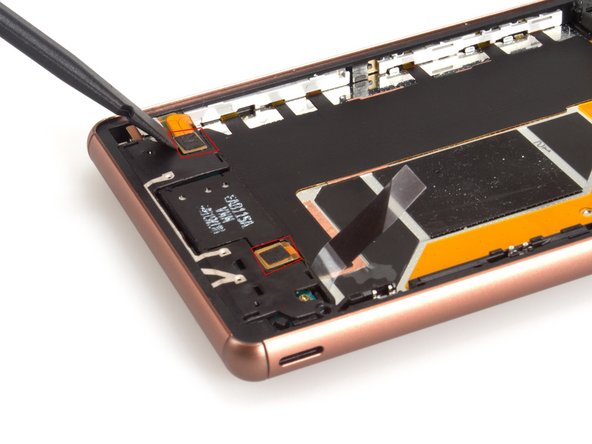
イヤホンスピーカーのそばにあるブロッカーをまず取り出します。
-
それからイヤホンスピーカーを押し出して、外します。
This is bullshit. I broke my speaker by following those instructions. The part of the speaker facing away is glued to the front glass so trying to “pry up” separates the plastic case that holds the magnet and delicately attached membrane. The membrane is held to the magnet frame with glue, on the other side entire speaker is glued. It is obvious the weaker glue will fail first.
If I was doing it again I would simply remove the blocker and leave the speaker in its place and remove it after detaching lcd with front glass. Alternatively use heat on the top of front glass to weaken the glue before attempting to pry the speaker. I'm quite lucky I managed to buy a replacement speaker or I would have a useless phone after following those “instructions”.
-
-
-
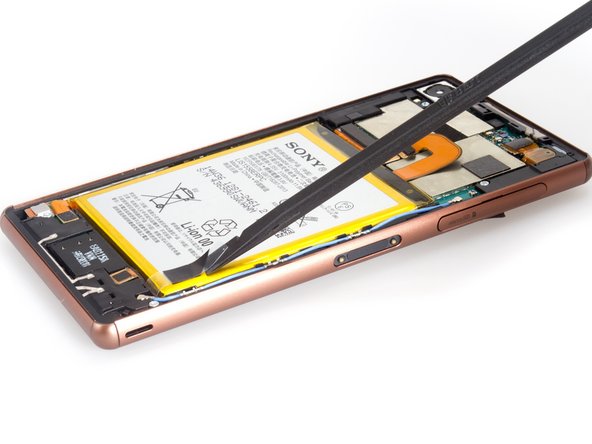
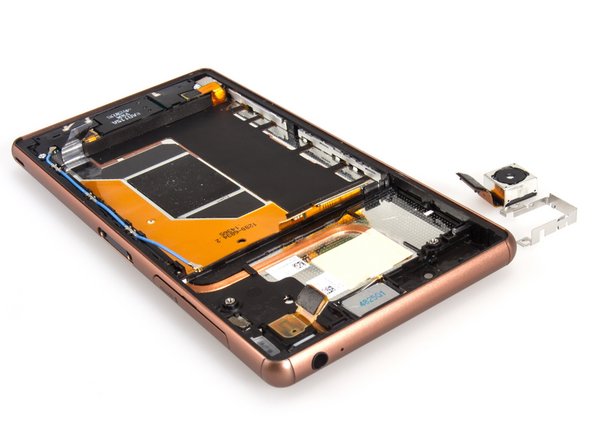
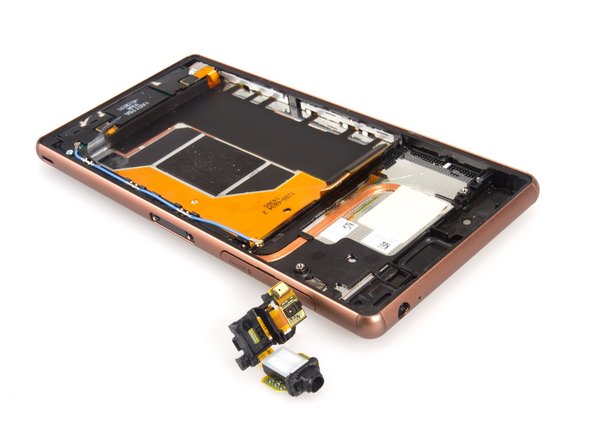
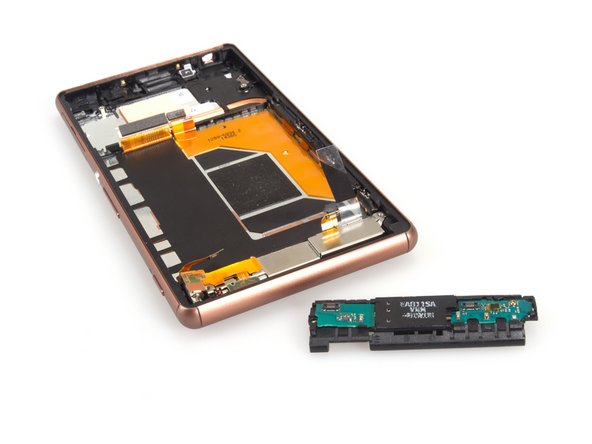
ブラケットを固定しているラウドスピーカーアセンブリを外します。接着剤は使用されていません。
-
ラウドスピーカーアセンブリをこじ開けて取り出します。ここにも接着剤は使用されていません。
The bracket as well as speaker assembly is very difficult to remove from a never disassembled phone. You have wiggle it, pry it, and bend it slightly to remove. Don't use force or it can be broken.
Also there IS adhesive surrounding the speaker aperture gluing it to the front glass. It is not a lot, but one has to be aware of it.
Removing those elements is the most difficult part of the entire disassembly.
-
-
-
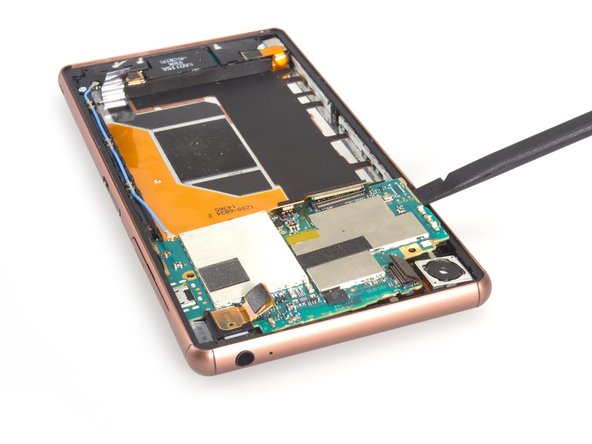
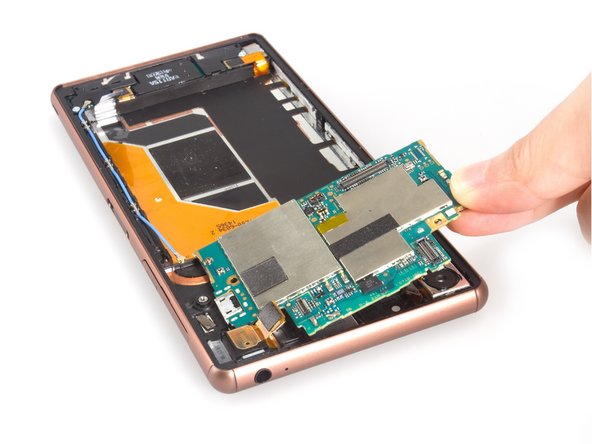
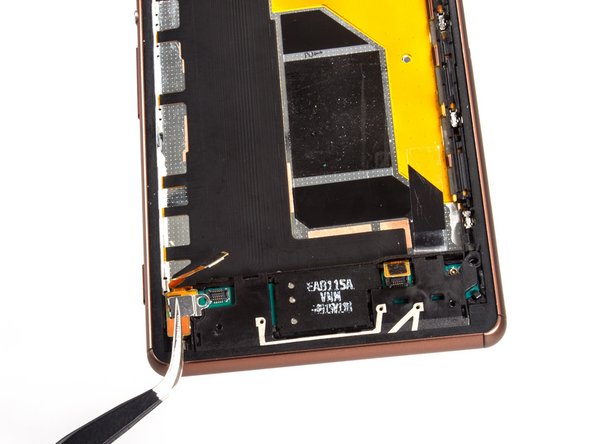
分解はこれで終了です。
This guide doesn't describe what is where on the phone. For example if you are replacing the screen no need to disassemble anything near the motherboard. Only the bottom. To disconnect lcd remove the metal bracket that is under the loudspeaker assembly. A piece of copper foil with glue on the connector might prevent access. Unstick sides of the foil and disconnect the connector. Then you need to gently heat the front glass to 80C (I used a hot plate and infrared thermometer - a piece of paper between the phone and hot plate) and then gently use plastic wedge to separate the lcd ribbon cable from the metal plate under it. It is held by some sort of metallic glue. Then you can u glue the front lcd glass same as you did the back.
-


다음 번역가들에게 특별히 감사 드립니다:
100%

Midori Doi님은 저희가 세상을 수리하는데 동참하신 분입니다! 기여하시겠습니까?
번역 시작하기 ›
댓글 9개
Can you put it back together?
I dropped mine so I just want to take the battery out is it possibly to take it and then put it back in
hi.after changing my xperia z3 dual lcd 3 times.i hade a fluctuating and very week 3g and 4g signal.plz tell me where is the antenna located.i know that there is a flex and a board and antenna cover.what should i change.thanx
zein hamza - 답글
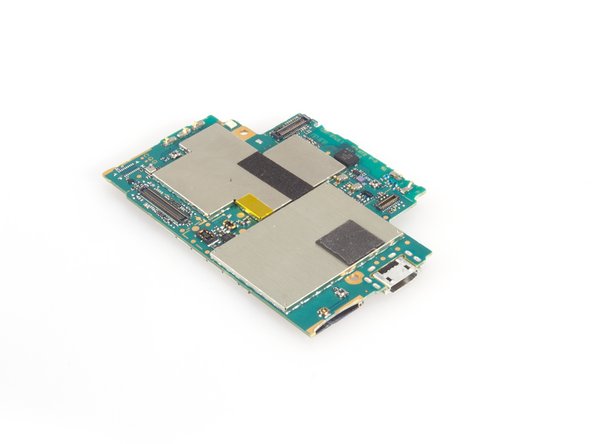
That's not a complete teardown. I would like to see the onboard chips and info's.
i need board from where i purchase please guaid me
Hi Sofiya,
That's a great write-up.
My mobile repair guy is attending my mobile (sony Z3- single sim) for antenna- it is unable to receive phone network signal properly. He says he has to replace the antenna mother-board. But from your write-up I don't find any such mother board- is my repair guy conning me?
Thanks
Sundar
sundar ram - 답글
how many this LCD ? rupiah
How much this LCD? Rupiah’s