주요 콘텐츠로 건너뛰기

이 버전에는 잘못된 편집 사항이 있을 수 있습니다. 최신 확인된 스냅샷으로 전환하십시오.

필요한 것

  1. 이 단계는 번역되지 않았습니다. 번역을 도와주십시오

    : 1 단계, 이미지 1/1
    • Power off and remove two SIM card trays at first before earpiece speaker replacement.

  2. 이 단계는 번역되지 않았습니다. 번역을 도와주십시오

    : 2 단계, 이미지 1/3 : 2 단계, 이미지 2/3 : 2 단계, 이미지 3/3
    • Heat to soften back cover adhesive sticker.

    • Use suction cup to open a gap and insert into the guitar pick.

    • Slide guitar pick to cut the sticker.

  3. 이 단계는 번역되지 않았습니다. 번역을 도와주십시오

    : 3 단계, 이미지 1/1
    • Remove back cover.

  4. 이 단계는 번역되지 않았습니다. 번역을 도와주십시오

    : 4 단계, 이미지 1/3 : 4 단계, 이미지 2/3 : 4 단계, 이미지 3/3
    • It's easy to remove the battery.

  5. 이 단계는 번역되지 않았습니다. 번역을 도와주십시오

    : 5 단계, 이미지 1/1
    • Twist off two screws at first.

  6. 이 단계는 번역되지 않았습니다. 번역을 도와주십시오

    : 6 단계, 이미지 1/3 : 6 단계, 이미지 2/3 : 6 단계, 이미지 3/3
    • Remove three pieces of securing bracket.

  7. 이 단계는 번역되지 않았습니다. 번역을 도와주십시오

    : 7 단계, 이미지 1/3 : 7 단계, 이미지 2/3 : 7 단계, 이미지 3/3
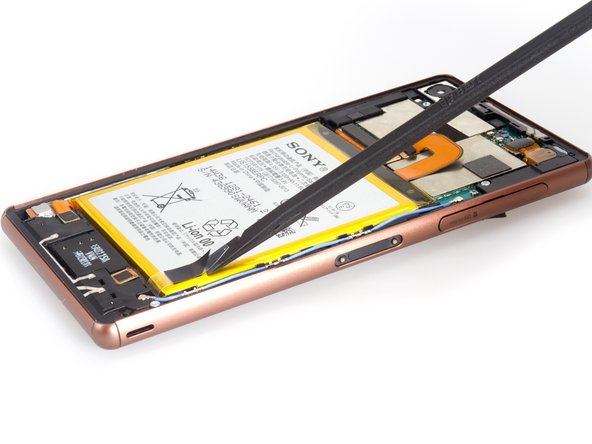
    • Release all the connectors connecting with motherboard.

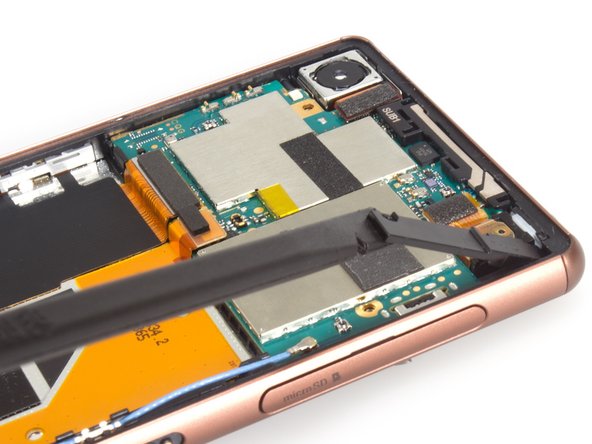
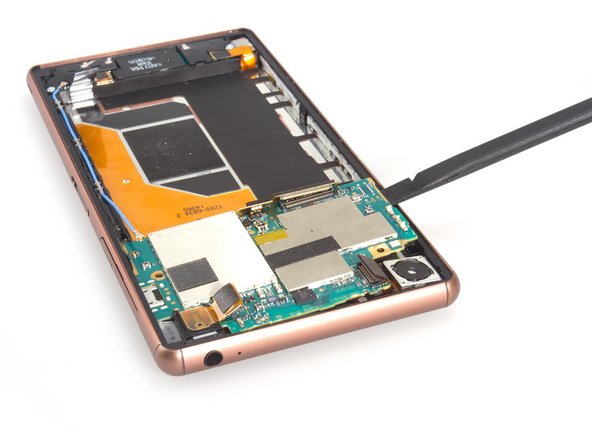
    • Pry motherboard up from left side. It's really hold tightly by some hidden keys, so be careful.
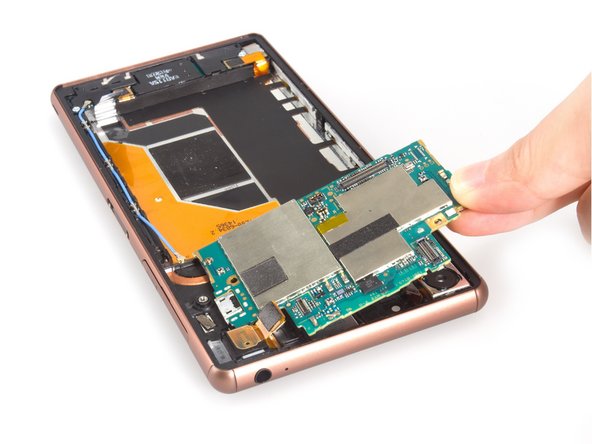
    • Remove motherboard.

  8. 이 단계는 번역되지 않았습니다. 번역을 도와주십시오

    : 8 단계, 이미지 1/3 : 8 단계, 이미지 2/3 : 8 단계, 이미지 3/3
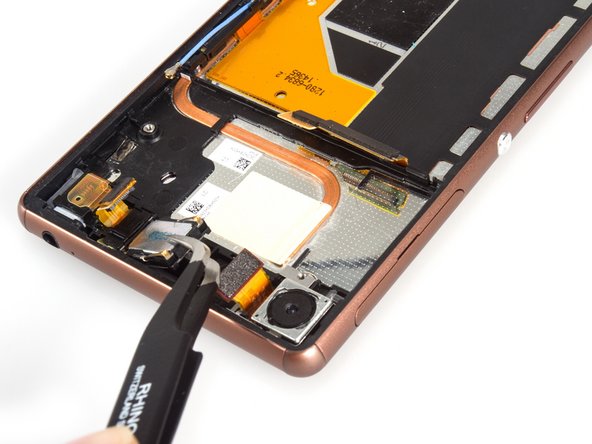
    • Remove the blocker beside earpiece speaker and you can see the breakout to pry up the speaker.

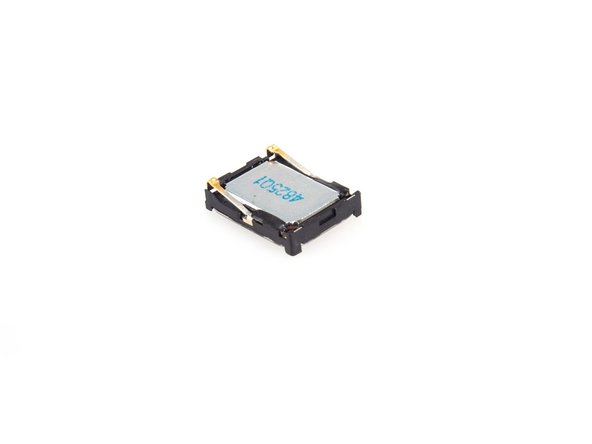
    • Remove earpiece speaker finally.

결승점

다른 13명이 해당 안내서를 완성하였습니다.

Sophia

회원 가입일: 03/25/14

43,810 평판

안내서 62개 작성하였습니다

댓글 3개

Thanks for the guide, it worked very well.

Maybe it's worth mentioning that there's a sticker at the back of the battery and you shouldn't be afraid to just pull the battery out.

Steven Kolenberg - 답글

Hai. Can you give me the link to buy the earpiece? Tq

Wafi Sams - 답글

Thanks for the guide, however my ear piece speaker now rattles when i play music at medium levels. I have tried installing additional adhesive to it, but still cracks.

Tony Ho - 답글

댓글 쓰기

조회 통계:

24 시간 전: 0

7일 전: 2

30일 전: 8

전체 시간: 16,183