이 버전에는 잘못된 편집 사항이 있을 수 있습니다. 최신 확인된 스냅샷으로 전환하십시오.
필요한 것
-
이 단계는 번역되지 않았습니다. 번역을 도와주십시오
-
Heat to soften back cover sticker.
-
Place the suction cup and try to open a gap.
-
Insert the guitar pick into the gap.
-
-
-
이 단계는 번역되지 않았습니다. 번역을 도와주십시오
-
Remove two screws by Philips screwdriver.
-
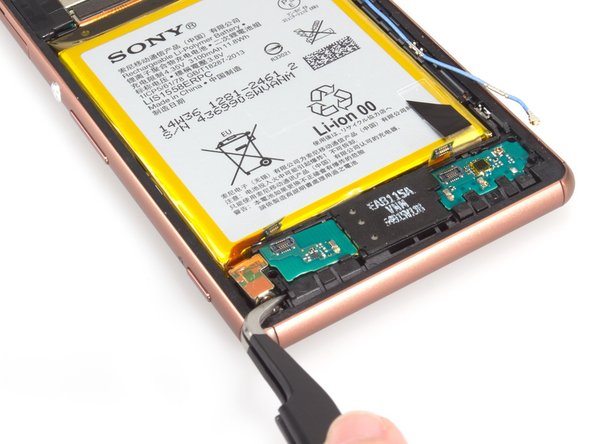
Release all the connectors connecting with loudspeaker assembly.
-
Remove the small vibrator securing bracket.
-
-
이 단계는 번역되지 않았습니다. 번역을 도와주십시오
-
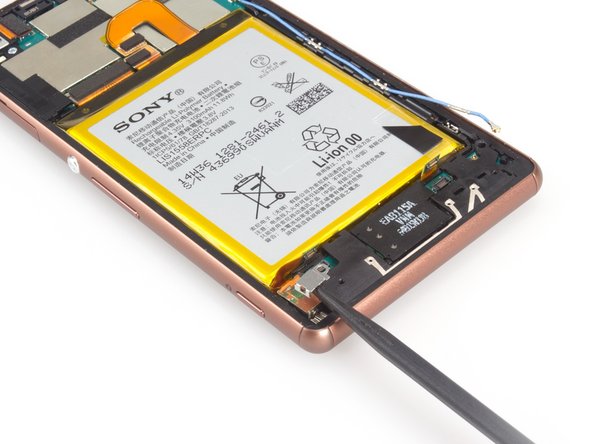
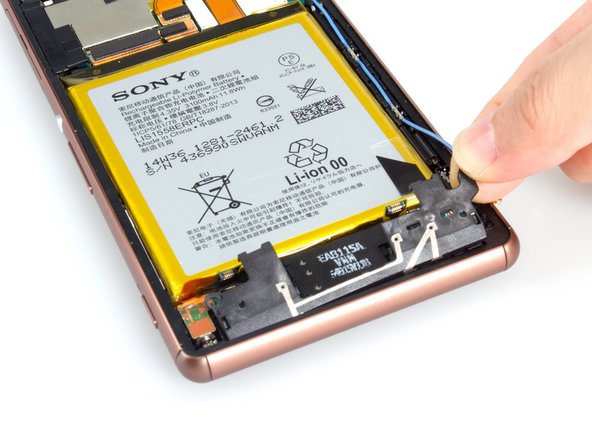
Remove the securing cover. It's thin and weak, please be careful when remove it.
-
-
이 단계는 번역되지 않았습니다. 번역을 도와주십시오
-
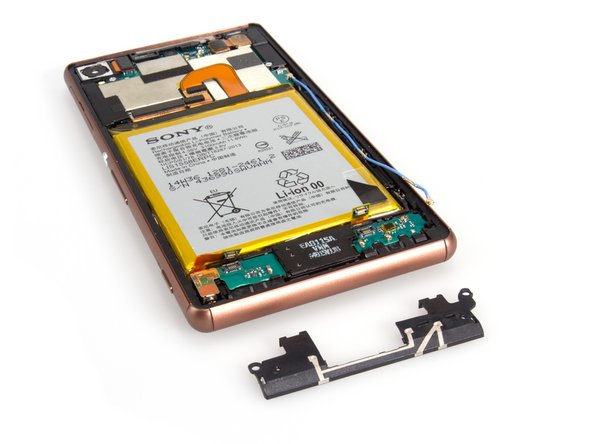
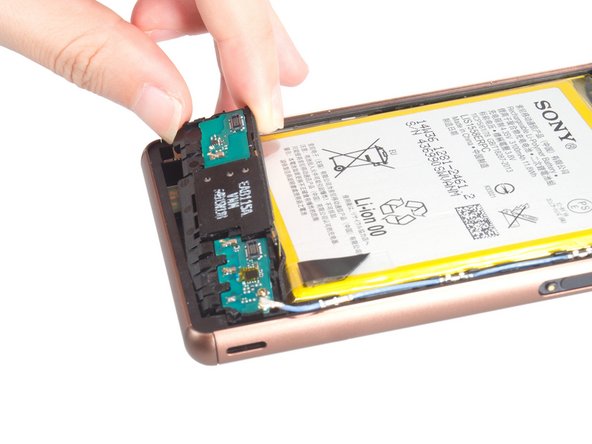
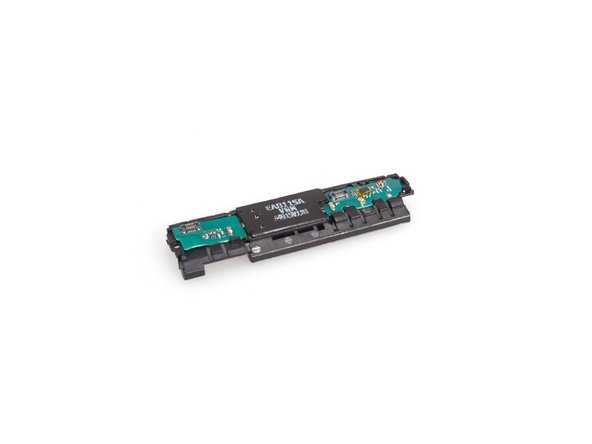
Remove the loudspeaker assembly finally. Be careful with the flex beside assembly.
-
다른 4명이 해당 안내서를 완성하였습니다.
댓글 2개
this is all good but is there a link to the part ?
EBay search Sony z3 replacement loud speaker cost's around £3-£5


