필요한 것
-
이 단계는 번역되지 않았습니다. 번역을 도와주십시오
-
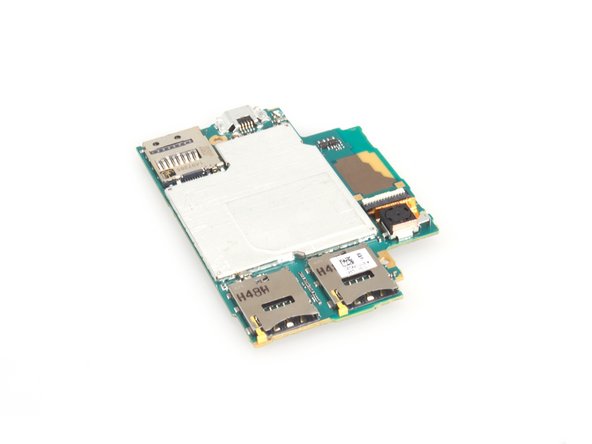
Remove two SIM card trays.
-
Heat the back cover to soften the adhesive sticker.
-
Place the suction cup and to open a gap from top side.
-
-
이 단계는 번역되지 않았습니다. 번역을 도와주십시오
-
Insert the guitar pick into the opening gap.
-
Slide the guitar pick to cut the adhesive sticker. Attention: when deal with the left side, the guitar pick would better go as the direction of the mark.
-
-
-
이 단계는 번역되지 않았습니다. 번역을 도와주십시오
-
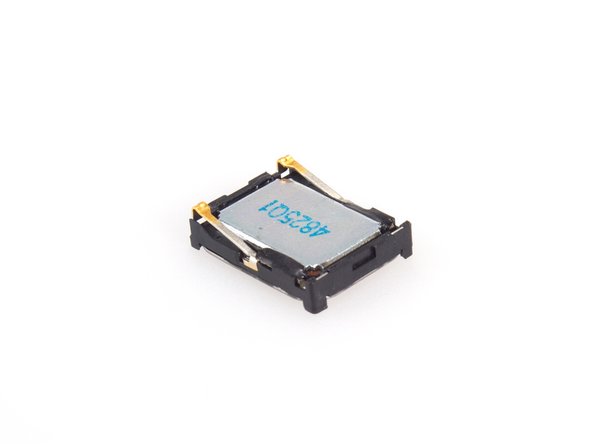
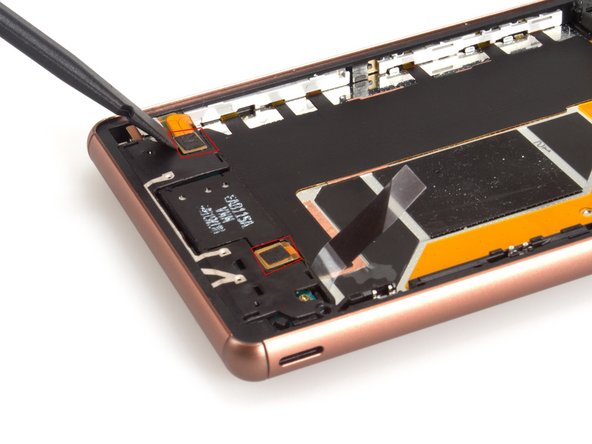
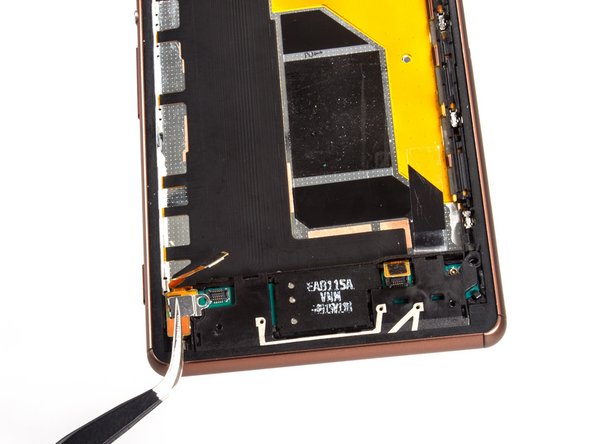
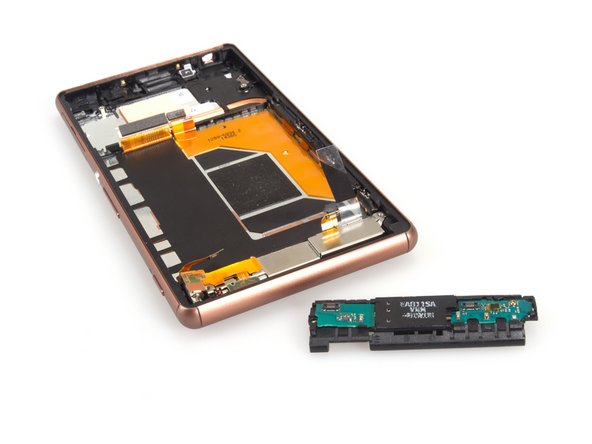
Remove that blocker beside the earpiece speaker at first.
-
And then you can pry up the earpiece speaker and remove it.
-
-
이 단계는 번역되지 않았습니다. 번역을 도와주십시오
-
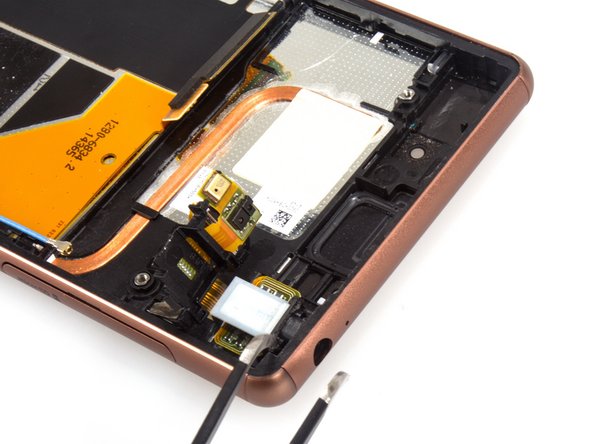
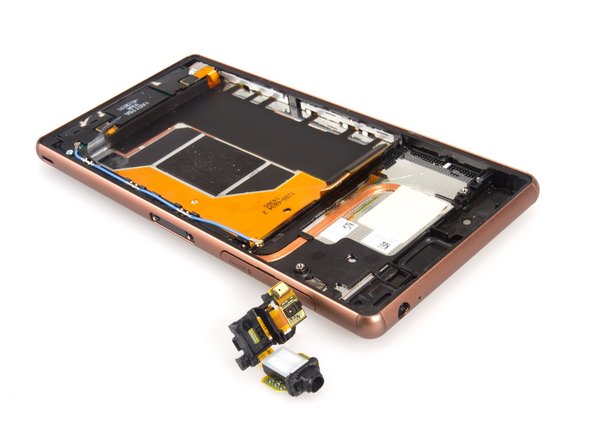
Pry to turn the flex cover on the earphone jack. But it's a part of the earphone jack assembly.
-
Cut the adhesive sticker between the earphone jack and midframe and remove the assembly.
-
-
이 단계는 번역되지 않았습니다. 번역을 도와주십시오
-
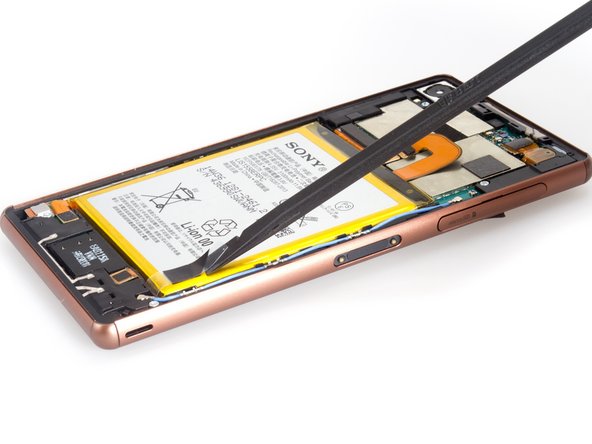
Twist off screws.
-
Release connectors.
-
Remove vibrator securing bracket.
-
-
이 단계는 번역되지 않았습니다. 번역을 도와주십시오
-
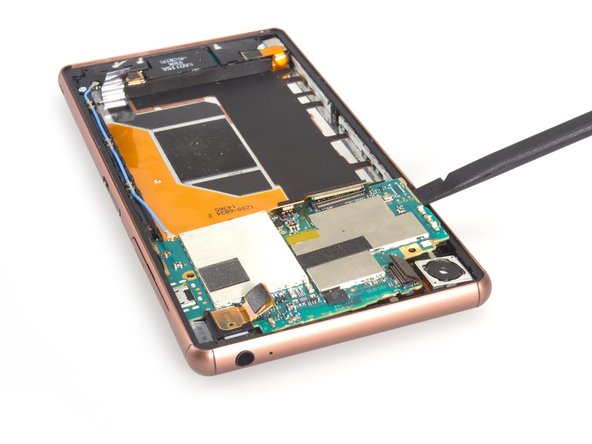
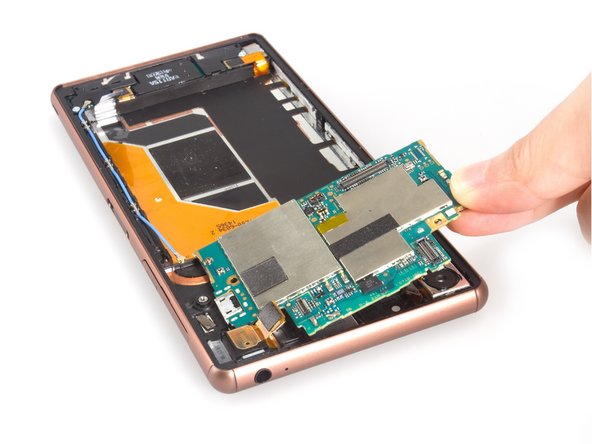
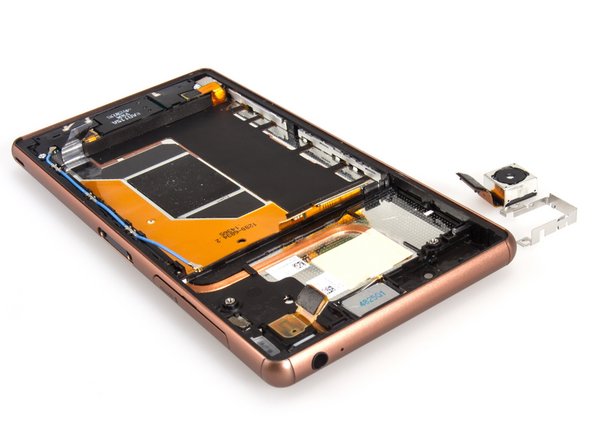
Remove loudspeaker assembly securing bracket. And there is no any adhesive.
-
Pry up and remove the loudspeaker assembly. No adhesive, too.
-


댓글 9개
Can you put it back together?
I dropped mine so I just want to take the battery out is it possibly to take it and then put it back in
hi.after changing my xperia z3 dual lcd 3 times.i hade a fluctuating and very week 3g and 4g signal.plz tell me where is the antenna located.i know that there is a flex and a board and antenna cover.what should i change.thanx
zein hamza - 답글
That's not a complete teardown. I would like to see the onboard chips and info's.