이 버전에는 잘못된 편집 사항이 있을 수 있습니다. 최신 확인된 스냅샷으로 전환하십시오.
필요한 것
-
이 단계는 번역되지 않았습니다. 번역을 도와주십시오
-
Heat up the back cover to soften the adhesive.
-
Place the suction cup to open a gap from top side, then insert guitar picks and slide it to cut the adhesive underneath.
-
Remove back cover.
-
-
이 단계는 번역되지 않았습니다. 번역을 도와주십시오
-
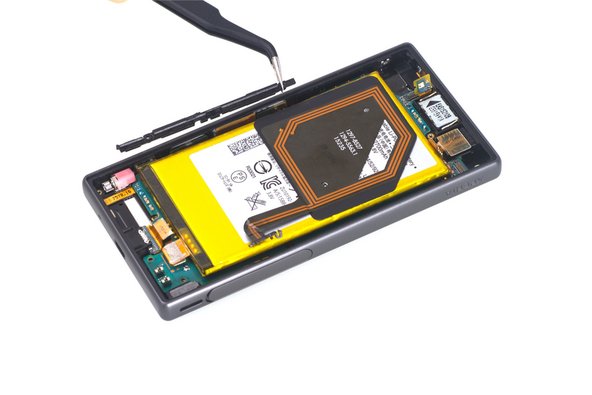
Remove all 10 Phillips screws.
-
Disconnect NFC clip and flashlight clip.
-
-
-
이 단계는 번역되지 않았습니다. 번역을 도와주십시오
-
Release charging port connector.
-
Remove plastic protective bar.
-
Pry up motherboard assembly from this side. There are three flex connectors connecting the motherboard underneath. So pry up the motherboard assembly gently.
-


다른 9명이 해당 안내서를 완성하였습니다.

댓글 4개
Hi great guide thank you, made it less daunting than I expected to repair my own phone, and cheaper than getting it repaired by someone else! Phone is as good as new, though I could probably do with some new adhesive, as the guitar picks mess it up a fair bit. You did mention including adhesive though so fair play!
@bernhard you don’t need to reseal anything apart from the back, although the camera flash does have a small amount of adhesive behind it when you lift that part up, though doesn’t seem to be messed up too much