필요한 것
-
이 단계는 번역되지 않았습니다. 번역을 도와주십시오
-
Heat up the back cover to soften the adhesive.
-
Place the suction cup to open a gap from top side, then insert guitar picks and slide it to cut the adhesive underneath.
-
Remove back cover.
-
-
-
이 단계는 번역되지 않았습니다. 번역을 도와주십시오
-
Release charging port connector.
-
Remove plastic protective bar.
-
Pry up motherboard assembly from this side. There are three flex connectors connecting the motherboard underneath. So pry up the motherboard assembly gently.
-
The motherboard may be attached to the case by a sticky pad near the charging connector. This can be dislodged by very carefully rotating the motherboard side to side, checking that the flex connectors aren't being stretched.
-
-
이 단계는 번역되지 않았습니다. 번역을 도와주십시오
-
Push audio jack out of the slot, no adhesive underneath.
-
Release LCD flex connector and main flex connector by flipping up the white locking tab of the connector base.
-
Separate motherboard assembly from middle housing.
-
-
이 단계는 번역되지 않았습니다. 번역을 도와주십시오
-
Remove audio jack flex by flipping up the white locking tab of the connector base.
-
-
이 단계는 번역되지 않았습니다. 번역을 도와주십시오
-
Remove flashlight flex by flipping up the white locking tab of the connector base.
-
-
이 단계는 번역되지 않았습니다. 번역을 도와주십시오
-
Remove microphone flex by flipping up the white locking tab of the connector base.
-
-
이 단계는 번역되지 않았습니다. 번역을 도와주십시오
-
Release battery connector and pull off adhesive tapes underneath.
-
Pry up and remove battery.
-
-
이 단계는 번역되지 않았습니다. 번역을 도와주십시오
-
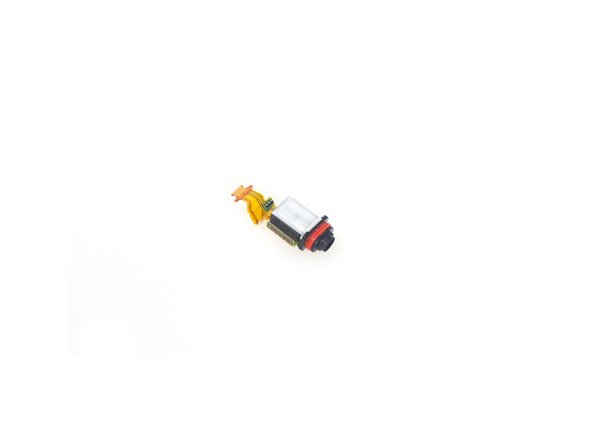
Loosen adhesive underneath vibration motor.
-
Loosen side button assembly. There is fingerprint scanner here, be careful.
-
Loosen noise canceling microphone.
-
-
이 단계는 번역되지 않았습니다. 번역을 도와주십시오
-
Loosen all adhesive underneath side button flex assembly.
-
Here is side button flex assembly. It’s integrated by vibration motor, side button connector, fingerprint scanner connector and noise-canceling mic.
-
-
이 단계는 번역되지 않았습니다. 번역을 도와주십시오
-
The sticker underneath LCD assembly is a little bit strong, so use heat gun to soften it for a few minutes.
-
Remove LCD with digitizer assembly carefully.
-


댓글 6개
The Rear Camers is what rattles if tapped on the corners.
Shan Memon - 답글
My Z5 Compact frame is broken near to the power button (the color part).
Is there any way to buy just the frame?
alexandren - 답글
What is the black layer behind the LCD (which can be seen through squares left for SoC heatsinks). Is it a graphite cooling shield just like it is in XZ Premium?