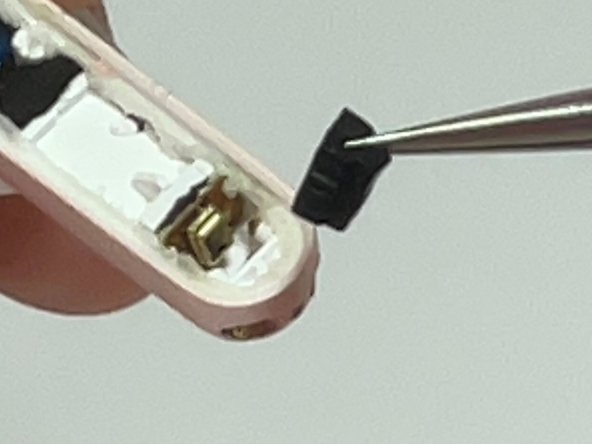
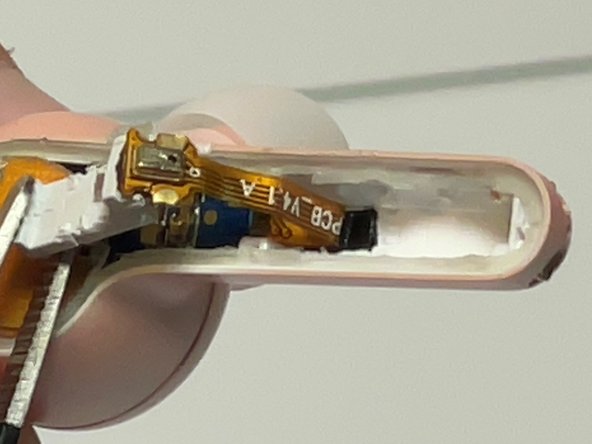
주요 콘텐츠로 건너뛰기

Soundcore Liberty Air Charging Pins Replacement

필요한 것

  1. Soundcore Liberty Air Charging Pins Replacement, Charging Pins: 1 단계, 이미지 1/2 Soundcore Liberty Air Charging Pins Replacement, Charging Pins: 1 단계, 이미지 2/2
    • Clean the charging pins and case with a cotton swab.

  2. Soundcore Liberty Air Charging Pins Replacement: 2 단계, 이미지 1/3 Soundcore Liberty Air Charging Pins Replacement: 2 단계, 이미지 2/3 Soundcore Liberty Air Charging Pins Replacement: 2 단계, 이미지 3/3
    • Remove the flat cover with a 1/16" punch tool by inserting it into the divot at the top of the earbud.

    • Be careful not to push too hard or upwards.

    • There is a lot of adhesive securing the cover, so using a mild heat will help loosen the adhesive.

  3. Soundcore Liberty Air Charging Pins Replacement: 3 단계, 이미지 1/3 Soundcore Liberty Air Charging Pins Replacement: 3 단계, 이미지 2/3 Soundcore Liberty Air Charging Pins Replacement: 3 단계, 이미지 3/3
    • Remove the black rubber cross from the bottom of the earbud with angled tweezers.

    • Do not poke through the rubber.

  4. Soundcore Liberty Air Charging Pins Replacement: 4 단계, 이미지 1/3 Soundcore Liberty Air Charging Pins Replacement: 4 단계, 이미지 2/3 Soundcore Liberty Air Charging Pins Replacement: 4 단계, 이미지 3/3
    • Remove the top rubber rectangle with angled tweezers.

  5. Soundcore Liberty Air Charging Pins Replacement: 5 단계, 이미지 1/3 Soundcore Liberty Air Charging Pins Replacement: 5 단계, 이미지 2/3 Soundcore Liberty Air Charging Pins Replacement: 5 단계, 이미지 3/3
    • Remove the white block from the earbud with blunt tweezers.

  6. Soundcore Liberty Air Charging Pins Replacement: 6 단계, 이미지 1/3 Soundcore Liberty Air Charging Pins Replacement: 6 단계, 이미지 2/3 Soundcore Liberty Air Charging Pins Replacement: 6 단계, 이미지 3/3
    • Push out charging pins with the 1/16" tool.

    • Pull out the rest of the charging pin with angled tweezers

  7. Soundcore Liberty Air Charging Pins Replacement: 7 단계, 이미지 1/2 Soundcore Liberty Air Charging Pins Replacement: 7 단계, 이미지 2/2
    • Replace charging pins with angled tweezers.

결론

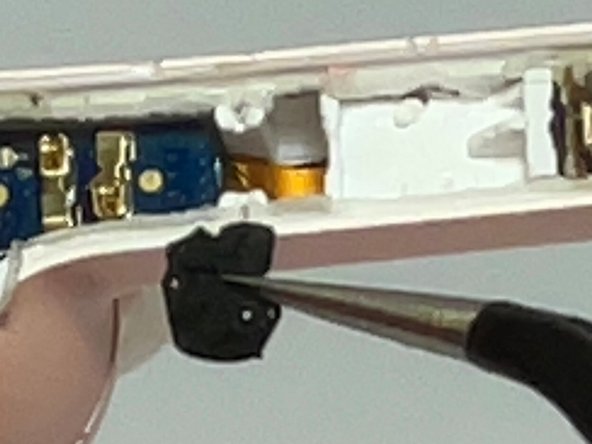
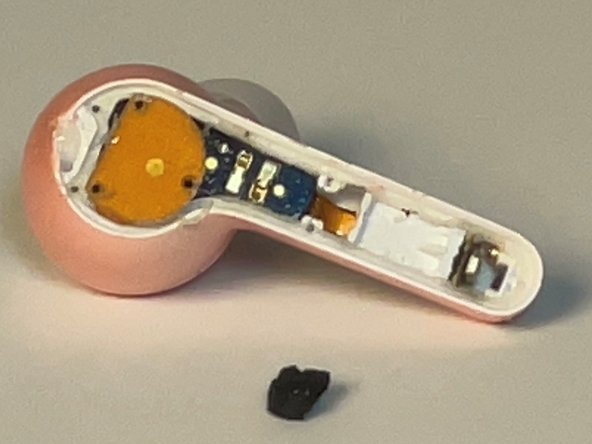
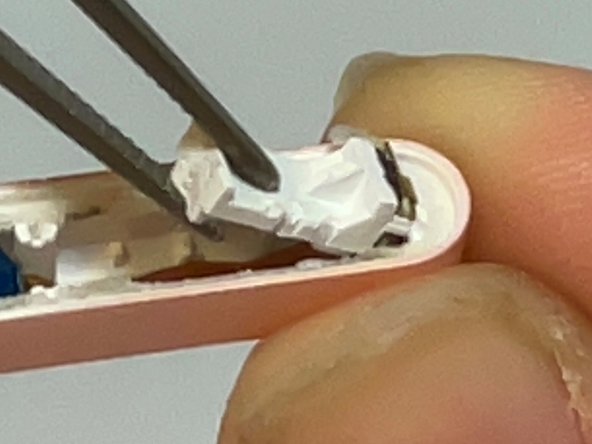
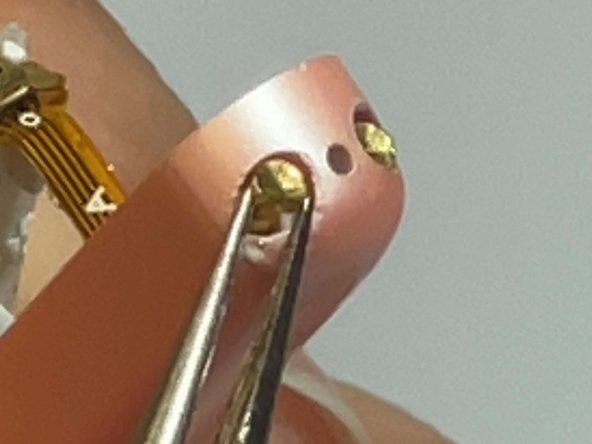
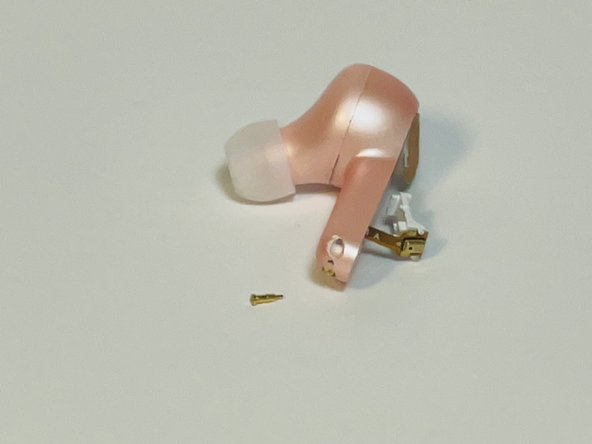
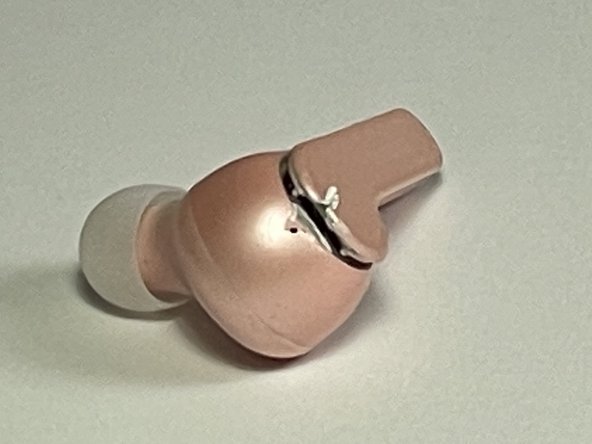
To reassemble your device, follow these instructions in reverse order. Make sure to add all black rubber squares back in the same position that you removed them in order for them to fit properly. Avoid getting any moisture in or around the device during the repair in order to prevent any type of water damage.

Alyssa Punturo

회원 가입일: 09/21/22

145 평판

안내서 1개 작성함

CSU Fullerton, Team 1-3, Bruce Fall 2022 CSU Fullerton, Team 1-3, Bruce Fall 2022 회원

CSUF-BRUCE-F22S1G3

2 회원들

안내서 1개 작성하였습니다

댓글 0개

댓글 쓰기

조회 통계:

24 시간 전: 1

7일 전: 3

30일 전: 34

전체 시간: 862