소개
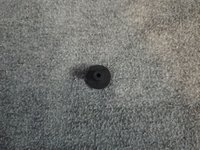
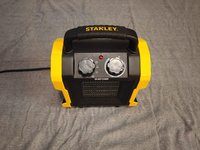
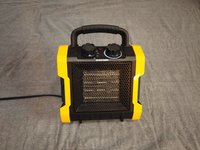
- If your Stanley ST-222A-120 Heavy-Duty Electric Heater isn’t working or turning on at all it might be because the pressure plate at the bottom of the device is broken or isn’t being pushed down all the way.
- The pressure plate and pressure sensor is a safety feature on the heater. If the pressure plate isn’t pushed down all the way the device thinks the heater may have tipped over and wont let itself turn on.
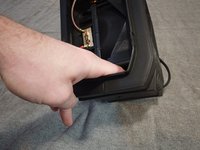
- Before using this guide, inspect the heater and make sure that the heaters pressure plate, on the bottom of the device, is there and that it is not damaged.
- You don’t need any tools for this guide, although on step 6 a pair of needle nose pliers may be helpful.
- Before beginning make sure to unplug the device so that you do not accidently electrocute yourself during the procedure.


결론
To reassemble your device, follow these instructions in reverse order.
다른 2명이 해당 안내서를 완성하였습니다.

팀

Linn Benton Community College, Team S1-G10, Johnson Fall 2020 Linn Benton Community College, Team S1-G10, Johnson Fall 2020 회원
LBCC-JOHNSON-F20S1G10
1 회원
안내서 3개를 작성함