이 버전에는 잘못된 편집 사항이 있을 수 있습니다. 최신 확인된 스냅샷으로 전환하십시오.
필요한 것
-
이 단계는 번역되지 않았습니다. 번역을 도와주십시오
-
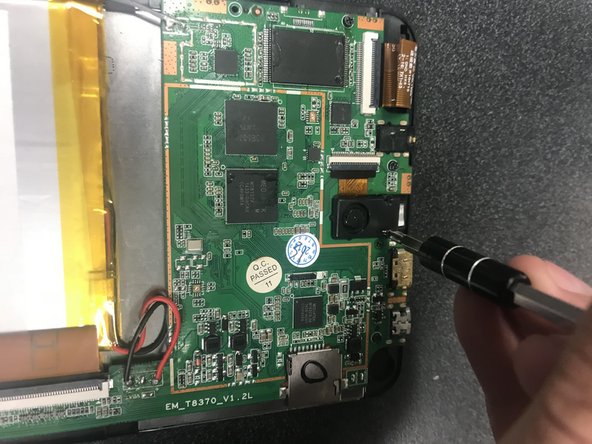
Use the J0 Phillps screw driver to unscrew the the two small screws on either side of the black peice.
-
-
이 단계는 번역되지 않았습니다. 번역을 도와주십시오
-
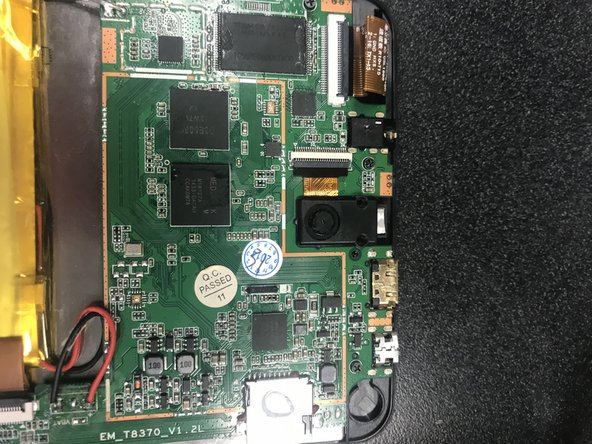
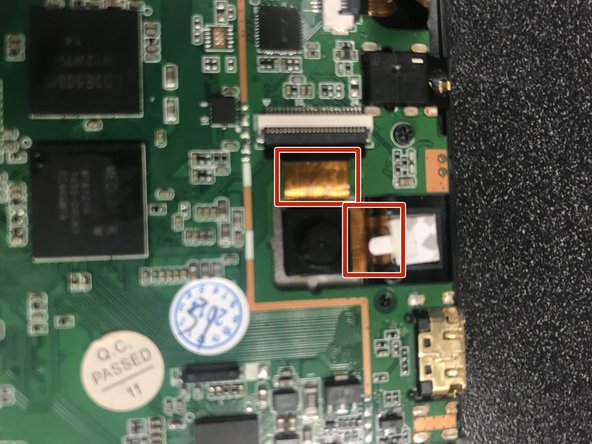
Pull the black camera cover off and locate the camera with two gold bands running off upwards and to the right.
-
-
-
이 단계는 번역되지 않았습니다. 번역을 도와주십시오
-
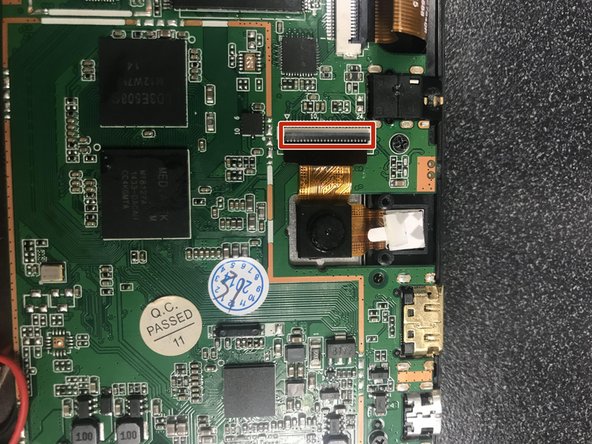
Follow the gold band the runs up towards the white and grey box connected to the green plate.
-
-
이 단계는 번역되지 않았습니다. 번역을 도와주십시오
-
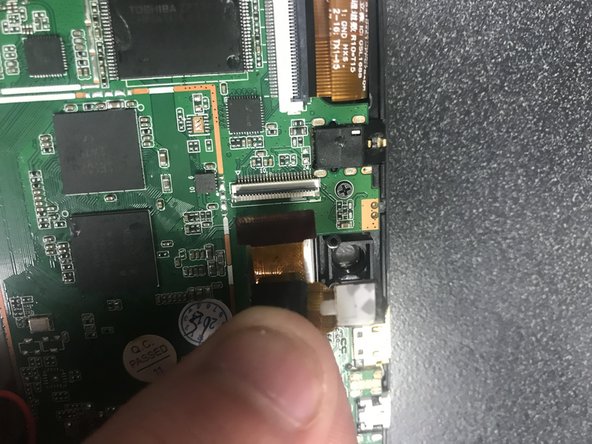
Use the wedge from step one to lift the grey box up.
-
The grey piece should open up towards you.
-
-
이 단계는 번역되지 않았습니다. 번역을 도와주십시오
-
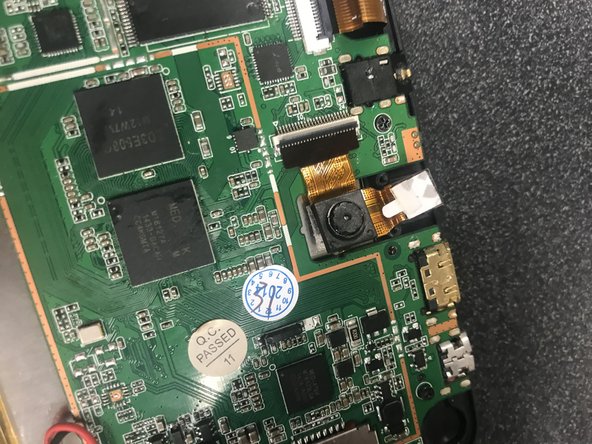
Next, Follow the second gold band to right to the white paper, or the front camra.
-
-
이 단계는 번역되지 않았습니다. 번역을 도와주십시오
-
Now, carefully remove the front camera with the same wedge from step one, six, and eight.
-
-
이 단계는 번역되지 않았습니다. 번역을 도와주십시오
-
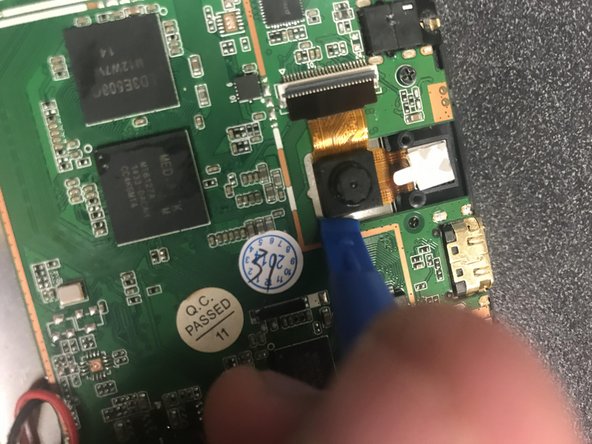
Use the same wedge used in step one and step six to go under the camera and carefully pry away from the sivler plating.
-
-
이 단계는 번역되지 않았습니다. 번역을 도와주십시오
-
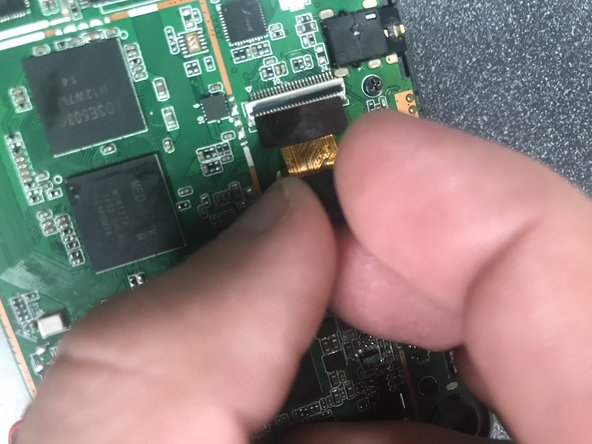
When the camera becomes loose, gental pull up and out to the right to silde the gold band out of the white and grey box.
-


