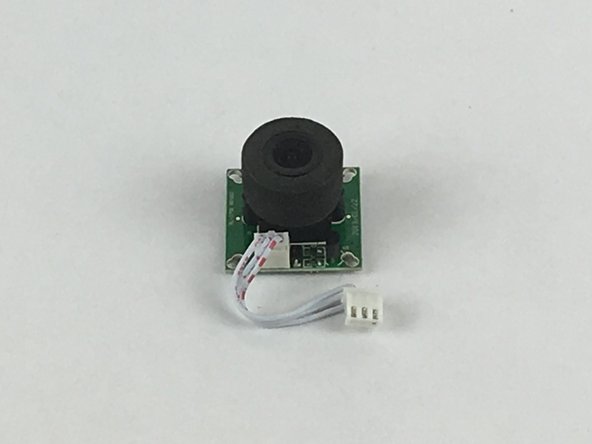
주요 콘텐츠로 건너뛰기

Swann Doorphone Video Intercom Camera Replacement

필요한 것

  1. Swann Doorphone Video Intercom Camera Replacement, Camera: 1 단계, 이미지 1/3 Swann Doorphone Video Intercom Camera Replacement, Camera: 1 단계, 이미지 2/3 Swann Doorphone Video Intercom Camera Replacement, Camera: 1 단계, 이미지 3/3
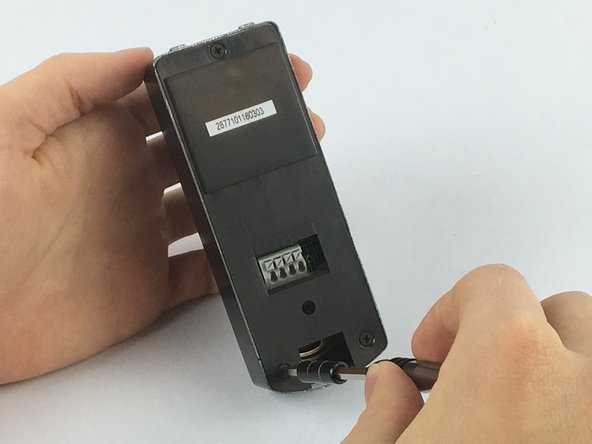
    • Flip the outdoor camera over so that the underside is facing up.

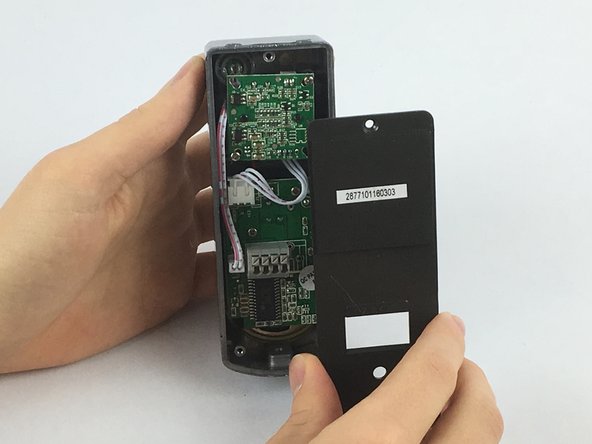
    • Remove the back cover by grabbing the sides of the camera and pulling towards your body.

  2. Swann Doorphone Video Intercom Camera Replacement: 2 단계, 이미지 1/2 Swann Doorphone Video Intercom Camera Replacement: 2 단계, 이미지 2/2
    • With the back cover of the outdoor camera off, press the first gray button, with blue wire underneath, down as shown in the picture.

    • While pressing the gray square button, remove the blue wire from the first opening under the button.

    • Be sure to remove the same color wire for the outdoor camera as was used for the indoor video intercom.

  3. Swann Doorphone Video Intercom Camera Replacement: 3 단계, 이미지 1/3 Swann Doorphone Video Intercom Camera Replacement: 3 단계, 이미지 2/3 Swann Doorphone Video Intercom Camera Replacement: 3 단계, 이미지 3/3
    • Remove the other wires using the same steps as the blue wire.

    • Using the JIS #0 screwdriver, remove the 2mm screws from the back plate.

    • Remove the back plate by pulling the plate away from the device.

  4. Swann Doorphone Video Intercom Camera Replacement: 4 단계, 이미지 1/2 Swann Doorphone Video Intercom Camera Replacement: 4 단계, 이미지 2/2
    • Using the JIS #0 screwdriver, remove the 1mm screws from behind the camera.

  5. Swann Doorphone Video Intercom Camera Replacement: 5 단계, 이미지 1/2 Swann Doorphone Video Intercom Camera Replacement: 5 단계, 이미지 2/2
    • Using one of the tweezers from the Precision Tweezers Set, gently place them around the wire connector attached to the camera.

    • Pull slowly in the direction of the cables until the connector is no longer attached.

  6. Swann Doorphone Video Intercom Camera Replacement: 6 단계, 이미지 1/2 Swann Doorphone Video Intercom Camera Replacement: 6 단계, 이미지 2/2
    • Remove the camera from the device.

결론

To reassemble your device, follow these instructions in reverse order.

Emily Stenke

회원 가입일: 02/14/18

555 평판

안내서 4개 작성하였습니다

USF Tampa, Team S2-G4, Eyestone Spring 2018 USF Tampa, Team S2-G4, Eyestone Spring 2018 회원

USFT-EYESTONE-S18S2G4

4 회원들

안내서 5개 작성하였습니다

조회 통계:

24 시간 전: 0

7일 전: 5

30일 전: 12

전체 시간: 637