이 버전에는 잘못된 편집 사항이 있을 수 있습니다. 최신 확인된 스냅샷으로 전환하십시오.
필요한 것
-
이 단계는 번역되지 않았습니다. 번역을 도와주십시오
-
Place the phone face down.
-
Slide the back cover panel away from you, until you hear a click.
-
Lift the back cover panel off.
-
-
이 단계는 번역되지 않았습니다. 번역을 도와주십시오
-
Place the plastic opening tool in the gap between the camera and battery.
-
Pry the battery up.
-
Remove the battery.
-
-
이 단계는 번역되지 않았습니다. 번역을 도와주십시오
-
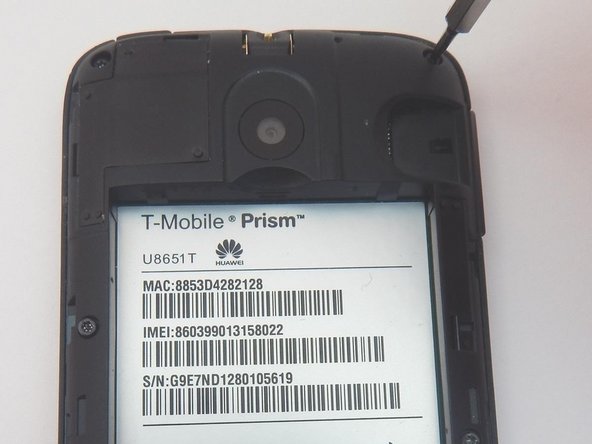
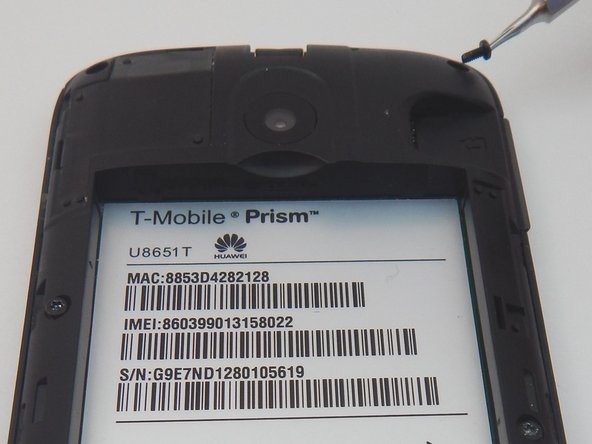
Locate the six 3mm torx screws holding the plastic mid frame in place.
-
Remove the six torx screws with the T4 torx screwdriver.
-
-
이 단계는 번역되지 않았습니다. 번역을 도와주십시오
-
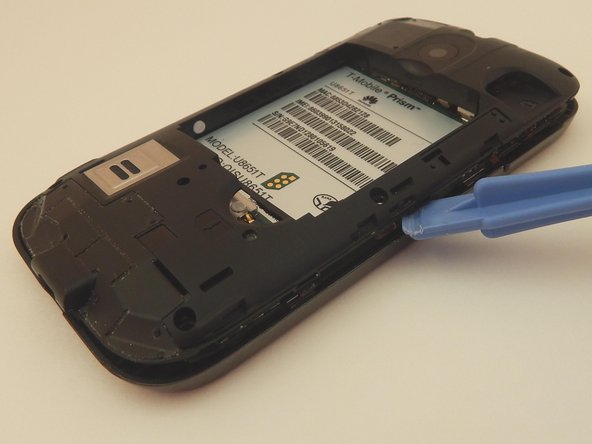
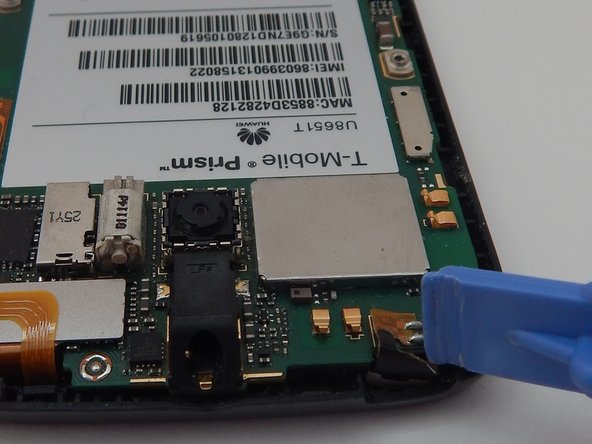
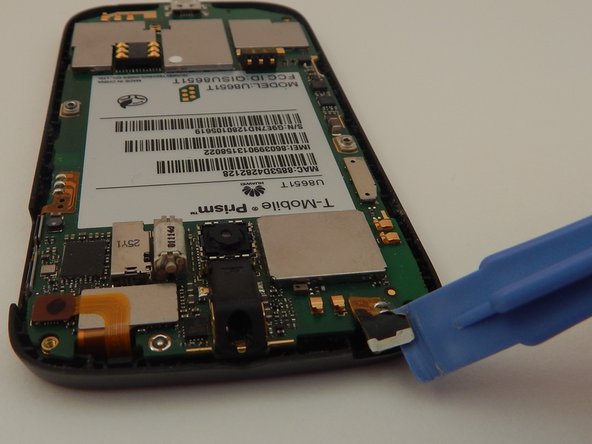
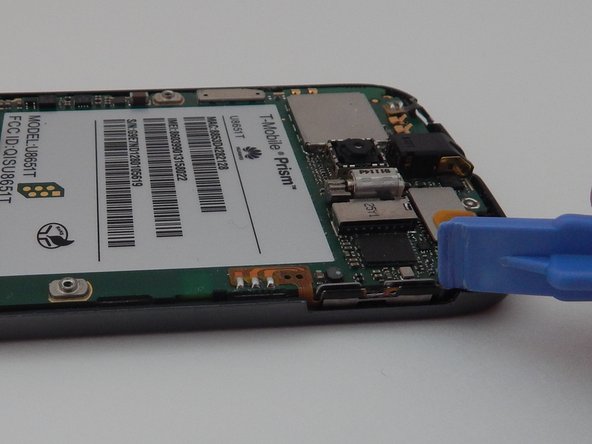
Place the plastic opening tool in the charging port.
-
Pry up to loosen the bottom edge of the plastic mid frame.
-
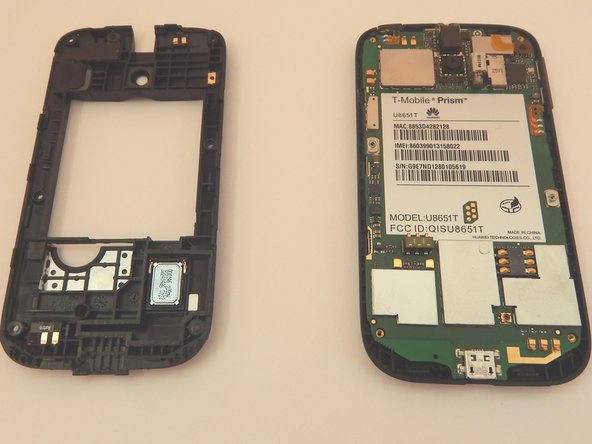
Work the plastic opening tool along the seam, until the the plastic mid frame is detached.
-
Remove the plastic mid frame.
-
-
-
이 단계는 번역되지 않았습니다. 번역을 도와주십시오
-
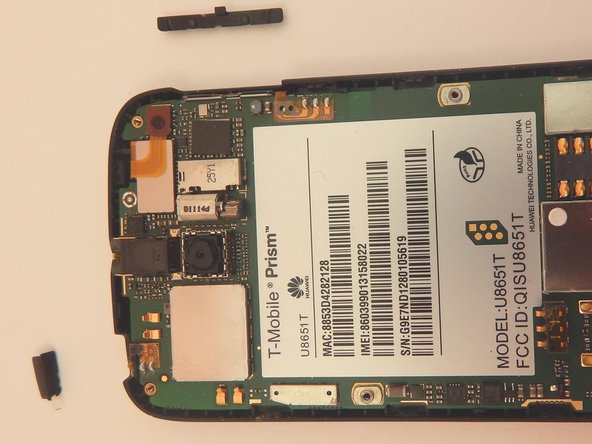
Locate the power button.
-
Locate the volume botton.
-
Slide the two buttons up and out of the phone.
-
-
이 단계는 번역되지 않았습니다. 번역을 도와주십시오
-
Locate the power button sensor strip.
-
Place the plastic opening tool under the sensor strip.
-
Pry the sensor strip up.
-
-
이 단계는 번역되지 않았습니다. 번역을 도와주십시오
-
Locate the volume button sensor strip.
-
Place the plastic opening tool under the sensor strip.
-
Pry the sensor strip up.
-
-
이 단계는 번역되지 않았습니다. 번역을 도와주십시오
-
Locate the outer screen connector.
-
Place the plastic opening tool under the screen connector.
-
Pry the screen connector up.
-
-
이 단계는 번역되지 않았습니다. 번역을 도와주십시오
-
Locate the inner screen connector.
-
Place the plastic opening tool under the screen connector.
-
Pry the screen connector up.
-
-
이 단계는 번역되지 않았습니다. 번역을 도와주십시오
-
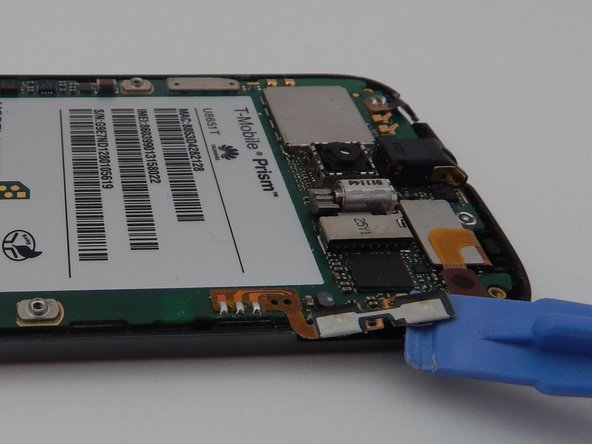
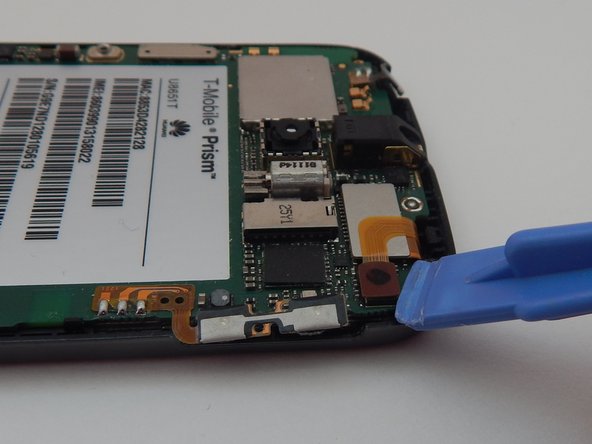
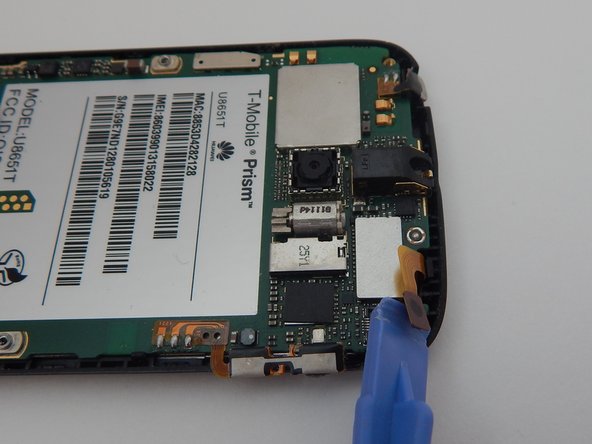
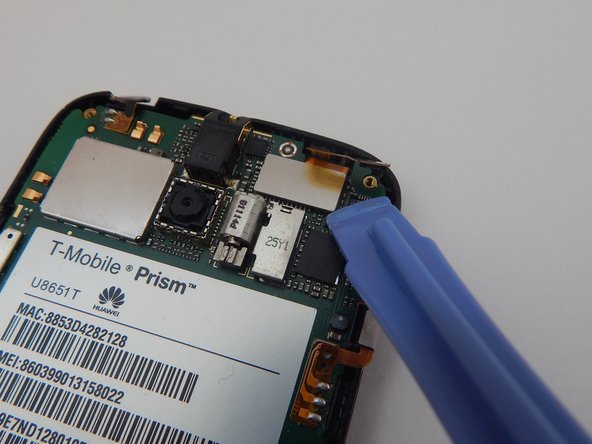
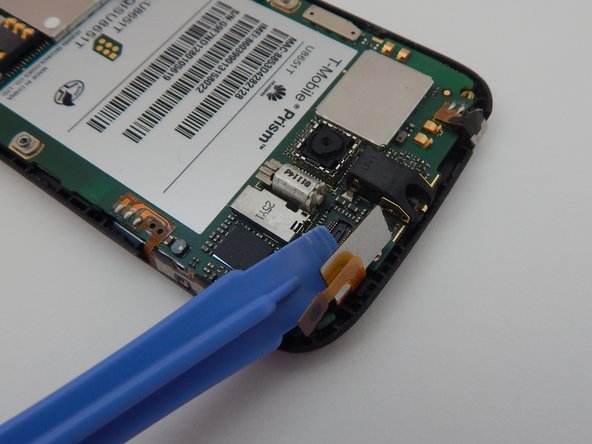
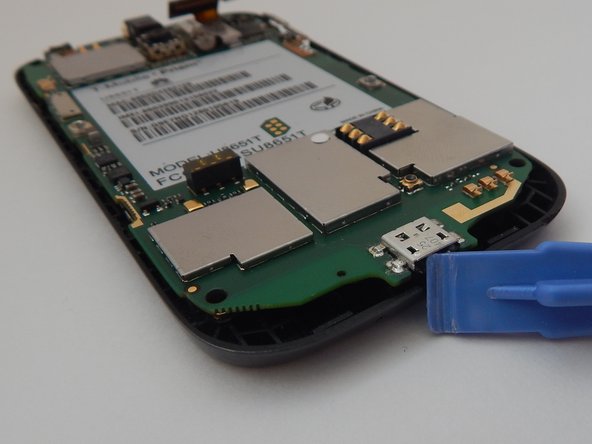
Place the plastic opening tool in the charger port.
-
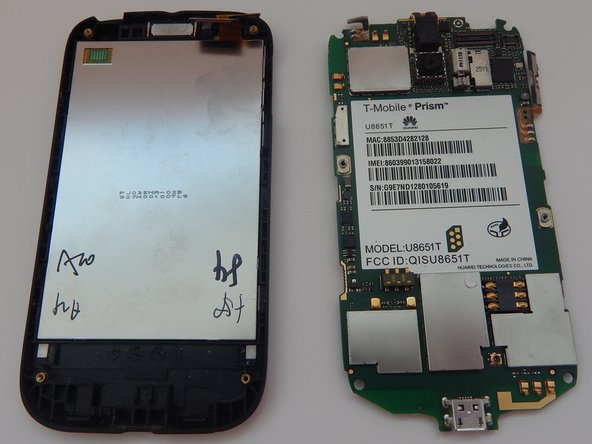
Pry the motherboard up.
-
Remove the motherboard.
-
-
이 단계는 번역되지 않았습니다. 번역을 도와주십시오
-
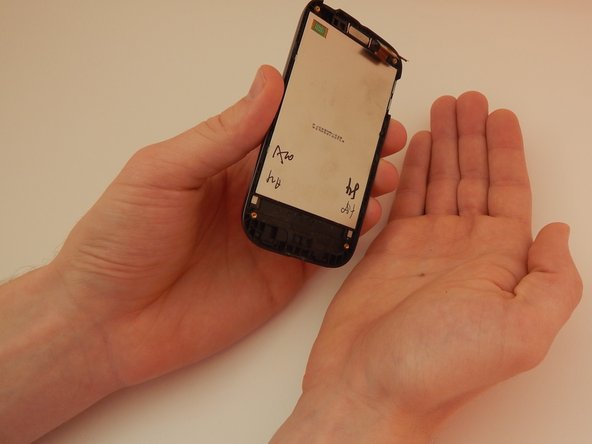
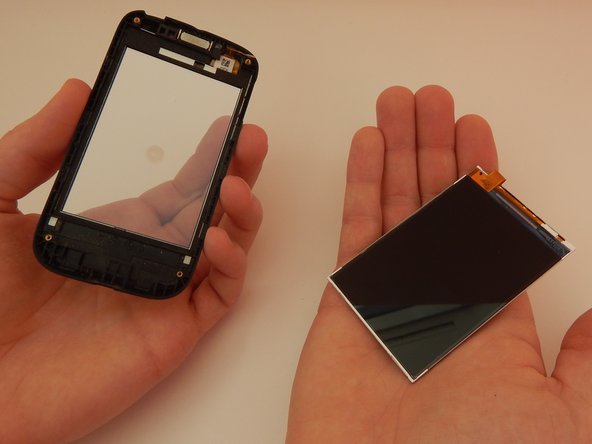
Pick up the front half of your phone with your left hand.
-
Slowly rotate the phone so the screen falls into your right hand.
-
다른 한 분이 해당 안내서를 완성하였습니다.


