이 버전에는 잘못된 편집 사항이 있을 수 있습니다. 최신 확인된 스냅샷으로 전환하십시오.
필요한 것
-
이 단계는 번역되지 않았습니다. 번역을 도와주십시오
-
The frame of the speaker needs to be unscrewed carefully and the frame need to be carefully taken off. This is to not damage the frame itself.
-
-
이 단계는 번역되지 않았습니다. 번역을 도와주십시오
-
The damaged speaker needs to be unscrewed from the cabinet. Then once it is unscrewed, left it up carefully but not too high as it is connected to the amp. Carefully disconnected the cables from the speaker and place the speaker on top of a table.
-
-
-
이 단계는 번역되지 않았습니다. 번역을 도와주십시오
-
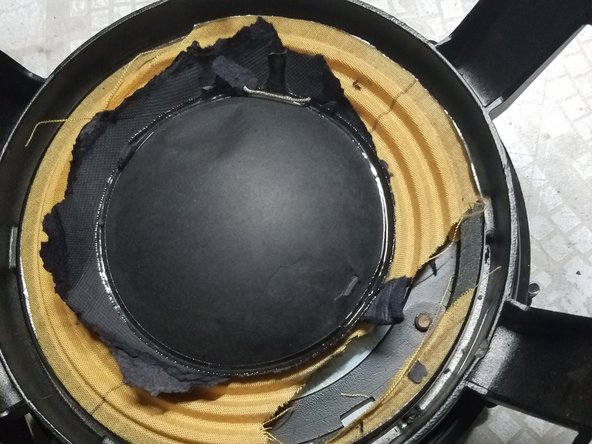
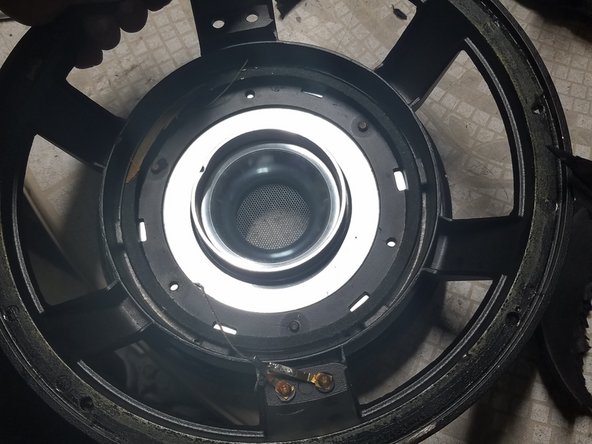
The cone, dust cone, gasket, suspension and surround have to be taken off by cutting it and slicing it out with a box cutter or exacto knife.
-
-
이 단계는 번역되지 않았습니다. 번역을 도와주십시오
-
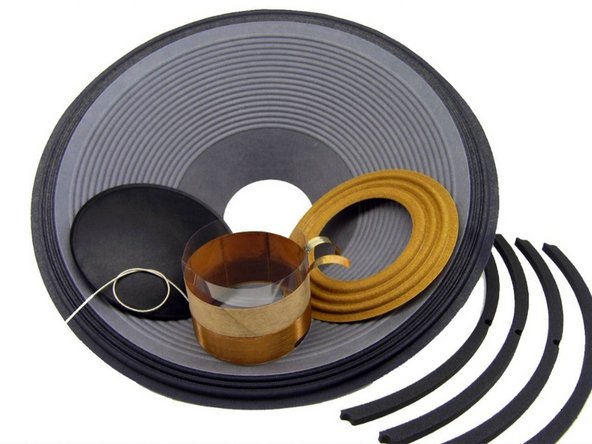
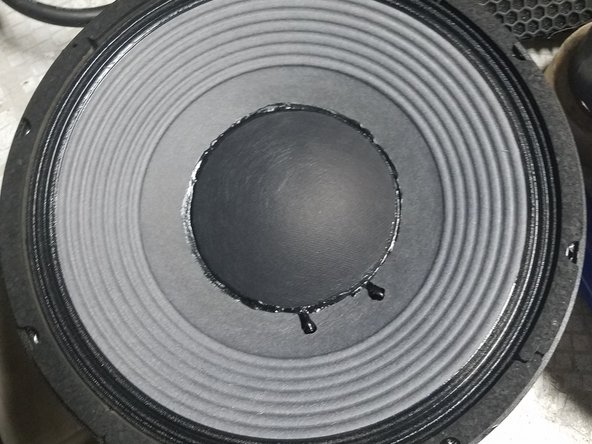
The original coil must have a can placed over it. The suspension must be glued with gorilla glue then the cone. The dust cover needs to be glued in the center of the speaker. The surround then has to be glued around the speakers frame, but carefully as there are screw holes that must be cleared from the surround. Wait for the glue to harden.
-
-
이 단계는 번역되지 않았습니다. 번역을 도와주십시오
-
Once the glue is hardened, connect the cables that originally were connected to the speaker. Then, screw the speaker onto the cabinet and screw the frame on to the cabinet and then you are done.
-