소개
The battery is a Lithium ion battery, and it runs at 2700mAh with 3.7 Volts. Beware of electrical shock because of this. You will need a soldering gun to complete this job, so be cautious while using this gun as it releases heat at very high temperatures.
필요한 것
-
-
First stick a thin metal wedge into the side of the tablet.
-
Now, pry the edge open gently in order to release the tabs around the device.
-
-
-
Once you have half of the tabs undone, proceed to use your fingers to pull apart the two halves of the tablet.
-
Now, set the two pieces next to each other gently.
-
-
-
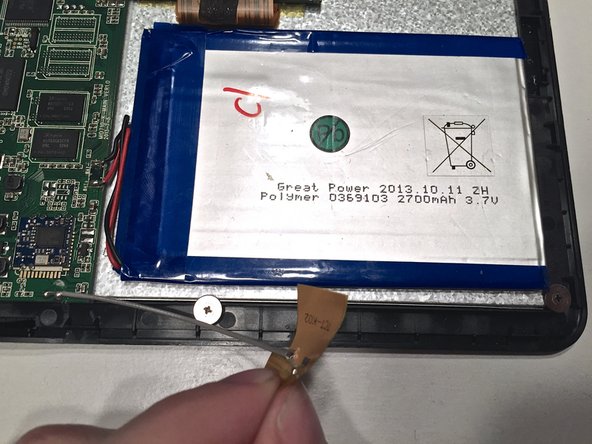
There is a small grey wire that runs from the green logic board to the battery. This is the ground wire, and it needs to be removed from the battery.
-
-
-
-
Have your soldering gun heated up. Next, gently touch the silver colored bulbs at the end of the wires. Once the solder has melted, pull the wire off the green motherboard. Then, do the same to the other wire.
-
-
-
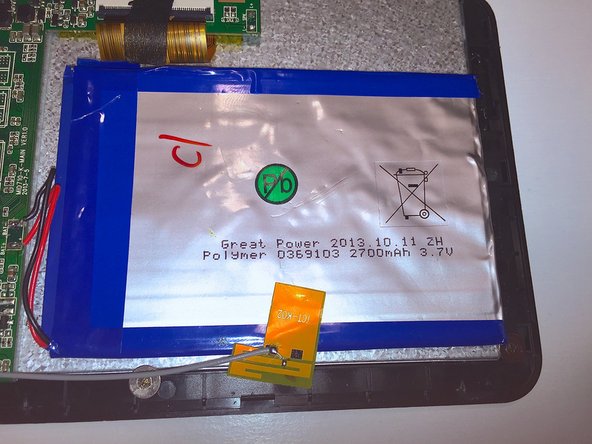
The old battery is attached to the back of the screen by adhesive double sided tape. This means you will have to peal the battery from the surface. A putty knife will be needed to get under the battery.
-
When reattaching the new battery, use new 2mm double sided tape to stick the battery back on the screen.
-
-
-
The old battery needs to be recycled. Make sure of proper disposal.
-
-
-
Now just follow the steps in reverse order in order to put your tablet back together.
-


To reassemble your device, follow these instructions in reverse order.
To reassemble your device, follow these instructions in reverse order.
다른 한 분이 해당 안내서를 완성하였습니다.