소개
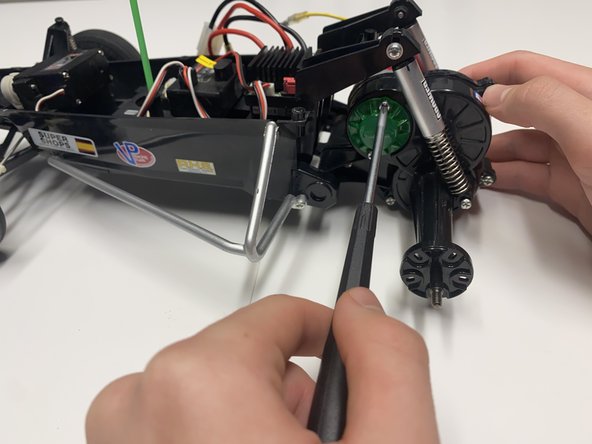
This step-by-step guide will help you replace your 380/540 motor in your 1/10 scale Tamiya Grasshopper.
If your buggy begins running slower than usual, or your motor is old and harming other components of your remote control buggy, it may be time for a motor replacement.
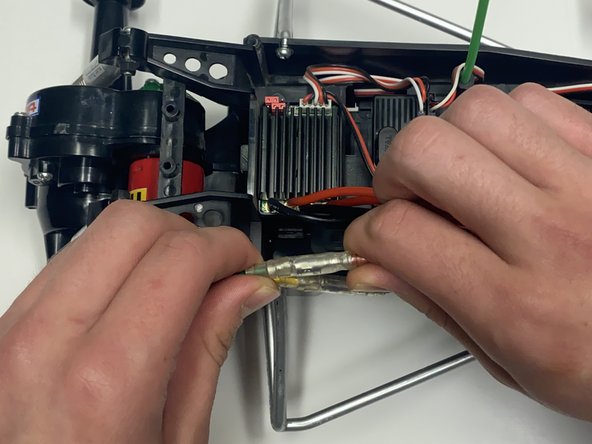
In Step 4, do not worry about connecting the wrong wires. They only control the direction of motion that the buggy can travel. You may need to test out the buggy once you are done with this guide to warm up your new motor and double check its performance.
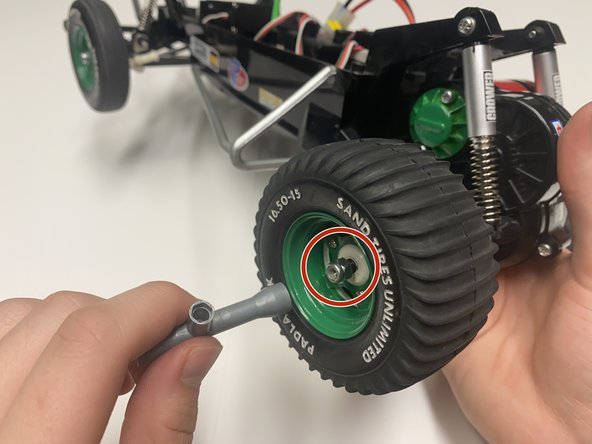
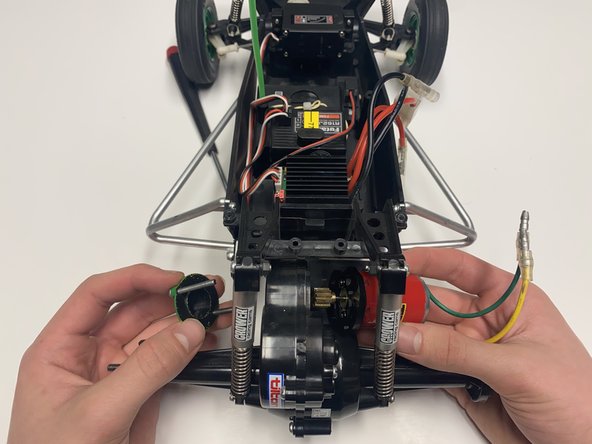
Make sure your buggy is disconnected from the battery before starting.
필요한 것


To reassemble your device, follow these instructions in reverse order.
To reassemble your device, follow these instructions in reverse order.
다른 한 분이 해당 안내서를 완성하였습니다.

팀

York University, Team B-8, Allen Fall 2022 York University, Team B-8, Allen Fall 2022 회원
YORK-ALLEN-F22SBG8
2 회원들
안내서 2개 작성하였습니다