주요 콘텐츠로 건너뛰기

이 안내서에는 최근 변경 사항이 더 있습니다. 최신 비검증 버전으로 전환하십시오.

Tara Handle Replacement

  1. Tara Handle Replacement, Handle: 1 단계, 이미지 1/1
    • Before performing any repairs, perform a water test on the pump by raising and lowering the handle a full 40 strokes. A properly performing pump will yield greater than 10 liters.

    • Use a Tara tool to loosen the jam nuts on either side of the pump.

    • The bolts do not need to be loosened or removed, only the nuts need to be loosened.

  2. Tara Handle Replacement: 2 단계, 이미지 1/3 Tara Handle Replacement: 2 단계, 이미지 2/3 Tara Handle Replacement: 2 단계, 이미지 3/3
    • Unscrew the lock bolts about half an inch.

    • The bolts do not need to be removed from the base.

  3. Tara Handle Replacement: 3 단계, 이미지 1/2 Tara Handle Replacement: 3 단계, 이미지 2/2
    • Pull the plastic bushing and handle straight up out of the pump.

    • If the bushing doesn't come up, loosen the lock bolts further.

  4. Tara Handle Replacement: 4 단계, 이미지 1/2 Tara Handle Replacement: 4 단계, 이미지 2/2
    • Lift up the handle and riser main until the joint between the two is at a comfortable height to work on.

  5. Tara Handle Replacement: 5 단계, 이미지 1/3 Tara Handle Replacement: 5 단계, 이미지 2/3 Tara Handle Replacement: 5 단계, 이미지 3/3
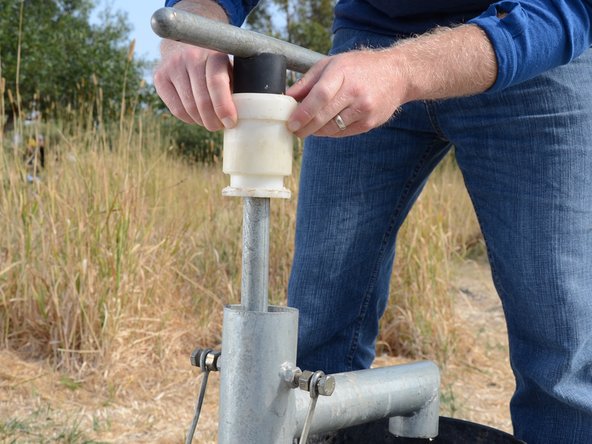
    • Loosen the jam nut beneath the pump handle using the Tara tool.

  6. Tara Handle Replacement: 6 단계, 이미지 1/2 Tara Handle Replacement: 6 단계, 이미지 2/2
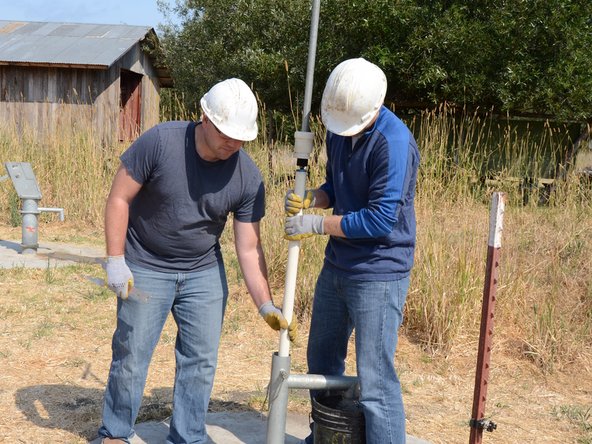
    • Unscrew the pump handle from the top of the riser main.

    • Make sure someone is tightly holding the lower portion of the riser main to prevent losing it down the well.

  7. Tara Handle Replacement: 7 단계, 이미지 1/2 Tara Handle Replacement: 7 단계, 이미지 2/2
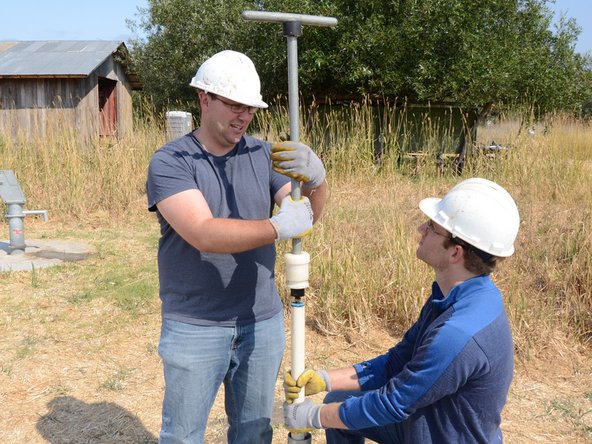
    • Lift and remove the handle from the pump. Store the handle in a sanitary place to prevent contamination.

결론

To reassemble your device, follow these instructions in reverse order.

Sam Goldheart

회원 가입일: 10/18/12

465,656 평판

안내서 538개 작성하였습니다

iFixit iFixit 회원

Staff

135 회원들

안내서 16,734개 작성하였습니다

댓글 0개

댓글 쓰기

조회 통계:

24 시간 전: 0

7일 전: 1

30일 전: 4

전체 시간: 203