주요 콘텐츠로 건너뛰기

Tascam Portastudio 05 Broken Play Switch

  1. Tascam Portastudio 05 Broken Play Switch, Tascam Portastudio 05 Broken Play Switch: 1 단계, 이미지 1/3 Tascam Portastudio 05 Broken Play Switch, Tascam Portastudio 05 Broken Play Switch: 1 단계, 이미지 2/3 Tascam Portastudio 05 Broken Play Switch, Tascam Portastudio 05 Broken Play Switch: 1 단계, 이미지 3/3
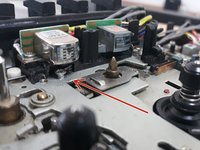
    • Remove the power buton

    • Remove the screws from back

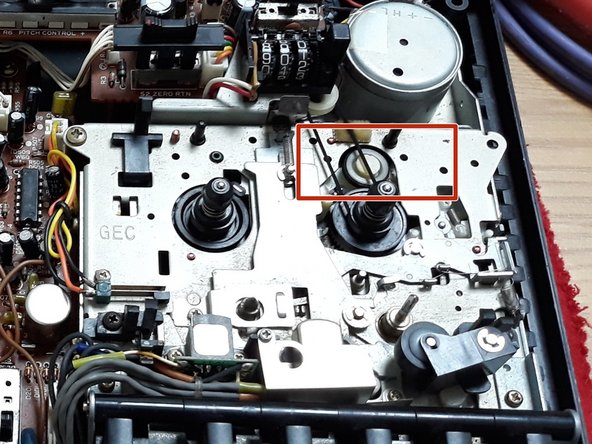
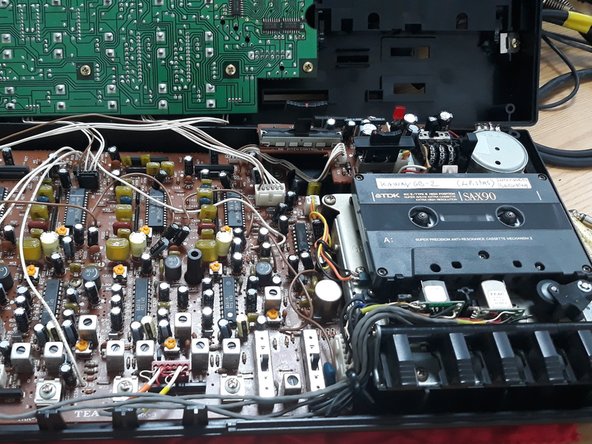
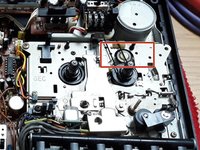
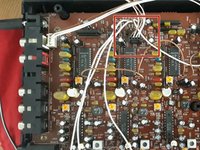
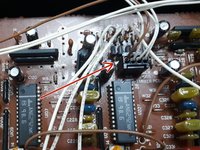
    • Gently open the device

  2. Tascam Portastudio 05 Broken Play Switch: 2 단계, 이미지 1/3 Tascam Portastudio 05 Broken Play Switch: 2 단계, 이미지 2/3 Tascam Portastudio 05 Broken Play Switch: 2 단계, 이미지 3/3
    • Remove this screws

    • The PLAY doesn't work because the plastic is broken. It holds a spring.

    • Gluing the plastic will not work, as spring pressure is too high.

  3. Tascam Portastudio 05 Broken Play Switch: 3 단계, 이미지 1/3 Tascam Portastudio 05 Broken Play Switch: 3 단계, 이미지 2/3 Tascam Portastudio 05 Broken Play Switch: 3 단계, 이미지 3/3
    • To make a good support for the spring, drill a hole on the metal and ADD a little screw.

  4. Tascam Portastudio 05 Broken Play Switch: 4 단계, 이미지 1/2 Tascam Portastudio 05 Broken Play Switch: 4 단계, 이미지 2/2
    • This little plug has the sound output of the four tracks split. You can add independent outputs from tape.

결론

Para remontagem de seu dispositivo, siga estas instruções na ordem inversa.

다른 한 분이 해당 안내서를 완성하였습니다.

Cafony

회원 가입일: 02/17/15

687 평판

안내서 4개 작성하였습니다

댓글 0개

댓글 쓰기

조회 통계:

24 시간 전: 1

7일 전: 4

30일 전: 21

전체 시간: 440