주요 콘텐츠로 건너뛰기

The Pave Parisien Speaker: Battery replacement

  1. The Pave Parisien Speaker: Battery replacement, Remove the grille: 1 단계, 이미지 1/2 The Pave Parisien Speaker: Battery replacement, Remove the grille: 1 단계, 이미지 2/2
    • Remove the protective grille by lifting one of the four corners.

  2. The Pave Parisien Speaker: Battery replacement, Opening the speaker: 2 단계, 이미지 1/2 The Pave Parisien Speaker: Battery replacement, Opening the speaker: 2 단계, 이미지 2/2
    • Remove the four screws using a m4 allen wrench

  3. The Pave Parisien Speaker: Battery replacement, Disconnecting the speaker: 3 단계, 이미지 1/2 The Pave Parisien Speaker: Battery replacement, Disconnecting the speaker: 3 단계, 이미지 2/2
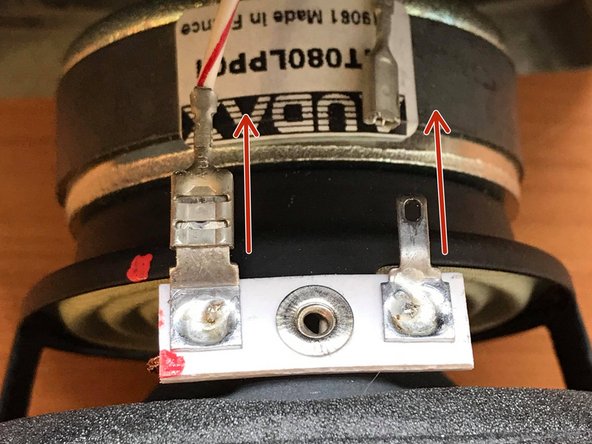
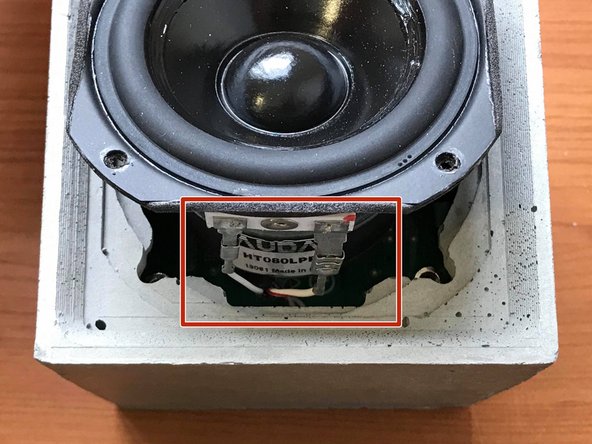
    • Pull the speaker out a bit to access the connectors

    • With light gentle movements, pull and disconnect the two cables from the connections

  4. The Pave Parisien Speaker: Battery replacement, Pulling the board out of the case: 4 단계, 이미지 1/2 The Pave Parisien Speaker: Battery replacement, Pulling the board out of the case: 4 단계, 이미지 2/2
    • Pull the speaker completely out of the recessed compartment

    • Gently pull the board behind the speaker out and place on a flat surface

  5. The Pave Parisien Speaker: Battery replacement, Disconnecting the battery: 5 단계, 이미지 1/3 The Pave Parisien Speaker: Battery replacement, Disconnecting the battery: 5 단계, 이미지 2/3 The Pave Parisien Speaker: Battery replacement, Disconnecting the battery: 5 단계, 이미지 3/3
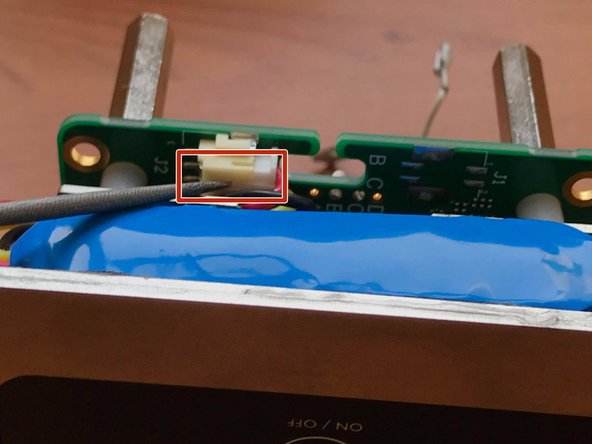
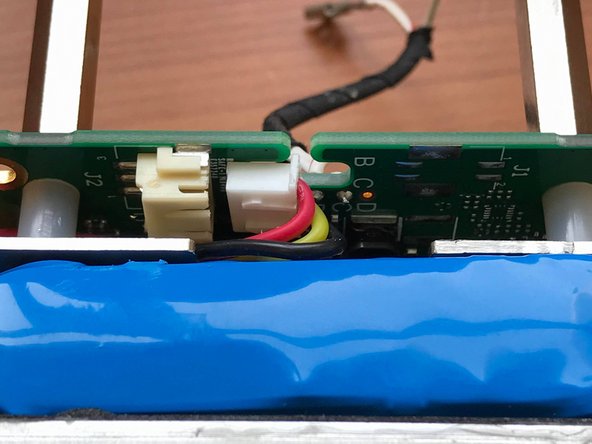
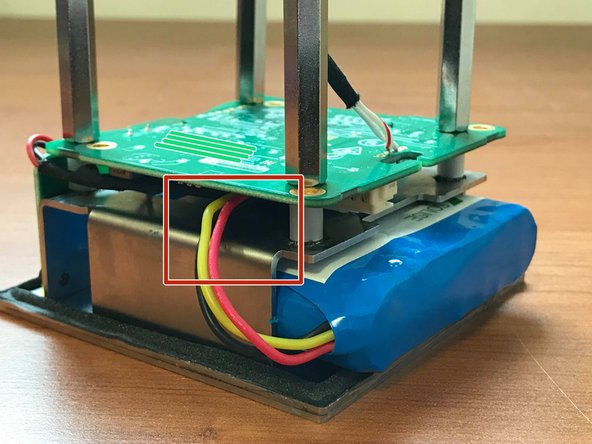
    • Disconnect the battery connector from the board

    • Be careful to pull gently using a small screwdriver to pry up the clip, then apply gentle pressure

  6. The Pave Parisien Speaker: Battery replacement, Removing the battery: 6 단계, 이미지 1/2 The Pave Parisien Speaker: Battery replacement, Removing the battery: 6 단계, 이미지 2/2
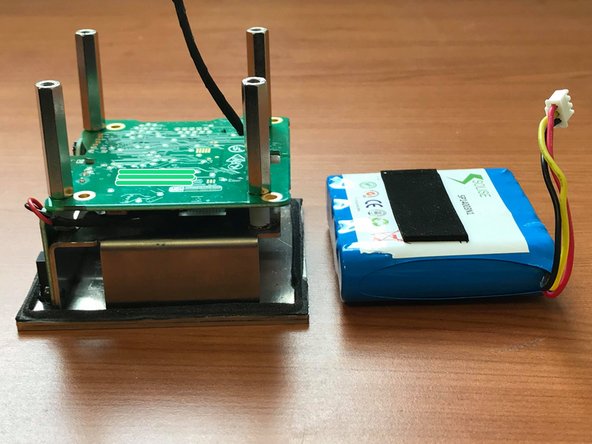
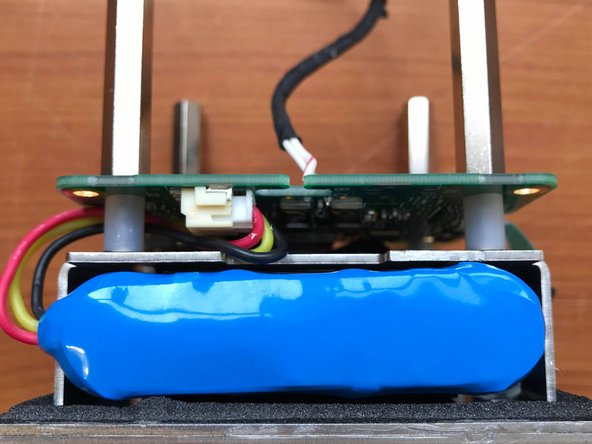
    • Push the battery from the rear towards the opening where the wires are

    • The battery is out and now it can be changed

  7. The Pave Parisien Speaker: Battery replacement, Connecting the new battery: 7 단계, 이미지 1/3 The Pave Parisien Speaker: Battery replacement, Connecting the new battery: 7 단계, 이미지 2/3 The Pave Parisien Speaker: Battery replacement, Connecting the new battery: 7 단계, 이미지 3/3
    • Pass the connector through the space that is indicated for it

  8. The Pave Parisien Speaker: Battery replacement, Reinstalling the board: 8 단계, 이미지 1/1
    • The texture of this surface is different from the other three faces. Orient yourself to how it fits correctly.

  9. The Pave Parisien Speaker: Battery replacement, Reinstalling the speaker: 9 단계, 이미지 1/2 The Pave Parisien Speaker: Battery replacement, Reinstalling the speaker: 9 단계, 이미지 2/2
    • First connect the positive and negative wires, then slide the speaker in the enclosure in the right orientation

  10. The Pave Parisien Speaker: Battery replacement, Finished: 10 단계, 이미지 1/1
    • Finally replace the speaker grill: your Pave Parisien is ready to use!

결승점

다음 번역가들에게 특별히 감사 드립니다:

fr en

100%

이 번역자 분들은 저희가 세상을 수리하는데 동참해 주시는 분입니다! 기여하시겠습니까?
번역 시작하기 ›

Le Pavé Parisien

회원 가입일: 04/03/19

529 평판

안내서 4개 작성하였습니다

댓글 0개

댓글 쓰기

조회 통계:

24 시간 전: 0

7일 전: 0

30일 전: 1

전체 시간: 136