주요 콘텐츠로 건너뛰기

ThinkPad L412 WLAN Card Replacement

필요한 것

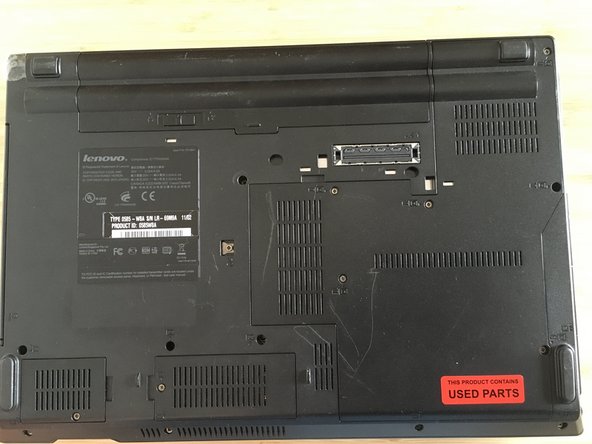
  1. ThinkPad L412 WLAN Card Replacement, WLAN Card: 1 단계, 이미지 1/1
    • Turn the laptop over.

  2. ThinkPad L412 WLAN Card Replacement: 2 단계, 이미지 1/1
    • Remove the battery, and make sure the device has no power.

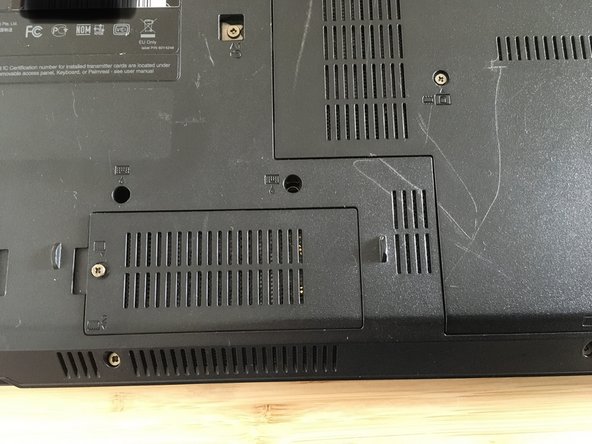
  3. ThinkPad L412 WLAN Card Replacement: 3 단계, 이미지 1/1
    • Then, with a J00 screwdriver, loosen the screws. Make sure the screws don't fall out!

  4. ThinkPad L412 WLAN Card Replacement: 4 단계, 이미지 1/2 ThinkPad L412 WLAN Card Replacement: 4 단계, 이미지 2/2
    • Then, use the opening tool to carefully open the lid (your fingernail can also work too).

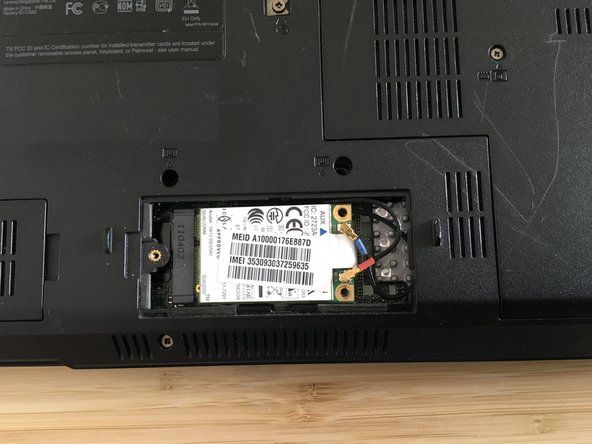
  5. ThinkPad L412 WLAN Card Replacement: 5 단계, 이미지 1/2 ThinkPad L412 WLAN Card Replacement: 5 단계, 이미지 2/2
    • Next, unscrew the two screws. Then, carefully use tweezers to remove the two cables from the connectors.

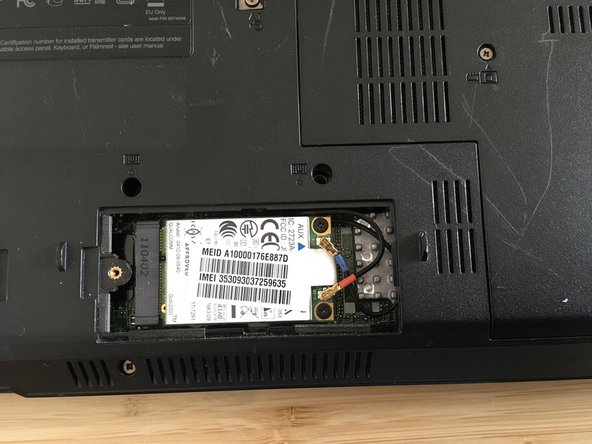
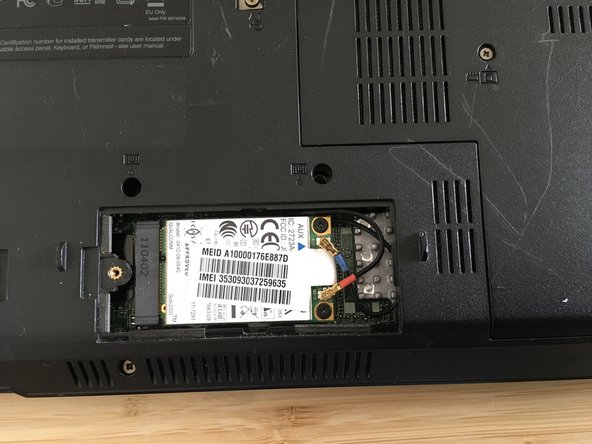
  6. ThinkPad L412 WLAN Card Replacement: 6 단계, 이미지 1/1
    • Now, remove the WLAN card.

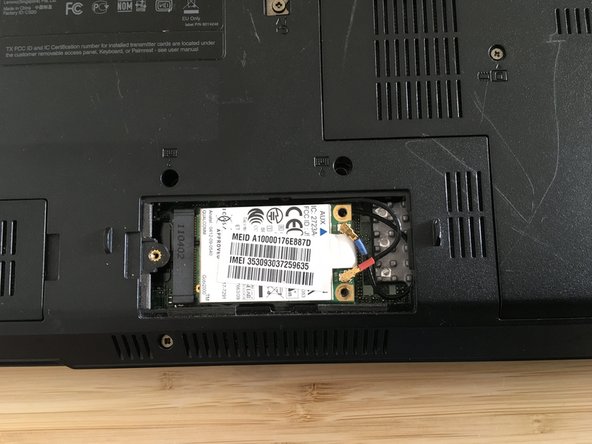
  7. ThinkPad L412 WLAN Card Replacement: 7 단계, 이미지 1/3 ThinkPad L412 WLAN Card Replacement: 7 단계, 이미지 2/3 ThinkPad L412 WLAN Card Replacement: 7 단계, 이미지 3/3
    • Next, install the new card, re-attach the cables to the connectors, and screw the two screws back into place.

  8. ThinkPad L412 WLAN Card Replacement: 8 단계, 이미지 1/3 ThinkPad L412 WLAN Card Replacement: 8 단계, 이미지 2/3 ThinkPad L412 WLAN Card Replacement: 8 단계, 이미지 3/3
    • Then, carefully set the lid back into place and screw the screws back in. Now, finally insert the battery and lock it back into place.

결론

Complete the steps in reverse order to re-assemble your device.

다른 한 분이 해당 안내서를 완성하였습니다.

다음 번역가들에게 특별히 감사 드립니다:

de en

100%

Brian IHLE님은 저희가 세상을 수리하는데 동참하신 분입니다! 기여하시겠습니까?
번역 시작하기 ›

Der Blaulicht Techniker

회원 가입일: 10/27/20

157 평판

안내서 1개 작성함

댓글 0개

댓글 쓰기

조회 통계:

24 시간 전: 0

7일 전: 1

30일 전: 12

전체 시간: 87