주요 콘텐츠로 건너뛰기
수리 커뮤니티 가입 - 계정 만들기

Thymio II Disassembly

필요한 것

  1. Thymio II Disassembly, Thymio II Disassembly: 1 단계, 이미지 1개 중 1개
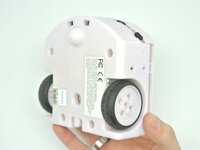
    • The Thymio II is composed of a top and bottom cover.

  2. Thymio II Disassembly, Unscrewing the top cover: 2 단계, 이미지 1개 중 1개
    • The first step is to remove the four M3x10 Phillips screws from the bottom of the Thymio chassis.

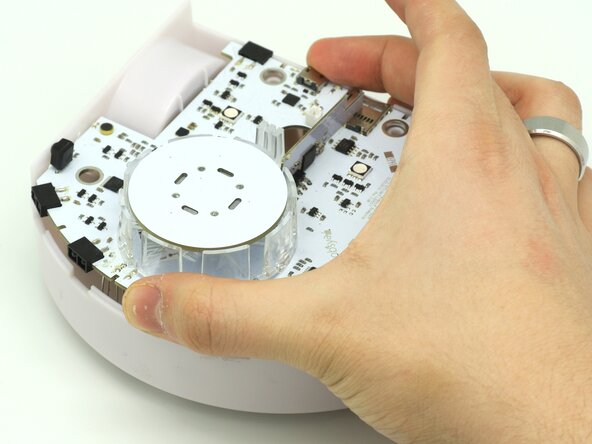
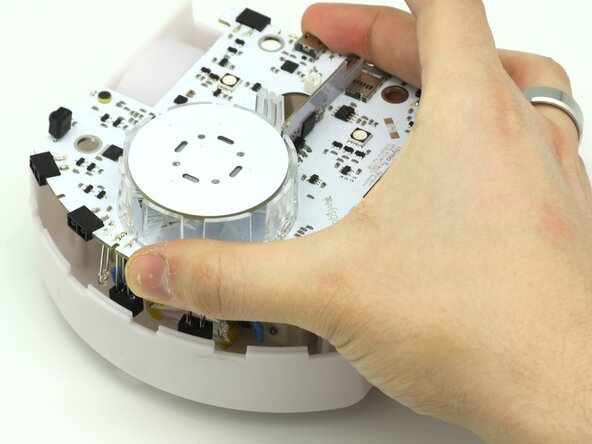
  3. Thymio II Disassembly, Opening up the Thymio II: 3 단계, 이미지 3개 중 1개 Thymio II Disassembly, Opening up the Thymio II: 3 단계, 이미지 3개 중 2개 Thymio II Disassembly, Opening up the Thymio II: 3 단계, 이미지 3개 중 3개
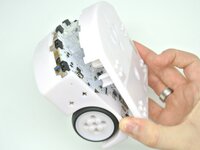
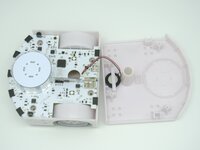
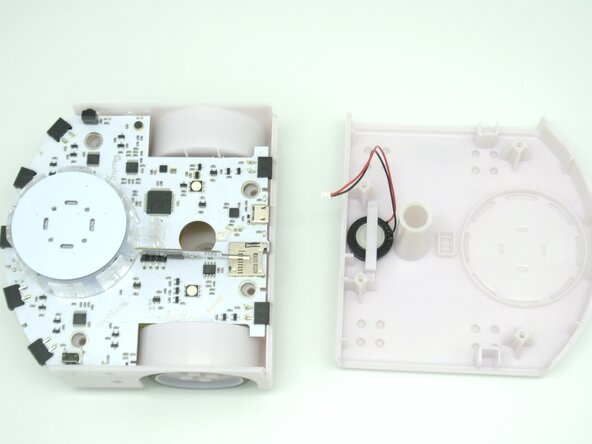
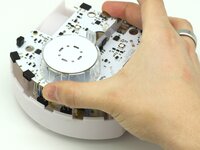
    • Once the screws are removed you simply need to turn the thymio around and pop the top part of the case.

    • Be careful as the speaker is still connect to the PCB so don't pull too hard.

  4. Thymio II Disassembly, Disconnecting the speaker: 4 단계, 이미지 3개 중 1개 Thymio II Disassembly, Disconnecting the speaker: 4 단계, 이미지 3개 중 2개 Thymio II Disassembly, Disconnecting the speaker: 4 단계, 이미지 3개 중 3개
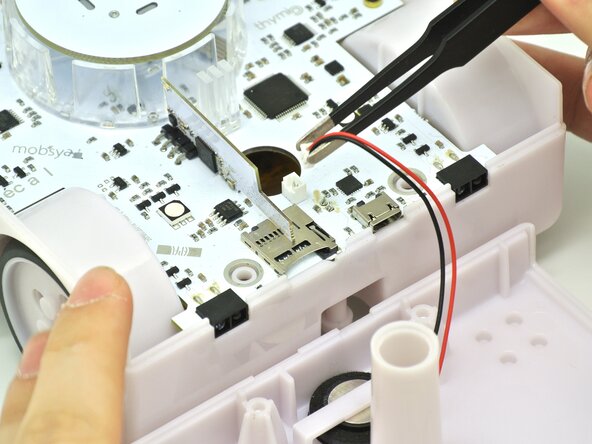
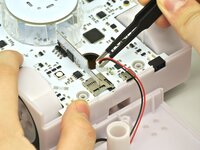
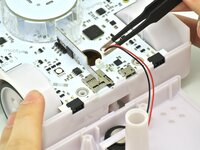
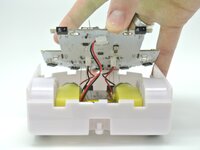
    • Now grab some tweezers or with your fingers disconnect the speaker cable. You should now have two seperate pieces, the top case and the bottom one.

  5. Thymio II Disassembly, Removing the PCB: 5 단계, 이미지 3개 중 1개 Thymio II Disassembly, Removing the PCB: 5 단계, 이미지 3개 중 2개 Thymio II Disassembly, Removing the PCB: 5 단계, 이미지 3개 중 3개
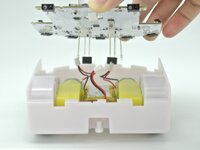
    • To remove the PCB, take it between your hands or with one finger in the pen hole.

    • Tilt and lift the PCB.

    • Be careful as the battery and motor cables are still attached.

  6. Thymio II Disassembly, Removing motor and battery cables: 6 단계, 이미지 2개 중 1개 Thymio II Disassembly, Removing motor and battery cables: 6 단계, 이미지 2개 중 2개
    • After lifting the PCB, carefully remove the cables one by one with tweezers or your fingers.

  7. Thymio II Disassembly, Removing the wheels: 7 단계, 이미지 2개 중 1개 Thymio II Disassembly, Removing the wheels: 7 단계, 이미지 2개 중 2개
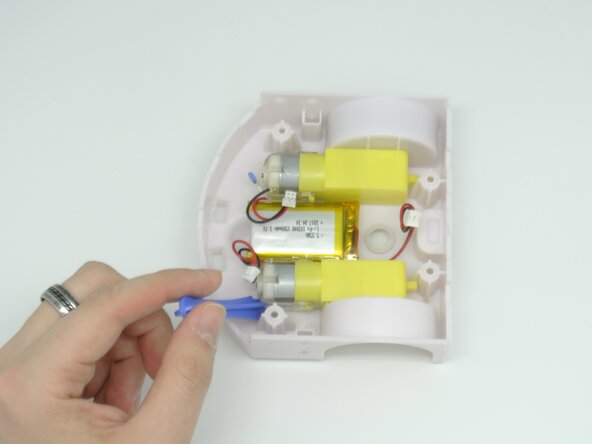
    • Now that the PCB is out of the way, we can see the motors and the battery.

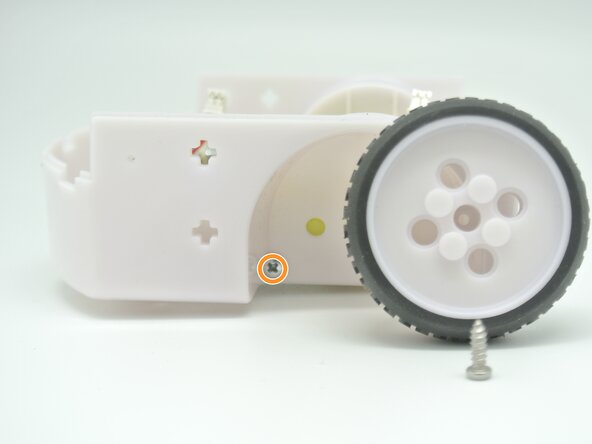
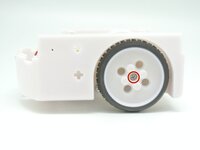
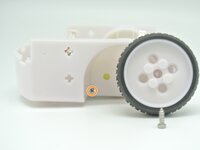
    • First we need to remove the main M2x8 Phillips screw that holds the wheel.

    • This will reveal the M3x20 Phillips screw that holds the motor to the chassis which needs to be removed in order to remove the motors.

  8. Thymio II Disassembly, Removing the motors: 8 단계, 이미지 3개 중 1개 Thymio II Disassembly, Removing the motors: 8 단계, 이미지 3개 중 2개 Thymio II Disassembly, Removing the motors: 8 단계, 이미지 3개 중 3개
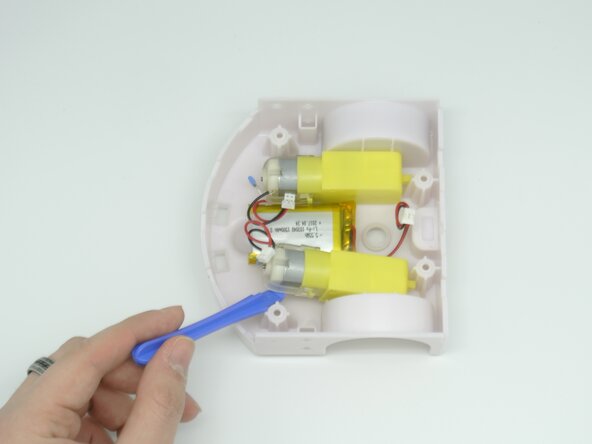
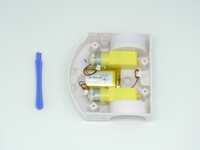
    • Now that the motors are free, we can simply take a prying tool and twist the motor free.

    • The motor axle is still sticking out the chassis so don't force it out if you feel some resistance.

  9. Thymio II Disassembly, Removing the battery: 9 단계, 이미지 2개 중 1개 Thymio II Disassembly, Removing the battery: 9 단계, 이미지 2개 중 2개
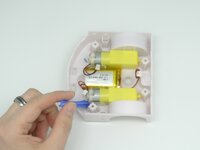
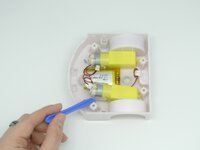
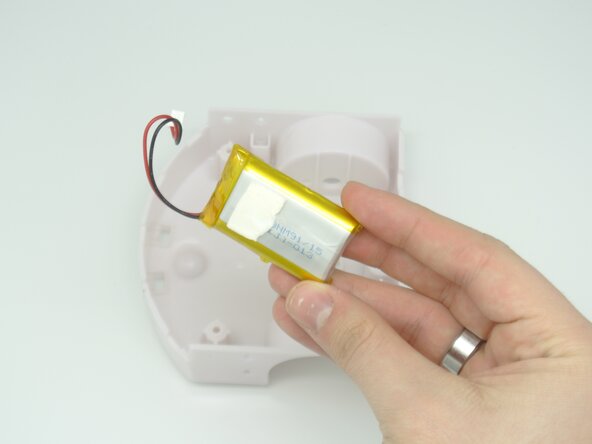
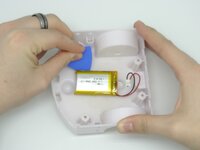
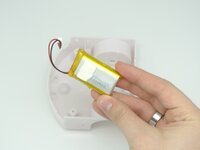
    • The battery is glued to the chassis with an adhesive pad. To remove the battery, use a prying tool to get under the adhesive pad and remove it.

    • Only use the prying tool on the adhesive pad, not the battery itself.

  10. Thymio II Disassembly, Finished disassembly: 10 단계, 이미지 1개 중 1개
    • This concludes the Thymio II assembly as shown here with all its parts.

결승점

다른 2명이 해당 안내서를 완성하였습니다.

작성자

2다른 기여자 명과 함께

Alexandre Aires Viegas

회원 가입일: 03/07/25

1,686 평판

안내서 5개를 작성함

0가이드 댓글

댓글 쓰기

조회 통계:

지난 24시간: 1

지난 7일: 10

지난 30일: 65

전체 시간: 674