소개
This repair is simple, but the pieces are delicate. Complete the repair on a safe and secure surface with good lighting. Beware of bendable pieces that can break if too much force is applied.
필요한 것
-
-
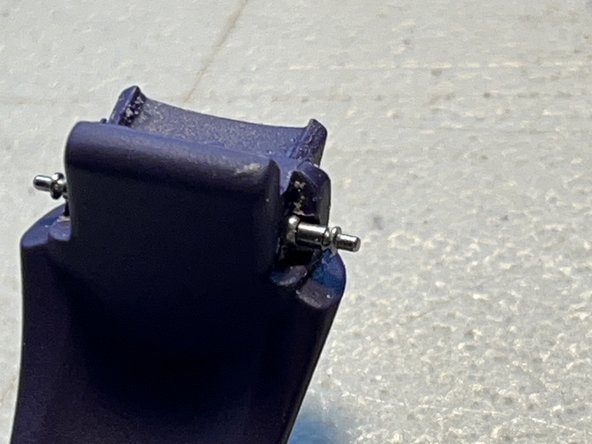
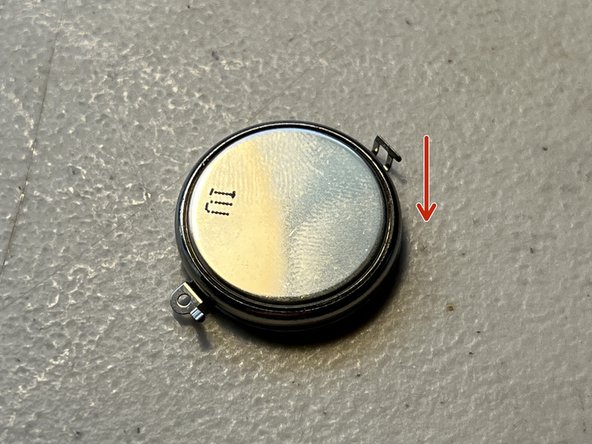
Use small flat tool such as a Flathead screwdriver to press the metal "spring bars" inward, one at a time, to release the wrist-band from the "Lugs."
-
Repeat first step on opposite side.
-
-
-
Remove screws the 4 screws using #000 Philips Bit.
-
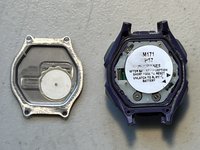
Carefully remove back-plate, and lay it on its back.
-
-
-
-
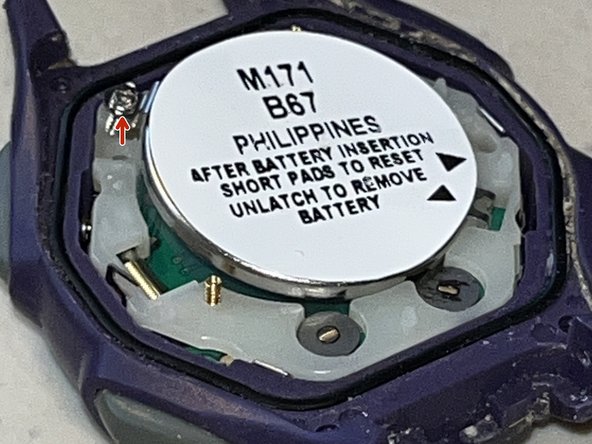
Use JIS #000 Bit to unscrew the screw that secures the 2025 coin-cell battery underneath the white sticker.
-
Remove the screw from the eyelet, and place it to the side in a safe place.
-
-
-
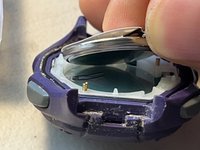
Carefully lift contact-bracket up and peel dead battery off, for recycling.
-
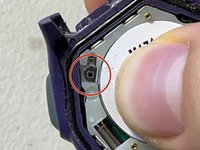
Unlatch the empty contact-bracket by gently lifting the bracket up, off, and away from the plastic knuckle that is holding it onto the body of the watch.
-
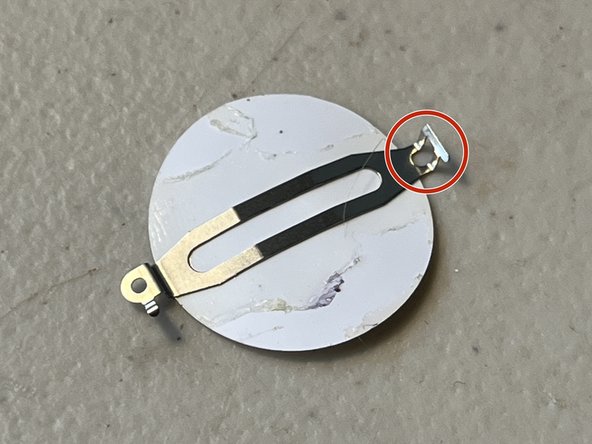
Place contact-bracket face-up on a secure surface.
-
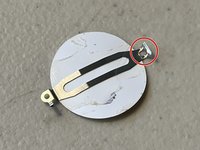
Place the positive(+) side of the new battery facing down on the contact-bracket.
-
-
-
Carefully replace contact-bracket by hanging the metal latch over the plastic knuckle.
-
Tighten screw.
-
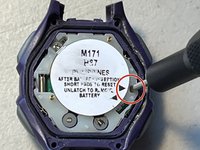
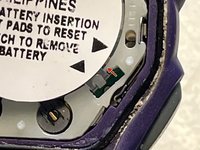
Reset system settings by touching both gold pins with a conductive tool, such as the tip of a small Flathead screwdriver, or tweezers.
-
-
-
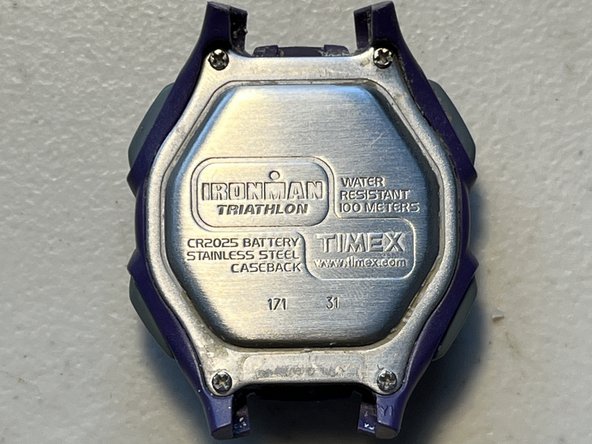
Replace back-plate with logo facing same orientation as watch-face.
-
Replace and tighten screws from Step 2 with Bit #000, starting diagonally to create maximum water-resistance.
-


To reassemble your device, follow these steps in reverse, but remember to replace screws in a diagonal order to create a tight seal, and improve water-resistance.
To reassemble your device, follow these steps in reverse, but remember to replace screws in a diagonal order to create a tight seal, and improve water-resistance.