주요 콘텐츠로 건너뛰기

Tivax MiTraveler 10Q-8 Rear Case Replacement

필요한 것

  1. Tivax MiTraveler 10Q-8 Rear Case Replacement, Rear Case: 1 단계, 이미지 1/2 Tivax MiTraveler 10Q-8 Rear Case Replacement, Rear Case: 1 단계, 이미지 2/2
    • With the device face down, slide the charging port cover off on the left side of device.

  2. Tivax MiTraveler 10Q-8 Rear Case Replacement: 2 단계, 이미지 1/1
    • Locate a Phillips 2.88mm screw at the charging port.

  3. Tivax MiTraveler 10Q-8 Rear Case Replacement: 3 단계, 이미지 1/1
    • Use a PH000 Philips head screwdriver to remove screw.

    • Remember lefty loosey, righty tighty

  4. Tivax MiTraveler 10Q-8 Rear Case Replacement: 4 단계, 이미지 1/1
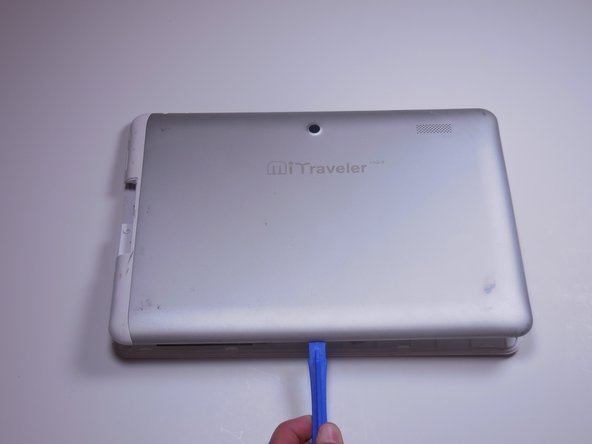
    • To pry the back plate off, use the plastic opening tool between the back plate and front plate; start at the headphone jack.

    • Make sure the lip of the plastic opening tool is face up.

  5. Tivax MiTraveler 10Q-8 Rear Case Replacement: 5 단계, 이미지 1/2 Tivax MiTraveler 10Q-8 Rear Case Replacement: 5 단계, 이미지 2/2
    • Move around the device with the plastic opening tool, pushing down to release the back plate from clips.

    • You will hear popping sounds when you work around the device.

  6. Tivax MiTraveler 10Q-8 Rear Case Replacement: 6 단계, 이미지 1/2 Tivax MiTraveler 10Q-8 Rear Case Replacement: 6 단계, 이미지 2/2
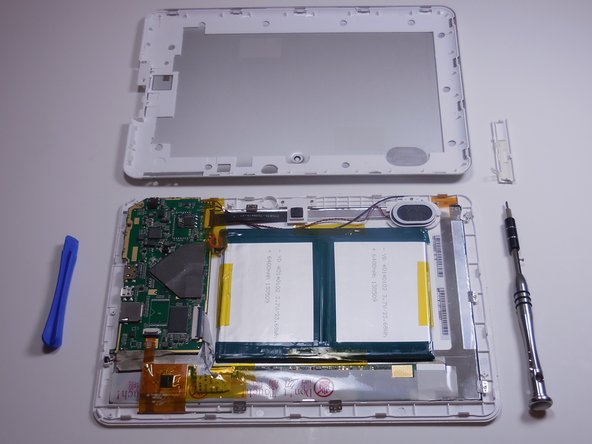
    • Once you’ve moved around the whole device with the plastic opening tool, the back plate will completely release from the rest of the device.

결론

To reassemble your device, simply slide the back plate back in to place and press down until you hear several clicks.

Maria

회원 가입일: 03/16/15

210 평판

안내서 2개 작성하였습니다

Colorado Springs, Team 4-3, Panko Spring 2015 Colorado Springs, Team 4-3, Panko Spring 2015 회원

UCCS-PANKO-S15S4G3

3 회원들

안내서 10개 작성하였습니다

댓글 0개

댓글 쓰기

조회 통계:

24 시간 전: 0

7일 전: 2

30일 전: 2

전체 시간: 285