주요 콘텐츠로 건너뛰기

Toshiba A1304T Camera Replacement

필요한 것

  1. Toshiba A1304T Camera Replacement, Back panel: 1 단계, 이미지 1/1
    • Using a thumb-tack, push-pin, or similar pin, remove the four plastic stoppers located on the back panel.

  2. Toshiba A1304T Camera Replacement: 2 단계, 이미지 1/1
    • With the T8 Torx Security Bit Screwdriver, remove the four screws in the designated locations.

    • The T8 Torx Security Bit Screwdriver can be substituted with a small flathead screwdriver. Screw removal may be slightly more difficult however.

  3. Toshiba A1304T Camera Replacement: 3 단계, 이미지 1/2 Toshiba A1304T Camera Replacement: 3 단계, 이미지 2/2
    • If needed, use the flathead screwdriver to gently pry the panel from the phone.

    • Using your fingers, lift the panel from the device.

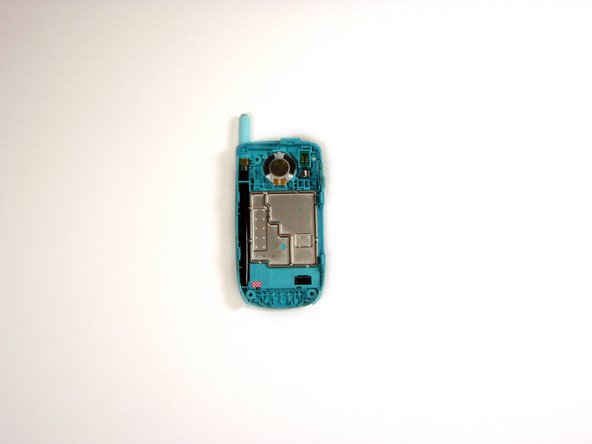
  4. Toshiba A1304T Camera Replacement, Camera: 4 단계, 이미지 1/2 Toshiba A1304T Camera Replacement, Camera: 4 단계, 이미지 2/2
    • Using a small Phillips screwdriver, remove the two black screws from the positions indicated.

    • Gently pull the silver plate from the phone using your fingers.

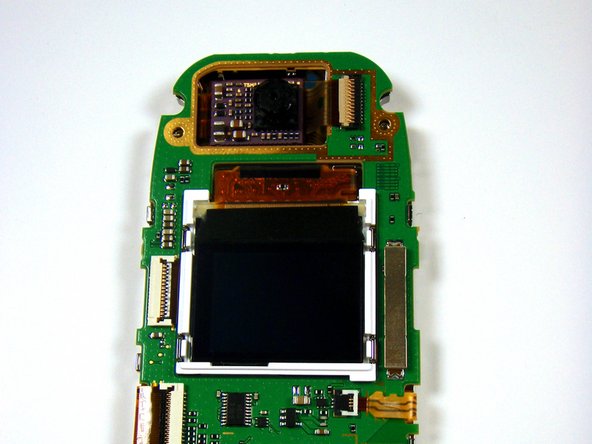
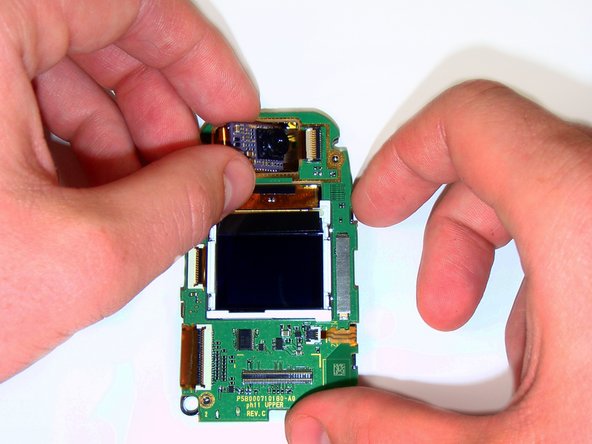
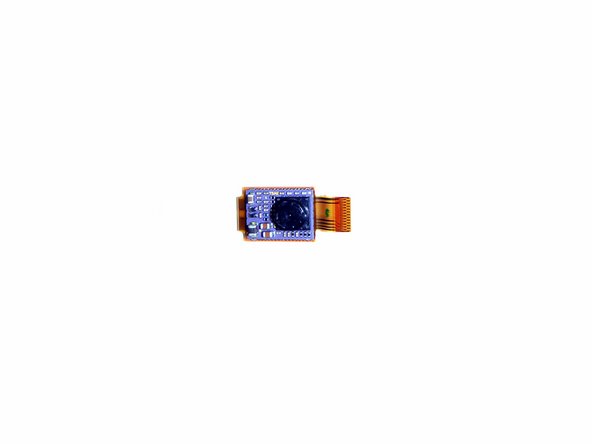
  5. Toshiba A1304T Camera Replacement: 5 단계, 이미지 1/3 Toshiba A1304T Camera Replacement: 5 단계, 이미지 2/3 Toshiba A1304T Camera Replacement: 5 단계, 이미지 3/3
    • Using the head of a flathead screwdriver, flip the white segment of the socket that the camera's ribbon-wire runs into so that it is orientated vertically.

    • Gently lift the camera from its cavity and pull it away from the socket using your thumb and forefinger.

결론

To reassemble your device, follow these instructions in reverse order.

Christopher

회원 가입일: 04/22/10

90 평판

안내서 8개 작성하였습니다

Cal Poly, Team 16-6, Maness Spring 2010 Cal Poly, Team 16-6, Maness Spring 2010 회원

CPSU-MANESS-S10S16G6

4 회원들

안내서 16개 작성하였습니다

댓글 0개

댓글 쓰기

조회 통계:

24 시간 전: 0

7일 전: 1

30일 전: 3

전체 시간: 2,055