이 버전에는 잘못된 편집 사항이 있을 수 있습니다. 최신 확인된 스냅샷으로 전환하십시오.
필요한 것
-
이 단계는 번역되지 않았습니다. 번역을 도와주십시오
-
Using a thumb-tack, push-pin, or similar pin, remove the four plastic stoppers located on the back panel.
-
-
이 단계는 번역되지 않았습니다. 번역을 도와주십시오
-
With the T8 Torx Security Bit Screwdriver, remove the four screws in the designated locations.
-
-
-
이 단계는 번역되지 않았습니다. 번역을 도와주십시오
-
If needed, use the flathead screwdriver to gently pry the panel from the phone.
-
Using your fingers, lift the panel from the device.
-
-
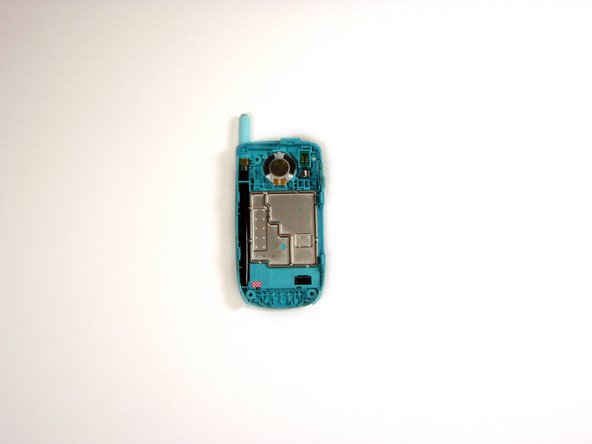
이 단계는 번역되지 않았습니다. 번역을 도와주십시오
-
Use your fingers to gently detach the ribbon wire from the logic board.
-
-
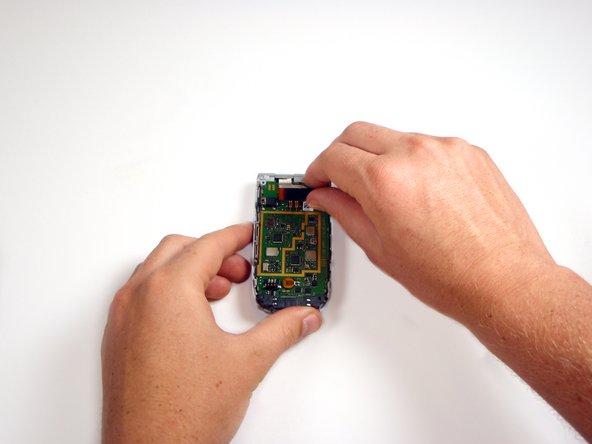
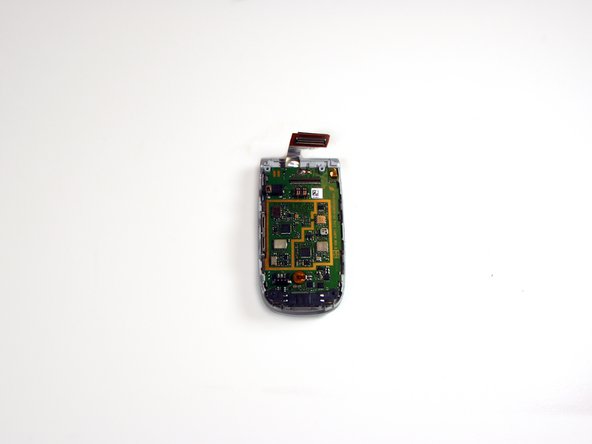
이 단계는 번역되지 않았습니다. 번역을 도와주십시오
-
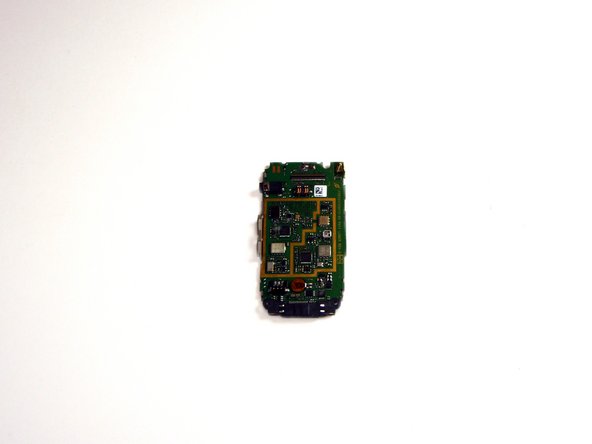
Use the flathead screwdriver to pry the logic board and keypad from the device.
-


팀

Cal Poly, Team 16-6, Maness Spring 2010 Cal Poly, Team 16-6, Maness Spring 2010 회원
CPSU-MANESS-S10S16G6
4 회원들
안내서 16개 작성하였습니다