주요 콘텐츠로 건너뛰기

Toshiba Encore 2 WT10-A Power Button Replacement

필요한 것

  1. Toshiba Encore 2 WT10-A Power Button Replacement, Battery: 1 단계, 이미지 1/3 Toshiba Encore 2 WT10-A Power Button Replacement, Battery: 1 단계, 이미지 2/3 Toshiba Encore 2 WT10-A Power Button Replacement, Battery: 1 단계, 이미지 3/3
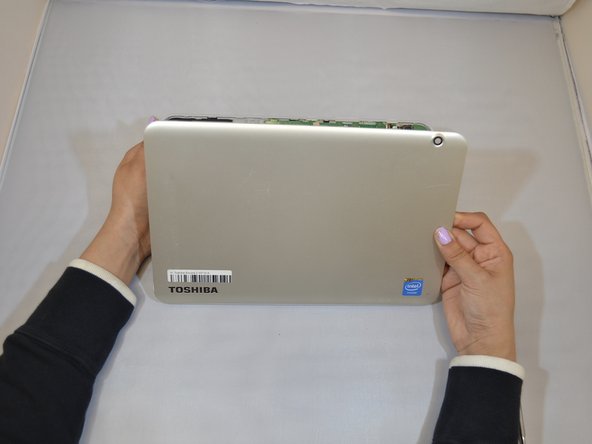
    • Start by holding your Toshiba tablet faced up.

    • Flip the tablet from left to right so that you are able to see the back of the tablet.

    • Hold tablet and be ready to continue onto the next steps.

  2. Toshiba Encore 2 WT10-A Power Button Replacement: 2 단계, 이미지 1/3 Toshiba Encore 2 WT10-A Power Button Replacement: 2 단계, 이미지 2/3 Toshiba Encore 2 WT10-A Power Button Replacement: 2 단계, 이미지 3/3
    • Insert a plastic opening tool in the back case of the tablet to free the clips.

    • Begin to pull the tool up slightly and work your way around the tablet to free all the clips.

    • Using a metal opening tool as shown in the photos has the potential to damage your device.

  3. Toshiba Encore 2 WT10-A Power Button Replacement: 3 단계, 이미지 1/3 Toshiba Encore 2 WT10-A Power Button Replacement: 3 단계, 이미지 2/3 Toshiba Encore 2 WT10-A Power Button Replacement: 3 단계, 이미지 3/3
    • Hold back lid with your right hand and keep lifting to remove the back lid.

    • Pull the back lid from right to left and top to bottom.

    • Once you disconnect the back lid, place lid aside.

  4. Toshiba Encore 2 WT10-A Power Button Replacement: 4 단계, 이미지 1/2 Toshiba Encore 2 WT10-A Power Button Replacement: 4 단계, 이미지 2/2
    • Use plastic spudger to remove the attached battery wires by pushing the plastic wire holder from right to left on top and bottom part of plastic holder.

  5. Toshiba Encore 2 WT10-A Power Button Replacement: 5 단계, 이미지 1/3 Toshiba Encore 2 WT10-A Power Button Replacement: 5 단계, 이미지 2/3 Toshiba Encore 2 WT10-A Power Button Replacement: 5 단계, 이미지 3/3
    • Start by using your left hand on the top left corner on the battery.

    • Then, begin to lift and work your way around the battery.

  6. Toshiba Encore 2 WT10-A Power Button Replacement: 6 단계, 이미지 1/2 Toshiba Encore 2 WT10-A Power Button Replacement: 6 단계, 이미지 2/2
    • Remove the battery from the compartment.

  7. Toshiba Encore 2 WT10-A Power Button Replacement, Motherboard: 7 단계, 이미지 1/2 Toshiba Encore 2 WT10-A Power Button Replacement, Motherboard: 7 단계, 이미지 2/2
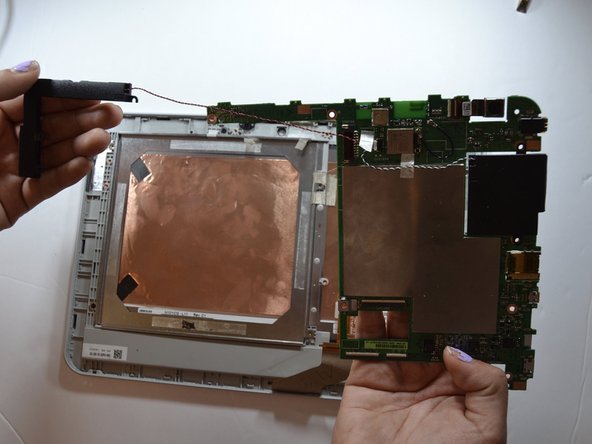
    • Once you take off the back case and battery, set tablet screen faced down.

    • Unscrew the 11 screws shown in the markups with a Phillips #00 screwdriver.

    • BE AWARE: Screws are extremely small.

  8. Toshiba Encore 2 WT10-A Power Button Replacement: 8 단계, 이미지 1/3 Toshiba Encore 2 WT10-A Power Button Replacement: 8 단계, 이미지 2/3 Toshiba Encore 2 WT10-A Power Button Replacement: 8 단계, 이미지 3/3
    • Before taking off motherboard, grab tweezers to peel off tape on the two ribbons marked on the picture.

    • Once tape is removed, use the same tweezers to carefully pull the ribbons downwards to disconnect from motherboard.

  9. Toshiba Encore 2 WT10-A Power Button Replacement: 9 단계, 이미지 1/1
    • On the top left corner, pull the black compartment carefully upwards.

    • This component still has wires attached, so be careful not to sever the wires as you remove it.

  10. Toshiba Encore 2 WT10-A Power Button Replacement: 10 단계, 이미지 1/2 Toshiba Encore 2 WT10-A Power Button Replacement: 10 단계, 이미지 2/2
    • Once black compartment is off, you will be prepared to disconnect motherboard.

    • Carefully lift motherboard upwards with the black compartment.

  11. Toshiba Encore 2 WT10-A Power Button Replacement, Power Button: 11 단계, 이미지 1/3 Toshiba Encore 2 WT10-A Power Button Replacement, Power Button: 11 단계, 이미지 2/3 Toshiba Encore 2 WT10-A Power Button Replacement, Power Button: 11 단계, 이미지 3/3
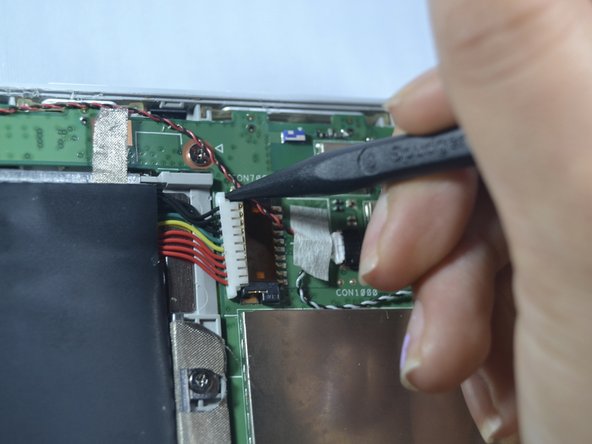
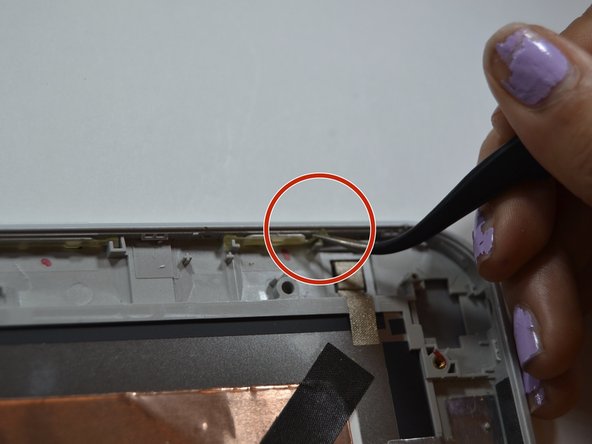
    • Once motherboard is disconnected, grab tweezers.

    • Start by locating the power button. Once it is located, with the tweezers, on the right top corner, start by lifting the plastic band upwards that is connected to the power button.

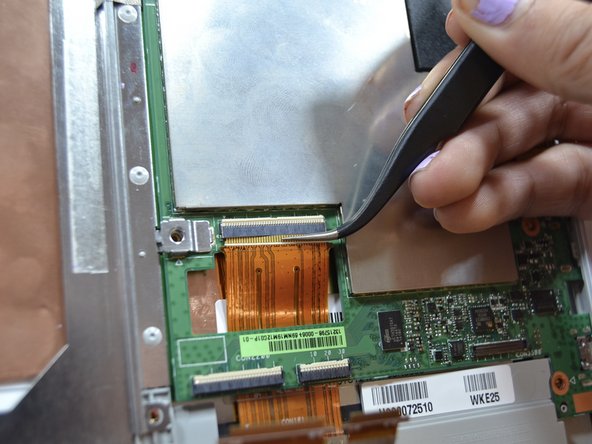
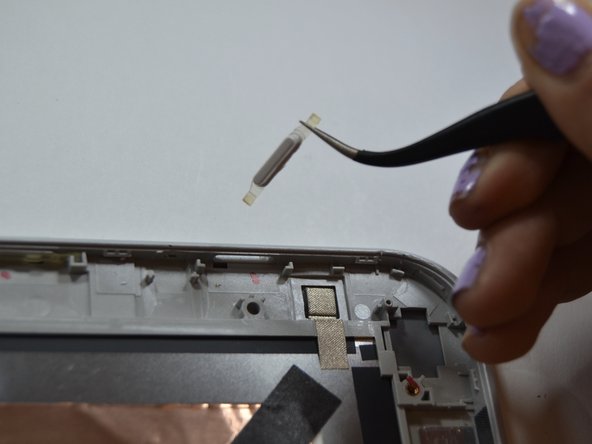
    • Grab right end of the plastic band and lift upwards to disconnect from compartment

결론

To reassemble your device, follow these instructions in reverse order.

다른 한 분이 해당 안내서를 완성하였습니다.

Ericka Castillo

회원 가입일: 04/08/19

303 평판

안내서 2개 작성하였습니다

댓글 0개

댓글 쓰기

조회 통계:

24 시간 전: 0

7일 전: 0

30일 전: 6

전체 시간: 497