이 버전에는 잘못된 편집 사항이 있을 수 있습니다. 최신 확인된 스냅샷으로 전환하십시오.
필요한 것
-
이 단계는 번역되지 않았습니다. 번역을 도와주십시오
-
Remove the three 7.7 mm screws from the back panel using a Phillips #0 screwdriver.
-
-
이 단계는 번역되지 않았습니다. 번역을 도와주십시오
-
Turn the DVD player on its side.
-
Remove the 7.7 mm screw.
-
Flip the DVD player onto its other side.
-
Remove the 7.7 mm screw.
-
-
이 단계는 번역되지 않았습니다. 번역을 도와주십시오
-
Flip the DVD player over onto its front face.
-
Remove the back panel by lifting up and pulling it towards yourself.
-
-
-
이 단계는 번역되지 않았습니다. 번역을 도와주십시오
-
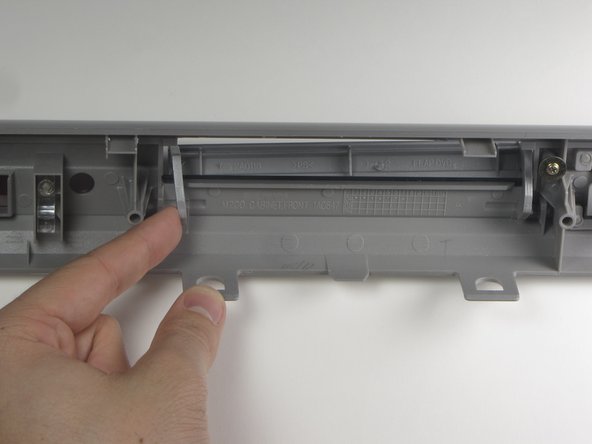
On back side of front panel very carefully apply pressure to the left hand side of the flap hinge.
-
-
이 단계는 번역되지 않았습니다. 번역을 도와주십시오
-
Once the peg is free from the left restraint, carefully remove the left part of the flap.
-
Carefully remove the right peg from the restraint.
-
-
이 단계는 번역되지 않았습니다. 번역을 도와주십시오
-
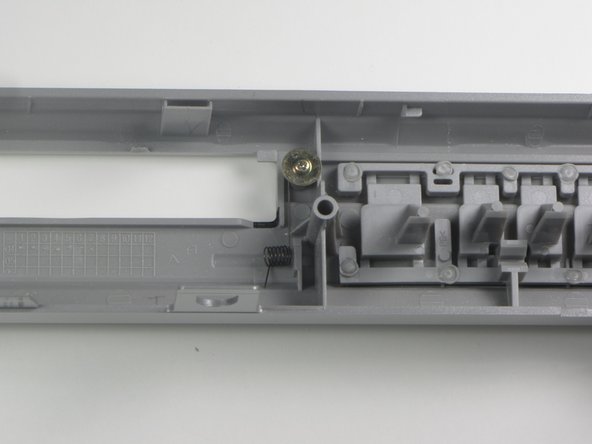
Remove the spring from the end of the right peg by pulling the door away from the spring.
-


팀

Cal Poly, Team 1-16, Amido Winter 2011 Cal Poly, Team 1-16, Amido Winter 2011 회원
CPSU-AMIDO-W11S1G16
4 회원들
안내서 8개 작성하였습니다
댓글 5개
Thanks for sharing,
It's very informative for me, I really enjoy this content.
I also have Content about <a href="https://accesssecuritygates.com/"> door spring replacement</a>
Cheers.
Great Article's content. Its worth reading. What type of auto gate repair is best for you? Find out by comparing repair services, prices and tech info. If you're in need of automatic gate repair, <a href="https://www.ozgaragedoorsandgates.com/"#...>Oz Garage Doors And Gates</a> can be a solution.
I got wonderful content after reading your article. Thankyou for information. Find out by comparing repair services, prices and tech info. If you're in need of automatic gate repair, <a href="http://elitecommercialgaterepairs.com/"#/>Elite Commercial Gate Repairs</a> can be a solution.
nature nut - 답글
Thanks for this Article! If anyone looking for a platform which provide services of repairing ad installation doors. <a href="https://http://powermastergateopenerrepair.com/"...>Power Master Gate Opener Repair Specialist</a> can be a solution.
Thanks for sharing us this informative article. If you're in need of automatic gate repair, <a href="https://http://miamioverheadgaterepair.com/"#/>Miami Overhead Gate Repair</a> can be a solution.