이 버전에는 잘못된 편집 사항이 있을 수 있습니다. 최신 확인된 스냅샷으로 전환하십시오.
필요한 것
-
이 단계는 번역되지 않았습니다. 번역을 도와주십시오
-
Use two fingers to pull the ridged lock tabs on the bottom of the computer toward the edges. This will unlock the battery.
-
-
이 단계는 번역되지 않았습니다. 번역을 도와주십시오
-
Holding the left tab in place, use the groove located between the two tabs to pry the battery up and out.
-
-
이 단계는 번역되지 않았습니다. 번역을 도와주십시오
-
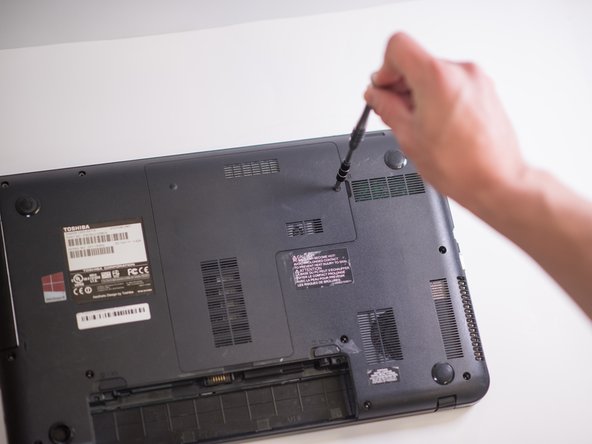
Remove the ten 7mm Phillips screws located on the bottom of the laptop using the Phillips #1 screwdriver.
-
-
이 단계는 번역되지 않았습니다. 번역을 도와주십시오
-
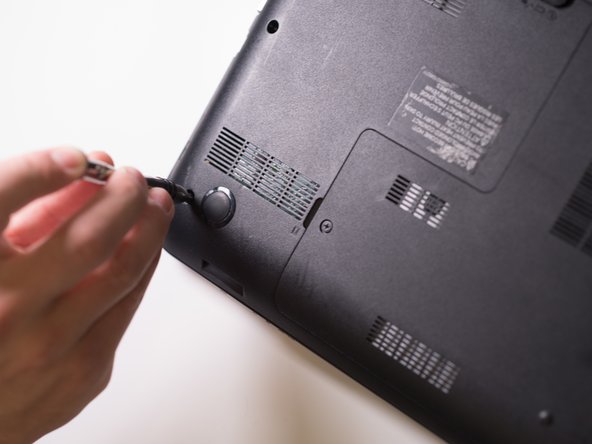
Remove the 7mm Phillips screw located on the easy access panel on the bottom of the laptop using a Phillips #1 screwdriver.
-
-
-
이 단계는 번역되지 않았습니다. 번역을 도와주십시오
-
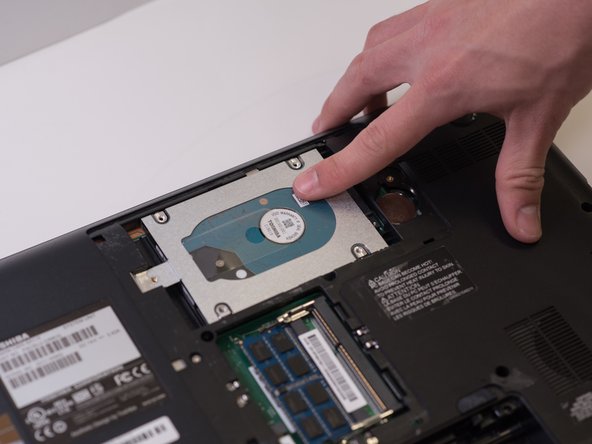
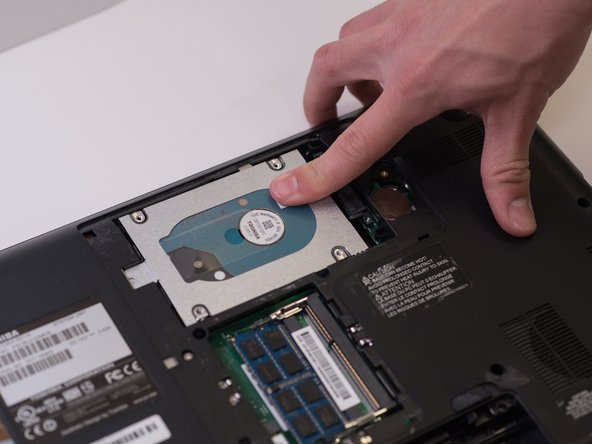
Remove the 3mm Phillips #1 screw holding the HDD in place, then slide the HDD towards the sticker.
-
-
이 단계는 번역되지 않았습니다. 번역을 도와주십시오
-
Insert a plastic opening tool in between the panel and the main assembly.
-
-
이 단계는 번역되지 않았습니다. 번역을 도와주십시오
-
Remove the single 1.5mm Phillips #1 screw located next to the cooling fan.
-


다른 2명이 해당 안내서를 완성하였습니다.

팀

Linn Benton Community College, Team S1-G4, Johnson Spring 2018 Linn Benton Community College, Team S1-G4, Johnson Spring 2018 회원
LBCC-JOHNSON-S18S1G4
4 회원들
안내서 14개 작성하였습니다