소개
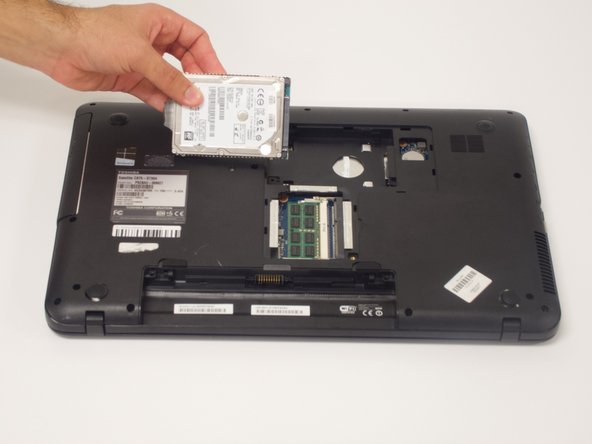
Use this guide to replace a defective or full hard drive in your Toshiba Satellite C875-S7304.
The hard drive is an important hardware component that stores and fetches your data. A faulty or failing hard drive can result in crashes, unusual noises, and error messages. In the case of total hard drive failure, your computer will cease to boot properly.
Review the troubleshooting page before using this guide. Some issues may be resolved through something as simple as a software update.
If your hard drive is full, you may want to upgrade your hard drive. This device supports hard drives in capacities ranging from 60 GB to 1 TB. Hard drives must be SATA 3.0 Gb/s, 2.5” wide, and up to 0.4” high.
If possible, back up your hard drive before replacing it so that you do not lose data during the replacement. Also, disconnect the laptop from any external power source and power off your laptop completely before beginning the hard drive replacement.
필요한 것
-
-
Power off and unplug the charger from your device.
-
Carefully flip your device upside down laying it onto a flat surface with the battery facing you.
-
The two eject switches are located on the right and left side of the battery compartment.
-
-
-
-
Wedge the plastic opening tool between the back panel and the hard drive/RAM panel near the screw.
-
Lift the end of the opening tool slowly until the hard drive/RAM panel separates on one side.
-
Repeat the steps above on the left side of the hard drive/RAM panel.
-
Pull the cover towards you and up from the device to remove it.
-
To reassemble your device, follow these instructions in reverse order.
To reassemble your device, follow these instructions in reverse order.
다른 2명이 해당 안내서를 완성하였습니다.


