주요 콘텐츠로 건너뛰기

Toshiba Satellite L675D-S7015 Keyboard Replacement

필요한 것

  1. Toshiba Satellite L675D-S7015 Keyboard Replacement, Battery: 1 단계, 이미지 1/1
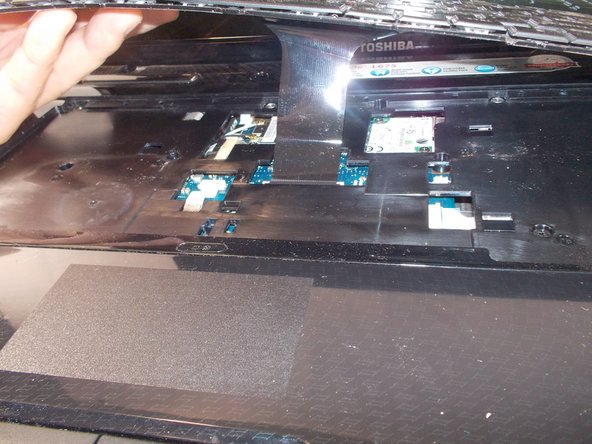
    • Flip the laptop on a scratch free surface, exposing underneath the laptop.

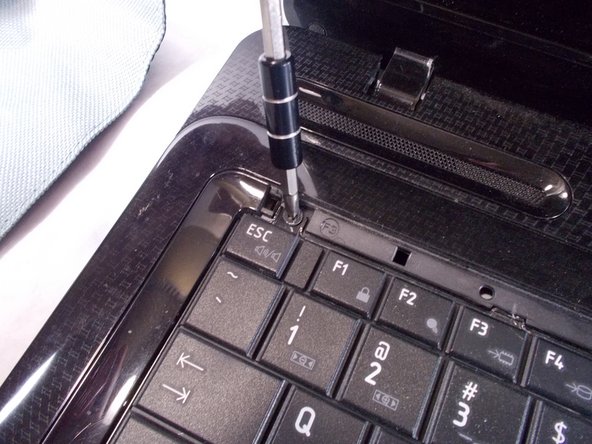
    • Identify the unlocking latches denoted by the red circles.

  2. Toshiba Satellite L675D-S7015 Keyboard Replacement: 2 단계, 이미지 1/2 Toshiba Satellite L675D-S7015 Keyboard Replacement: 2 단계, 이미지 2/2
    • Simply slide the latches outward to the unlocked position.

    • The latches should stay in the unlocked position. If not, hold them in the unlocked position.

    • With the latches in the unlocked position, slide the battery out, away from the laptop.

  3. Toshiba Satellite L675D-S7015 Keyboard Replacement, Keyboard: 3 단계, 이미지 1/2 Toshiba Satellite L675D-S7015 Keyboard Replacement, Keyboard: 3 단계, 이미지 2/2
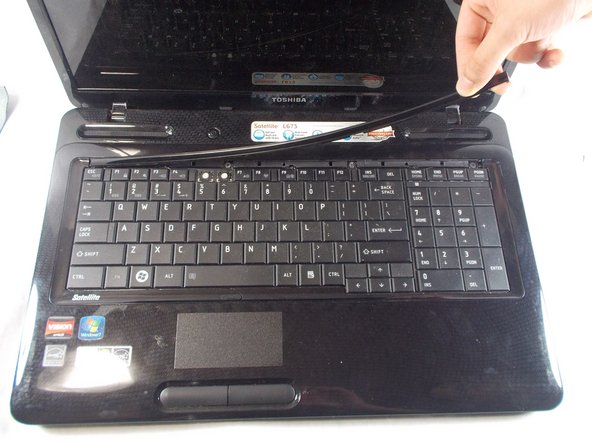
    • Use a spudger to pry under the corner of the thin piece of plastic located above the keyboard.

    • Once part of the plastic guard is up, continue to pull up gently until the piece pops off of the laptop exposing 4 screws.

  4. Toshiba Satellite L675D-S7015 Keyboard Replacement: 4 단계, 이미지 1/2 Toshiba Satellite L675D-S7015 Keyboard Replacement: 4 단계, 이미지 2/2
    • With the screws exposed, grab your Phillips #1 screwdriver and remove the four 4 mm screws.

    • Make sure you do not lose them since you will need them to reinstall your new keyboard.

  5. Toshiba Satellite L675D-S7015 Keyboard Replacement: 5 단계, 이미지 1/2 Toshiba Satellite L675D-S7015 Keyboard Replacement: 5 단계, 이미지 2/2
    • With the screws removed, you are ready to take out the keyboard. Lift the keyboard from the top and carefully pull the keyboard away from the laptop.

    • There is a thin connector that wires the keyboard to the motherboard. Pulling on this to hard could cause damage to the clip that will connect your new keyboard to the motherboard and require you to purchase a new one.

  6. Toshiba Satellite L675D-S7015 Keyboard Replacement: 6 단계, 이미지 1/2 Toshiba Satellite L675D-S7015 Keyboard Replacement: 6 단계, 이미지 2/2
    • With the connector exposed, use a couple spudgers to hold the two clips in and carefully slide out the ribbon connector.

    • Once removed, the keyboard is free to be replaced with a new one.

결론

To reassemble your device, follow these instructions in reverse order.

다른 한 분이 해당 안내서를 완성하였습니다.

Brendon Kidwell

회원 가입일: 03/21/19

233 평판

안내서 1개 작성함

UMass Dartmouth, Team S1-G2, Valliere Spring 2019 UMass Dartmouth, Team S1-G2, Valliere Spring 2019 회원

UMASSD-VALLIERE-S19S1G2

4 회원들

안내서 4개 작성하였습니다

댓글 0개

댓글 쓰기

조회 통계:

24 시간 전: 0

7일 전: 0

30일 전: 0

전체 시간: 135