이 안내서에는 최근 변경 사항이 더 있습니다. 최신 비검증 버전으로 전환하십시오.
소개
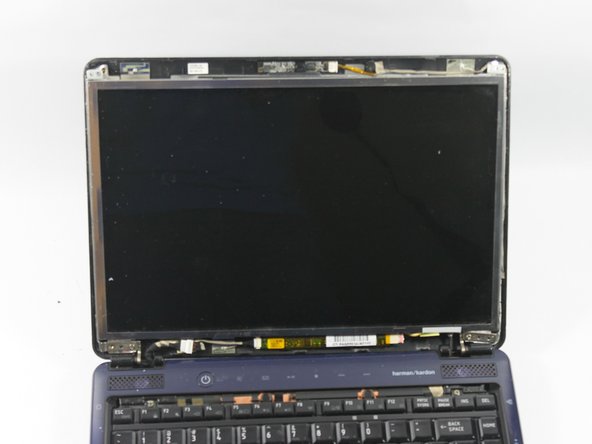
This guide will show you how to replace the screen of your laptop. Be sure to have an iFixit toolkit handy, or at the very least, a Phillips #0 screwdriver.
필요한 것
-
-
Remove the four rubber coverings at the corners of the screen frame to access the screws behind them.
-
Using a Phillips #0 screwdriver, remove the four screws at the corners of the screen frame.
-
-


To reassemble your device, follow these instructions in reverse order.
To reassemble your device, follow these instructions in reverse order.
팀

UMass Dartmouth, Team 2-4, Vijaybhaskar Spring 2014 UMass Dartmouth, Team 2-4, Vijaybhaskar Spring 2014 회원
UMASSD-VIJAYBHASKAR-S14S2G4
4 회원들
안내서 1개 작성하였습니다