이 버전에는 잘못된 편집 사항이 있을 수 있습니다. 최신 확인된 스냅샷으로 전환하십시오.
필요한 것
-
이 단계는 번역되지 않았습니다. 번역을 도와주십시오
-
Remove the four rubber coverings at the corners of the screen frame to access the screws behind them.
-
Using a Phillips #0 screwdriver, remove the four screws at the corners of the screen frame.
-
-
-
이 단계는 번역되지 않았습니다. 번역을 도와주십시오
-
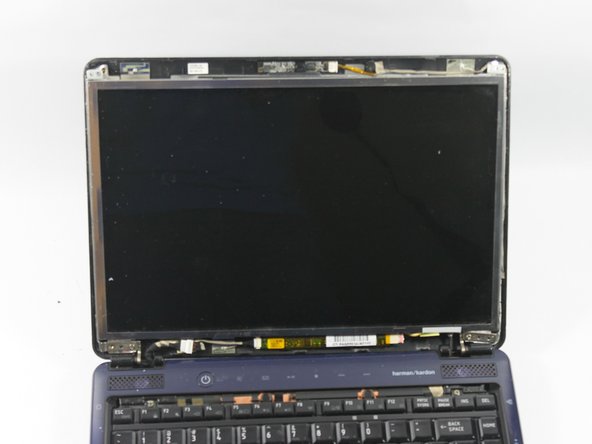
Now you need to remove the bezel. This is the plastic frame around the screen. Gently pull it forward, and then upward to unsnap it from where it is connected at the hinges.
-
-
이 단계는 번역되지 않았습니다. 번역을 도와주십시오
-
Turn the laptop around so that you can view the lid. Gently pull the lid away from the screen so that you can view the white clips near the base of the screen, as shown in the picture.
-
Un-clip the three connections to disconnect the wiring.
-
-
이 단계는 번역되지 않았습니다. 번역을 도와주십시오
-
Remove the tape at the spots shown in the picture to detach the screen from the ribbon.
-
-
이 단계는 번역되지 않았습니다. 번역을 도와주십시오
-
Turn the laptop so the screen faces you again. Remove this screw, and the corresponding screw on the left hand side.
-
Remove the four screws on the sides of the metal frame, located at the upper right and left, as well as the lower right and left.
-


팀

UMass Dartmouth, Team 2-4, Vijaybhaskar Spring 2014 UMass Dartmouth, Team 2-4, Vijaybhaskar Spring 2014 회원
UMASSD-VIJAYBHASKAR-S14S2G4
4 회원들
안내서 1개 작성하였습니다