이 안내서에는 최근 변경 사항이 더 있습니다. 최신 비검증 버전으로 전환하십시오.
소개
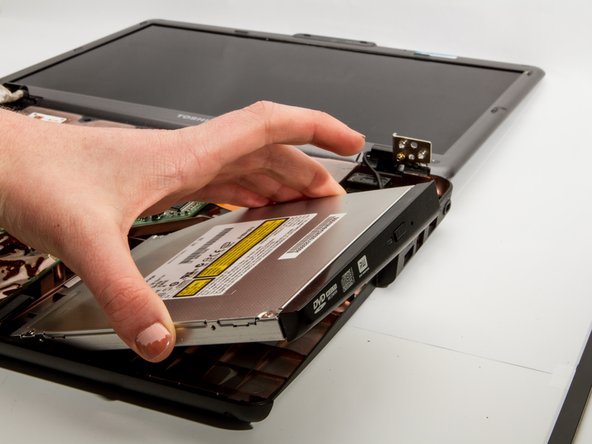
This installment requires removing a few screws and separating the plastic cover of the laptop allowing you to access the CD/DVD drive. Removing the cover will take a little bit of prying, but make sure to not force anything as you don't want to crack it.
필요한 것
-
-
Situate the laptop so that it is open and the display is facing you.
-
Use the plastic opening tool to pry the black plastic insert upward. The insert can be found at the top of the keyboard.
-
Once the insert is loose, carefully remove it from the device.
-
-
-
-
With the keyboard removed, locate the marked screws.
-
Remove the marked 5mm screws using the #1 Phillips Screwdriver.
-


To reassemble your device, follow these instructions in reverse order.
To reassemble your device, follow these instructions in reverse order.
다른 2명이 해당 안내서를 완성하였습니다.
팀

Cal Poly, Team 7-8, Maness Winter 2013 Cal Poly, Team 7-8, Maness Winter 2013 회원
CPSU-MANESS-W13S7G8
4 회원들
안내서 8개 작성하였습니다