소개
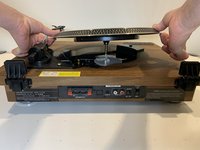
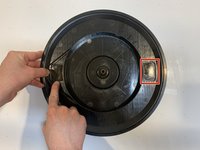
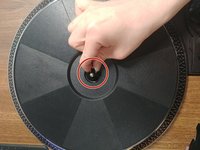
If your Toshiba TY-LP 200 Record Player turntable isn’t rotating once it turned on or if it’s producing audio that is either lower pitched or delayed, then this could mean that your record player’s belt is damaged. This guide will help you to disassemble the Toshiba TY-LP 200 Record Player and replace the belt of the player, thus fixing the problem. Before using the guide, inspect the record player disc as it may be damaged, thus resulting in unclear audio. Be sure to try and spin the turntable of the record player to confirm that the problem is indeed the belt as well. If the turntable rotates and it does not stop by itself, then the belt must be replaced. This guide does not require any prior knowledge and is perfectly safe for new fixers.
필요한 것


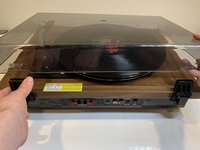
You now have a fixed and working record player.
팀

York University, Team S1-G28, O'Regan Summer 2020 York University, Team S1-G28, O'Regan Summer 2020 회원
YORK-O'REGAN-SU20S1G28
1 회원
안내서 1개 작성
3가이드 댓글
Thank you so much for this! Incredibly helpful!!!
Along with this fix, I tried to clean a bit of dust and grime that's accumulated throughout the 3 decades. Some is not coming off with vacuuming or dry-wiping. Any advice on how to clean the unit up before reassembly? Mine is a gold Marantz with similar design and some of its parts are not as smooth as they should be. Thanks so much