소개
To document and demonstrate the process of repairing the fans connected to the windmill using commodity parts and tools to ensure that the fix requires no special tools nor instruments.
It should be noted that the steps outlined in this section should also apply to other gadgets similar in construction; the use of the windmill is an example and an ideal template when restoring other similar gadgets.
필요한 것
-
-
Use the 120 grit sandpaper to remove any rough edges on both the base unit and any parts which need to be connected to it.
-
-


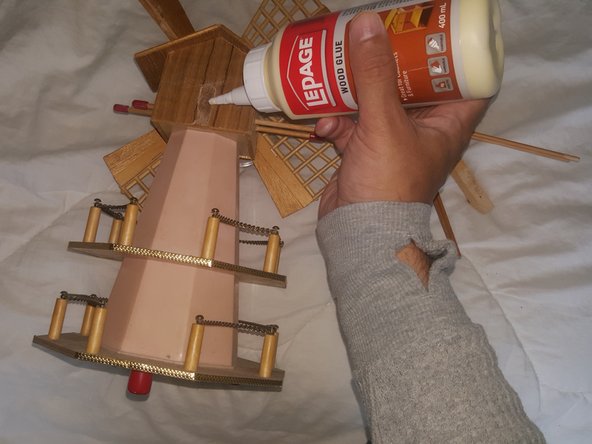
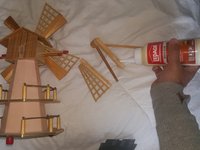


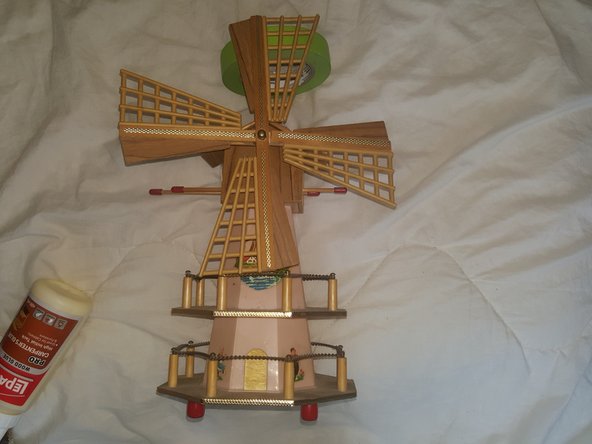

To reassemble your device, follow these instructions in order.

팀

York University, Team S2-G15, Melo-Thaiss Summer 2021 York University, Team S2-G15, Melo-Thaiss Summer 2021 회원
YORK-MELO-THAISS-SU21S2G15
1 회원
안내서 2개를 작성함