소개
The speaker allows the device to play audio out loud. The replacement of the speaker may be necessary if your tablet does not play sound out loud, but still plays when headphones are plugged in.
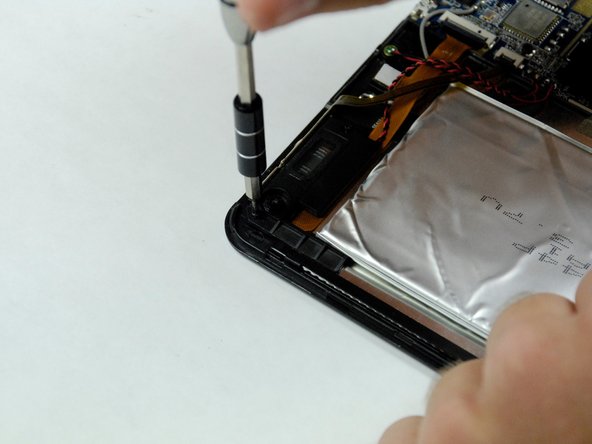
The disassembly is relatively simple, but will require the use of a soldering iron to disconnect a couple of wires. Be sure to review the iFixit soldering guide if you do not have experience with soldering. You will also need to remove a couple of screws in order to take out the speaker.
필요한 것
-
-
-
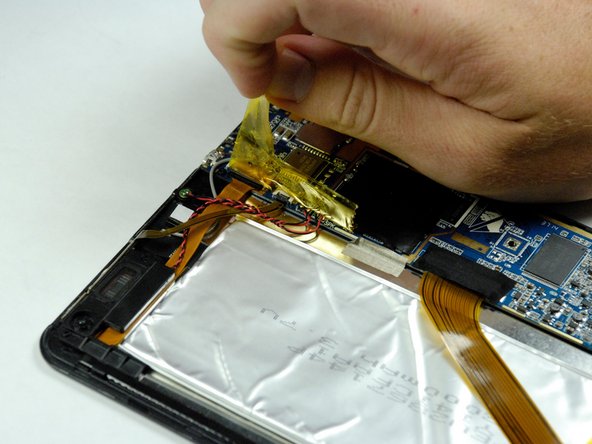
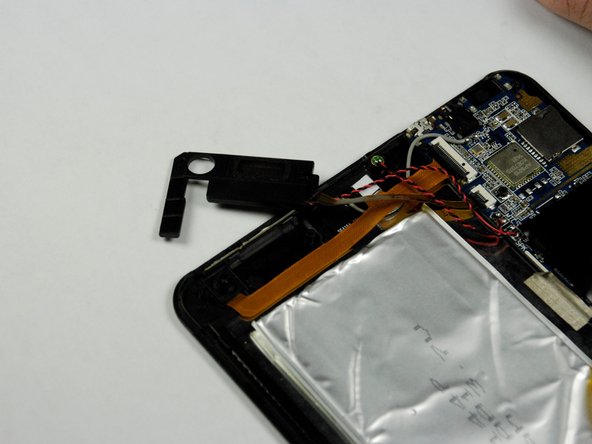
Remove the yellow tape covering the set of wires located near the upper right corner of the battery.
-
-
-
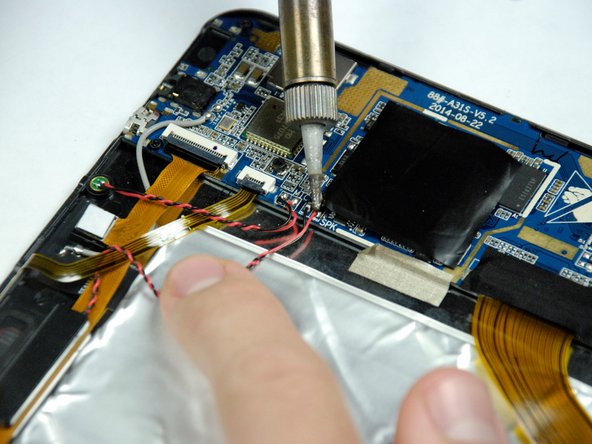
Use the soldering iron to melt away the solder from the red and black wires that connect the speaker to the motherboard.
-
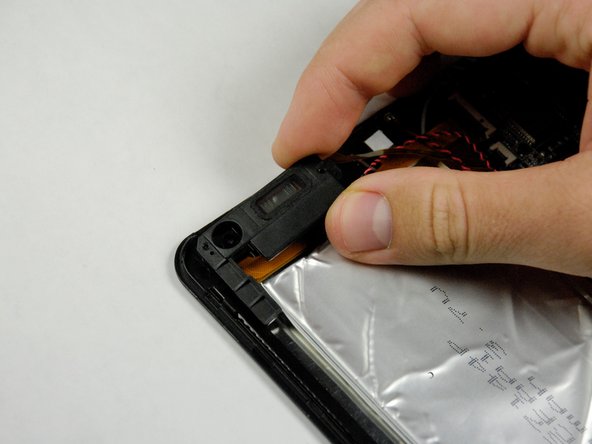
Once the solder is completely removed, pull the wires away from the motherboard.
-


To reassemble your device, follow these instructions in reverse order.
To reassemble your device, follow these instructions in reverse order.
팀

Baylor, Team 4-1, Williams Fall 2015 Baylor, Team 4-1, Williams Fall 2015 회원
BU-WILLIAMS-F15S4G1
4 회원들
안내서 10개 작성하였습니다