This guide will show you how to remove the battery in the Titan T8 electric scooter. It involves a complete disassembly of the deck of the scooter, removal of the stem, and removal of the controller.
The battery powers the scooter. If you are having issues such as the scooter not turning on, the scooter randomly dying while fully charged, lower top speed or range than usual, then you may have issues and need to repair or replace the battery.
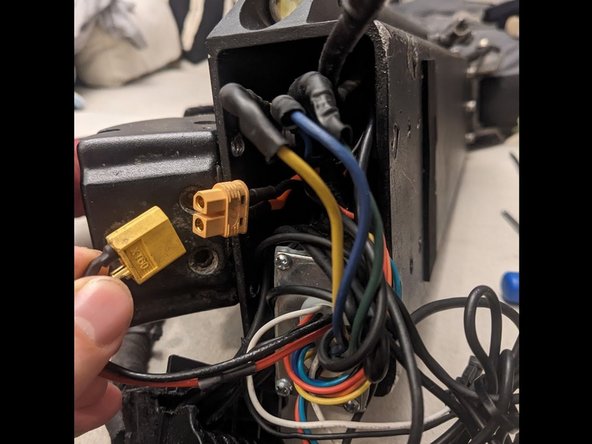
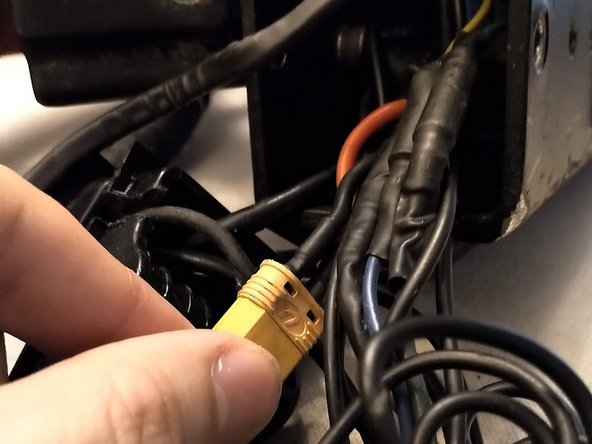
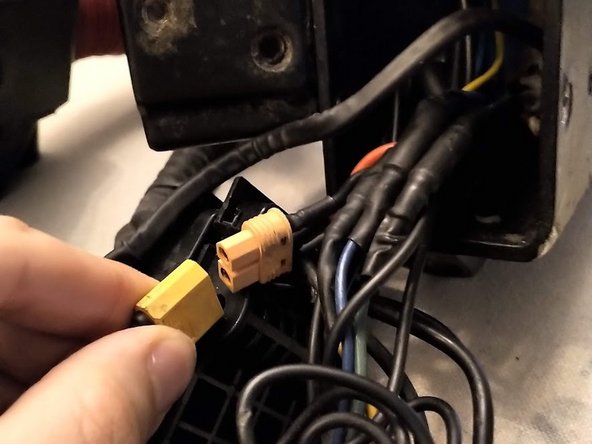
Before beginning, remember to unplug the scooter and cover up the charging port, as it uses an unsafe 3-pin aviation connector that is prone to sparking or arcing.
Use your 5 mm Allen wrench to remove the 2 bolts at the bottom of the scooter's deck, at the very front.
These 2 bolts hold the front panel in place.
Keep the cover on the charging port (at the front of the scooter) for the entirety of this guide - it's an extremely unsafe port, and having anything accidentally bridge the connection between the prongs could be very dangerous.
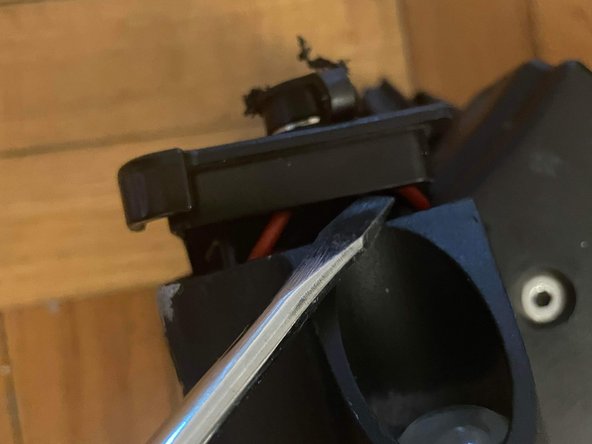
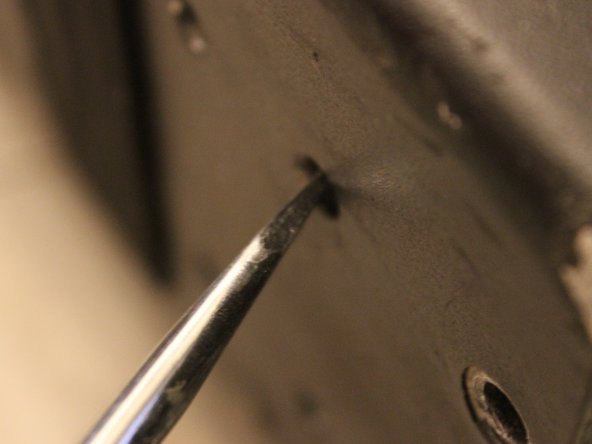
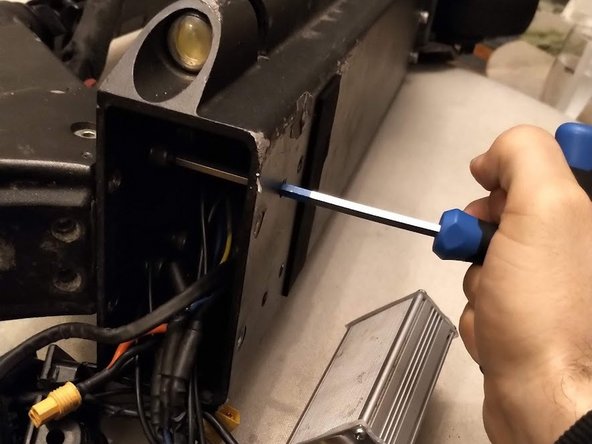
Use your flathead screwdriver/prying tool to pry the front panel off. Move the prying tool around the panel, and try to apply pressure evenly around the panel (dont pull the entire right half out and leave the left half inside the frame).
We are using the prying tool to "break the seal" of the front panel, as it is wedged inside the scooter very firmly.
The plastic is very hard but quite brittle, and is prone to breaking if you apply too much force with the prying tool.
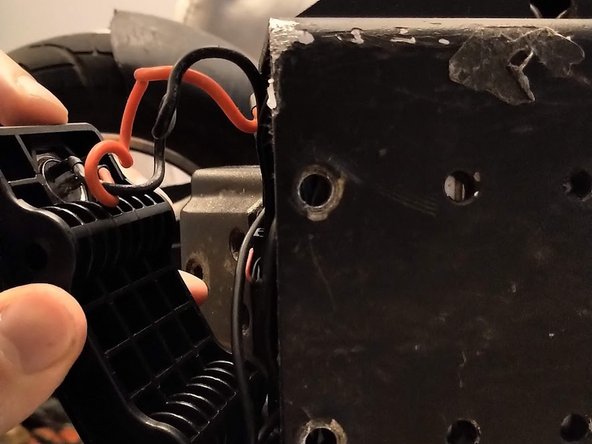
When the front panel is loose enough that you can wiggle it with your fingers, hold on to the front panel around the edges of it, and pull it straight out.
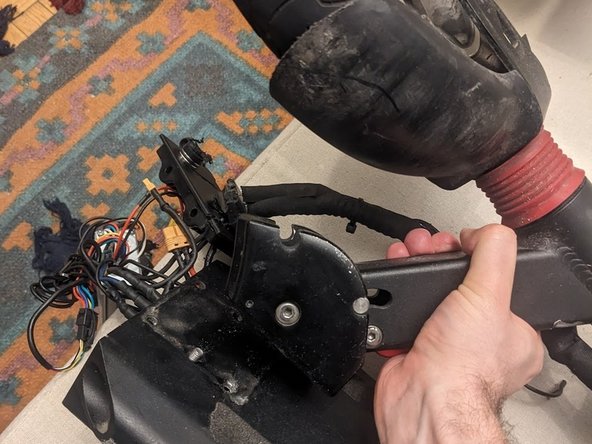
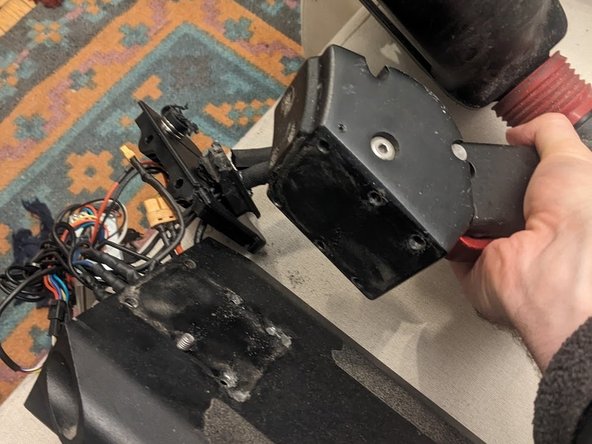
Flip the scooter over on its side or upside down again, to reveal the underside of the scooter. There are 4 rubber nubs covering 4 holes underneath the scooter's deck.
Using your prying tool, remove the 4 little rubber nubs.
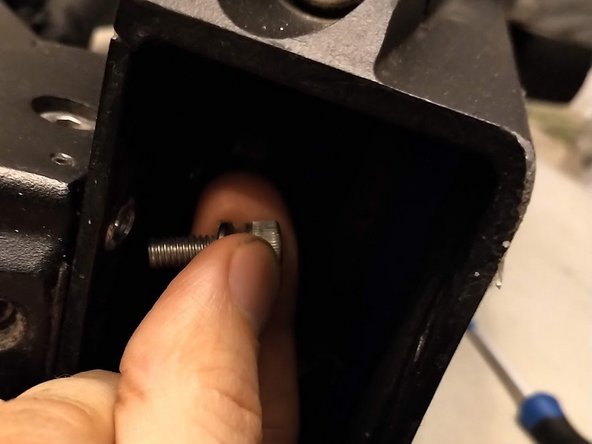
Flip the scooter upside down and insert the 5 mm Allen wrench into the 4 slots that were exposed by removing the rubber nubs. Make sure that no wires are in the way.
Make sure that the scooter's stem is secured - These 4 bolts keep the scooter's stem in place, so once removed the stem will not be attached.
The seal is quite tough, but once it's broken the bolt should come right out of the scooter.
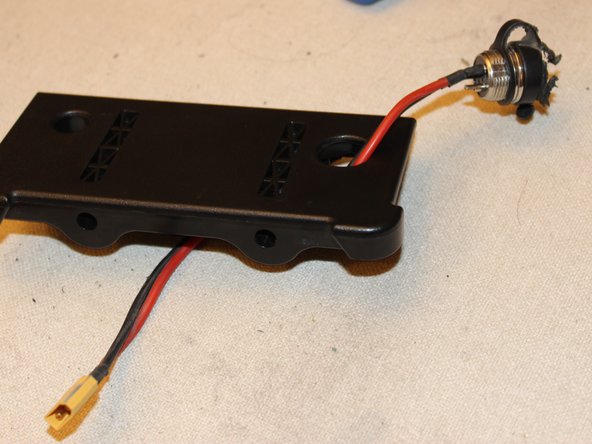
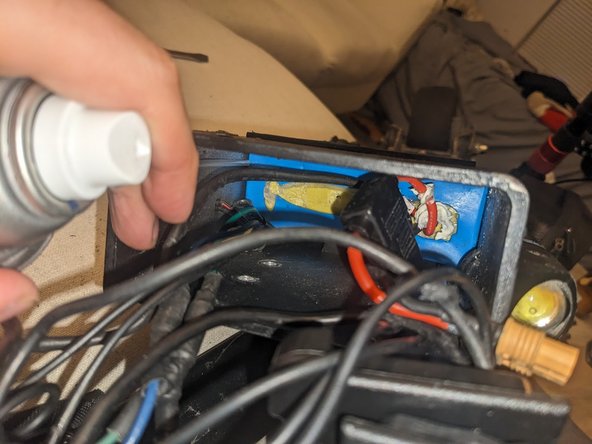
Apply an ample amount of WD-40 to all 4 sides of the battery. As we can not get a grip on the battery, you can either VERY GENTLY use the prying tool to pull it out (stop at ANY resistance) or you can pull on the red and black wire attached to the DC converter.
Do not pull if there is any resistance.
Your can of WD-40 should have a thin nozzle that can be inserted between the thin gap between the battery and the chassis.