필요한 것
-
-
Refer to the Uniden EXP 371 phone disassembly guide to open the plastic casing.
-
-
-
-
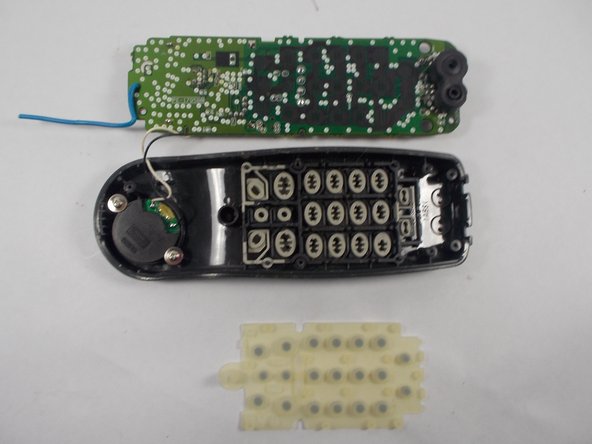
If the buttons are sticky; leaving the dial pad and/or rubber pad to soak in soap and water for 5-10 minutes will clean off any sticky residue that may be obstructing the buttons.
-
Make sure to properly dry the dial pad and rubber pad of any soap/water before reattaching them to the phone to avoid the risk of short circuiting.
-
-
-
If sticky residue is not the problem the next step is to visit http://udn.factoryoutletstore.com and search for the UNIDEN EXP 371 and order a new dial pad.
-


![Uniden EXP 371 Keypad Replacement, [OPTIONAL ] Soak dial pad in mixture of soap and water: 5 단계, 이미지 1/2](https://guide-images.cdn.ifixit.com/igi/H3G6fBhmB2XTtGCU.medium)
![Uniden EXP 371 Keypad Replacement, [OPTIONAL ] Soak dial pad in mixture of soap and water: 5 단계, 이미지 2/2](https://guide-images.cdn.ifixit.com/igi/ZLhSidERaXrehisH.medium)

To reassemble your device, follow these instructions in reverse order.
To reassemble your device, follow these instructions in reverse order.
팀

UMass Dartmouth, Team 2-1, Duarte Fall 2014 UMass Dartmouth, Team 2-1, Duarte Fall 2014 회원
UMASSD-DUARTE-F14S2G1
4 회원들
안내서 10개 작성하였습니다