주요 콘텐츠로 건너뛰기

Upper Component Bracket Removal

단지 전제 조건
이 안내서는 다른 안내서의 선행 작업으로 사용하기 위한 것입니다. 그 자체로는 불완전합니다.

필요한 것

  1. Upper Component Bracket Removal, Remove the upper component bracket: 1 단계, 이미지 2개 중 1개 Upper Component Bracket Removal, Remove the upper component bracket: 1 단계, 이미지 2개 중 2개
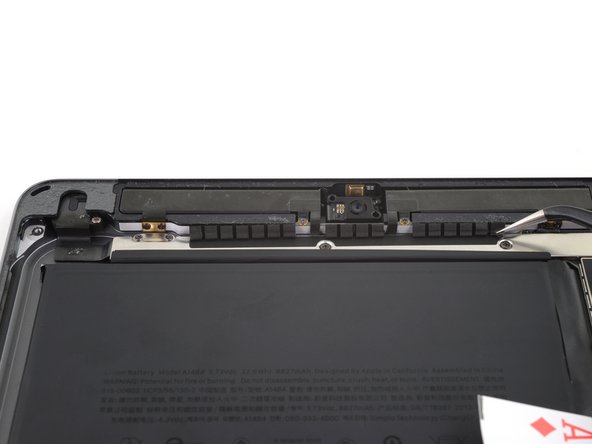
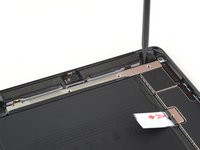
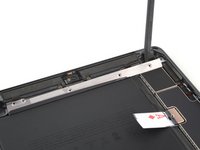
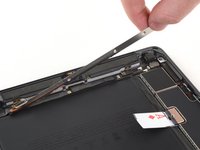
    • Carefully peel the LCD buffer tape up off of the upper component bracket.

  2. Upper Component Bracket Removal: 2 단계, 이미지 1개 중 1개
    • Use a Phillips screwdriver to remove the five screws securing the upper component bracket.

    • Three 1.4 mm-long screws

    • Two 1.9 mm-long screws

  3. Upper Component Bracket Removal: 3 단계, 이미지 3개 중 1개 Upper Component Bracket Removal: 3 단계, 이미지 3개 중 2개 Upper Component Bracket Removal: 3 단계, 이미지 3개 중 3개
    • Use the pointed end of a spudger to lift up the upper component bracket until you can grip it with your fingers.

    • Remove the upper component bracket.

    • You may need to peel the upper component bracket off of some tape securing it to the logic board.

결론

To reassemble your device, follow these instructions in reverse order.

작성자

1다른 기여자 명과 함께

Robert Boyd

회원 가입일: 02/01/21

29,298 평판

안내서 94개를 작성함

댓글 0개

댓글 쓰기

조회 통계:

지난 24시간: 2

지난 7일: 3

지난 30일: 3

전체 시간: 25