이 버전에는 잘못된 편집 사항이 있을 수 있습니다. 최신 확인된 스냅샷으로 전환하십시오.
필요한 것
-
이 단계는 번역되지 않았습니다. 번역을 도와주십시오
-
Hold down the power button until the screen goes black to turn off the device.
-
Remove the SIM card from the device to prevent damage.
-
To remove the SIM card, open the SIM card cover on the side of the device.
-
Push SIM card in and pull it out after hearing a click.
-
-
이 단계는 번역되지 않았습니다. 번역을 도와주십시오
-
Take off the back panel.
-
Pry open the back cover carefully with a plastic opening tool.
-
Use the opening tool to disconnect the cover completely. Do not attempt to pry the back cover off with your hands.
-
-
-
이 단계는 번역되지 않았습니다. 번역을 도와주십시오
-
Remove the charging (micro-USB) port.
-
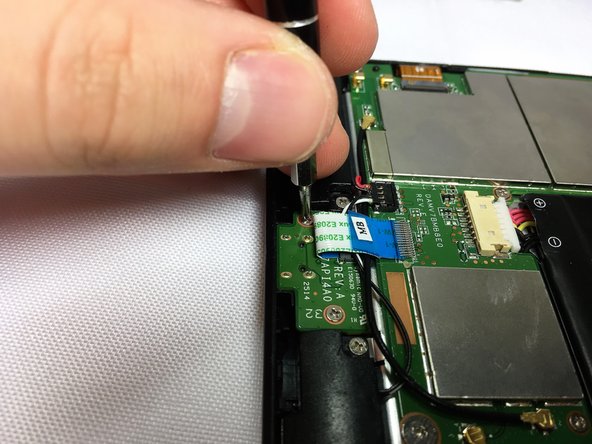
Unscrew the indicated screws using the Phillips #00 screwdriver.
-
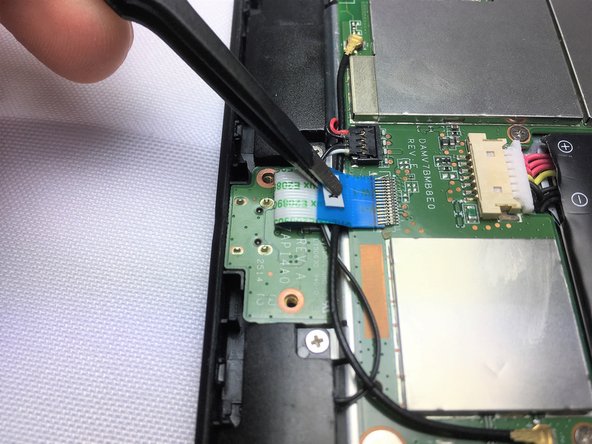
Disconnect the ribbon cable connecting the charging port board to the motherboard using tweezers.
-
Use the tweezers to grab the sides of black, plastic connector. Do not grab from the wires or try to wedge it out from the bottom.
-
-
이 단계는 번역되지 않았습니다. 번역을 도와주십시오
-
Remove the charging port board from the phone using tweezers.
-
Place the replacement charging port into the phone.
-
-
이 단계는 번역되지 않았습니다. 번역을 도와주십시오
-
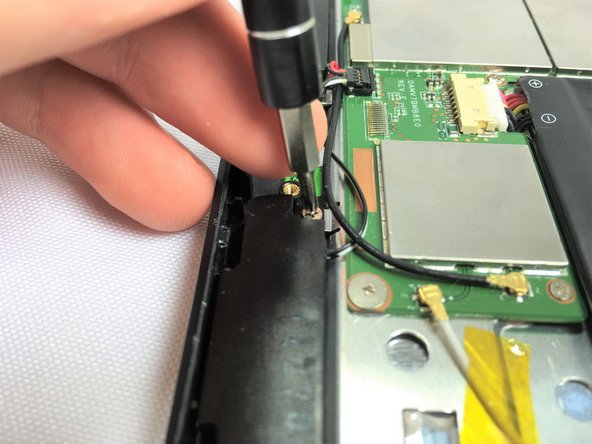
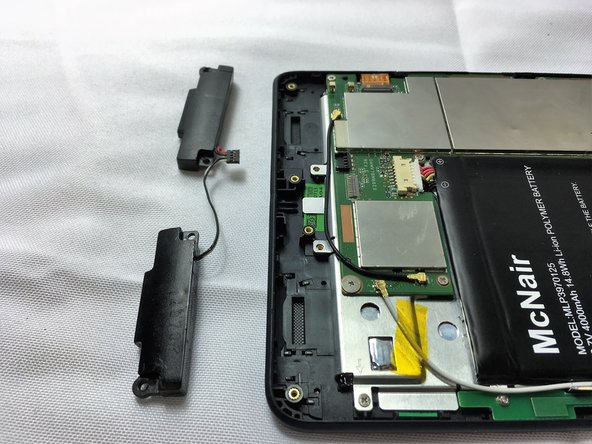
Remove 2 screws from each speaker, 4 screws in total, using a Phillips #00 screwdriver.
-
-
이 단계는 번역되지 않았습니다. 번역을 도와주십시오
-
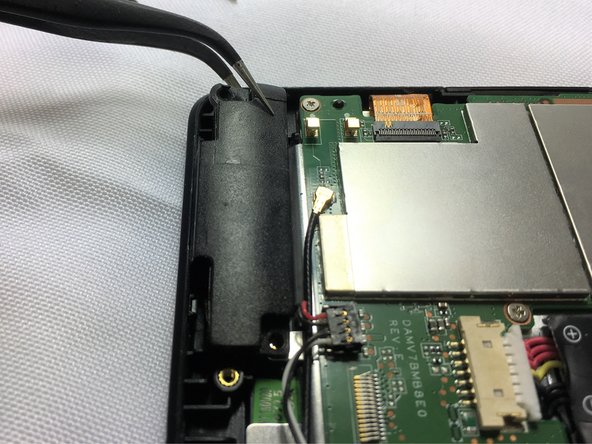
Using tweezers carefully lift the connector up to disconnect it from the motherboard.
-
Using tweezers carefully pull the speakers up and out of device.
-


다른 2명이 해당 안내서를 완성하였습니다.
팀

Sam Houston State, Team 12-7, Blackburne Fall 2016 Sam Houston State, Team 12-7, Blackburne Fall 2016 회원
SHSU-BLACKBURNE-F16S12G7
3 회원들
안내서 10개 작성하였습니다