소개
What you can expect from this guide is a step by step process on how to remove the LCD display screen on a Verizon Ellipsis Jetpack MHS800L.
필요한 것
-
이 단계에 사용된 도구:Phillips #00 Screwdriver$5.49
-
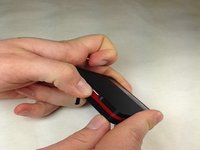
With the device on its back and the label facing you, remove the rubber screw cover on the top left corner of the device.
-
Under the rubber circle, remove the 1.25 mm screw using a Phillips #00 Screwdriver.
-
-
이 단계에 사용된 도구:iFixit Opening Picks (Set of 6)$4.99
-
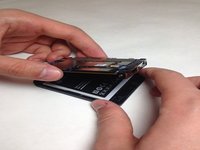
Use a plastic pick at the seams and pry open the case.
-
-
-
-
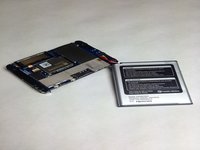
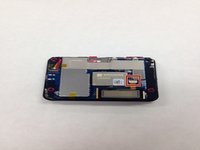
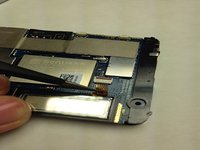
Once you have the case off of your device gently pull your battery away from the device.
-
-
-
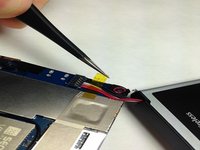
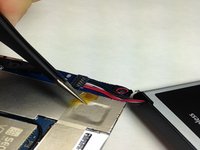
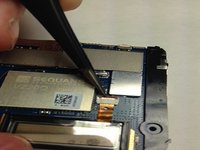
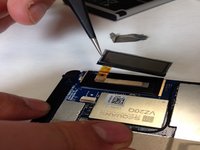
Locate the LCD screen cable and unlatch the harness connection form the circuit board.
-


To reassemble your device, follow these instructions in reverse order.
다른 한 분이 해당 안내서를 완성하였습니다.
팀

IUPUI, Team 3-3, Baechle Spring 2016 IUPUI, Team 3-3, Baechle Spring 2016 회원
IUPUI-BAECHLE-S16S3G3
4 회원들
안내서 6개를 작성함