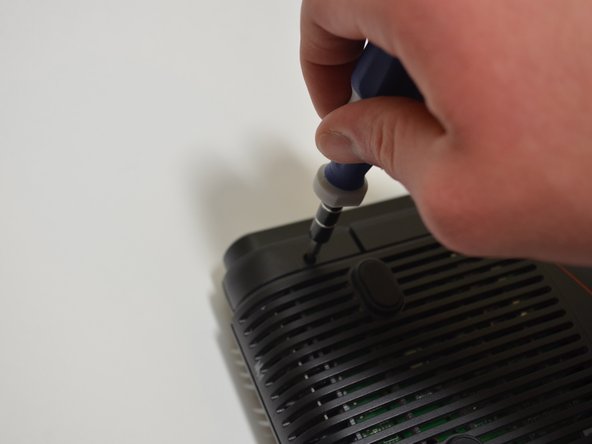
주요 콘텐츠로 건너뛰기

Verizon M1424WR Refresh Button Replacement

필요한 것

  1. Verizon M1424WR Refresh Button Replacement, Refresh Button: 1 단계, 이미지 1/1
    • Flip the device so that the bottom is facing up.

  2. Verizon M1424WR Refresh Button Replacement: 2 단계, 이미지 1/3 Verizon M1424WR Refresh Button Replacement: 2 단계, 이미지 2/3 Verizon M1424WR Refresh Button Replacement: 2 단계, 이미지 3/3
    • Insert the plastic-opening tool under the silver labeled casing.

    • Carefully pry at different intervals around the silver labeled casing to separate the silver casing from the top and bottom casing.

  3. Verizon M1424WR Refresh Button Replacement: 3 단계, 이미지 1/2 Verizon M1424WR Refresh Button Replacement: 3 단계, 이미지 2/2
    • Unscrew the five 10-mm screws on the bottom of the router using a Phillips #0 screwdriver.

  4. Verizon M1424WR Refresh Button Replacement: 4 단계, 이미지 1/2 Verizon M1424WR Refresh Button Replacement: 4 단계, 이미지 2/2
    • Use a plastic-opening tool and pry the top casing from the bottom casing to expose the circuit board in the bottom half of the device.

  5. Verizon M1424WR Refresh Button Replacement: 5 단계, 이미지 1/1
    • Locate the refresh button.

  6. Verizon M1424WR Refresh Button Replacement: 6 단계, 이미지 1/3 Verizon M1424WR Refresh Button Replacement: 6 단계, 이미지 2/3 Verizon M1424WR Refresh Button Replacement: 6 단계, 이미지 3/3
    • Apply pressure with your finger to the black tab that retains the refresh button while using your other hand to pull the bottom of the refresh button from the post.

결론

To reassemble your device, follow these instructions in reverse order.

Jeffrey Fox

회원 가입일: 09/17/14

347 평판

안내서 3개 작성하였습니다

댓글 0개

댓글 쓰기

조회 통계:

24 시간 전: 0

7일 전: 0

30일 전: 10

전체 시간: 360