소개
Can't listen to your favorite record? Don't worry, chances are all you need is a new stylus. As you use your player more and more the stylus slowly starts to wear out and become dull. This leads to it becoming unable to "read" the record its placed on. When our parts wear out we need to know how to repair them. Luckily in this case it is a very easy replacement. No special parts or procedures are necessary.
필요한 것


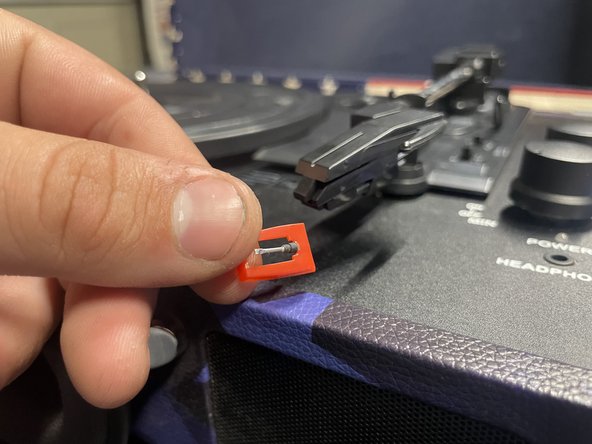

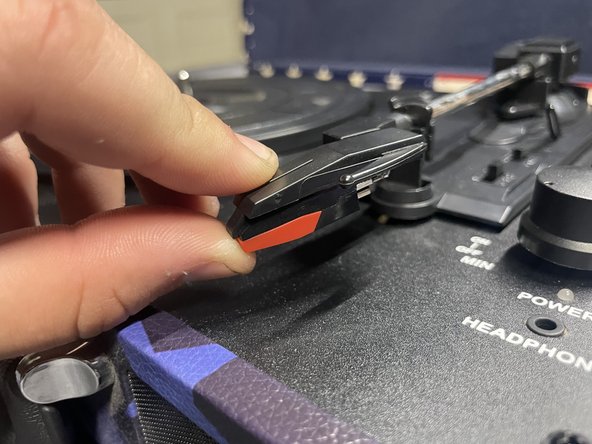

This is a replacement almost anyone can do. As a vinyl owner its important to replace your styluses in order to prevent extra wear and tear on your records.
This is a replacement almost anyone can do. As a vinyl owner its important to replace your styluses in order to prevent extra wear and tear on your records.
다른 한 분이 해당 안내서를 완성하였습니다.

팀

CSU Los Angeles, Team 1-57, Harris Spring 2024 CSU Los Angeles, Team 1-57, Harris Spring 2024 회원
CSULA-HARRIS-S24S1G57
1 회원
안내서 1개 작성하였습니다