소개
Use this guide to replace the door light in your Whirlpool WRS315SDHW Refrigerator.
The door light illuminates the right side of the refrigerator. If the lighting in your refrigerator is dim or dark, then the door light might be broken.
Note: Some photos show the doors removed for clarity purposes. Removing them is not required and will not change the procedure.
필요한 것
-
-
Carefully insert a flathead screwdriver, or a similar tool, between the door light and the chassis.
-
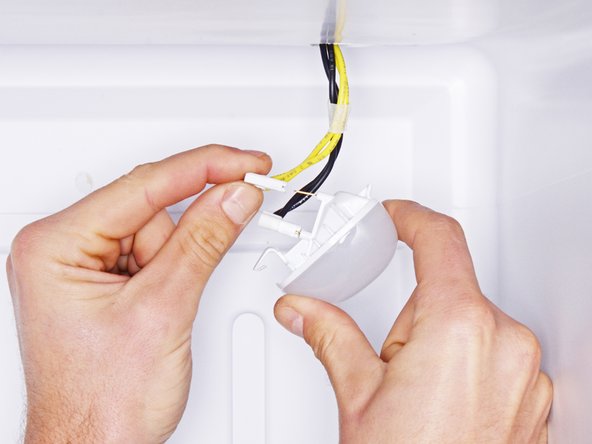
Pry up to separate the door light enough so you can grip it with your fingers.
-
-


To reassemble your device, follow these instructions in reverse order.
Take your e-waste to an R2 or e-Stewards certified recycler.
Repair didn’t go as planned? Ask our Answers community for help.
To reassemble your device, follow these instructions in reverse order.
Take your e-waste to an R2 or e-Stewards certified recycler.
Repair didn’t go as planned? Ask our Answers community for help.
다른 한 분이 해당 안내서를 완성하였습니다.

팀
