소개
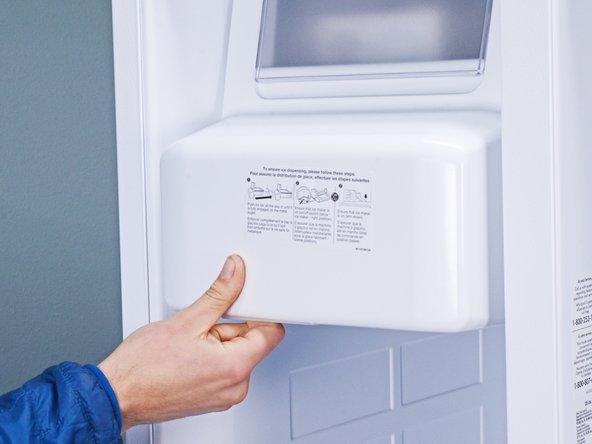
Use this guide to replace the icemaker assembly in your Whirlpool WRS315SDHW Refrigerator.
The icemaker assembly is a combination of parts that creates ice. If your refrigerator isn't producing ice, or is producing too much ice, then your icemaker might be broken.
Note: Some photos show the doors removed for clarity purposes. Removing them is not required and will not change the procedure.
필요한 것
-
-
-
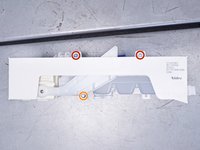
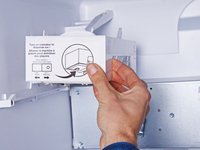
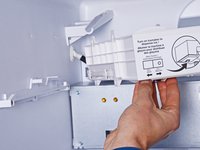
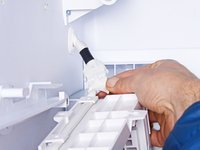
Use a 1/4 inch socket wrench to remove the three screws securing the icemaker assembly (shown with the assembly removed):
-
Two 23.9 mm-long screws
-
One 16.7 mm-long screw
-
-
-
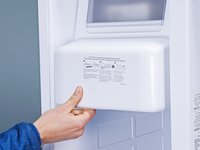
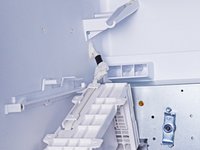
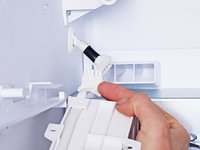
Pull the icemaker assembly toward the right edge of the refrigerator to release it from its slot in the chassis.
-
Let the icemaker assembly hang to access its connector.
-
-
-
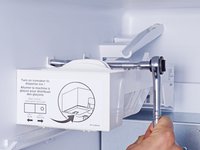
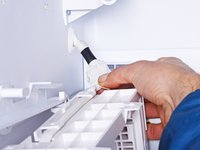
Disconnect the spade connector attached to the icemaker assembly.
-


To reassemble your device, follow these instructions in reverse order.
Take your e-waste to an R2 or e-Stewards certified recycler.
Repair didn’t go as planned? Ask our Answers community for help.
To reassemble your device, follow these instructions in reverse order.
Take your e-waste to an R2 or e-Stewards certified recycler.
Repair didn’t go as planned? Ask our Answers community for help.
다른 한 분이 해당 안내서를 완성하였습니다.

팀
